

Table of Contents
3 User settings
Overview
Depending on user role permissions, the User settings section may contain the following pages:
- Profile or User profile - for customizing certain Zabbix frontend features.
- API tokens - for managing API tokens assigned to the current user.
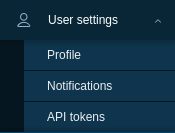
The list of available pages appears upon clicking the  user icon near the bottom of the Zabbix menu (not available for the guest user). It is also possible to switch between pages by using the title dropdown in the top left corner.
 |
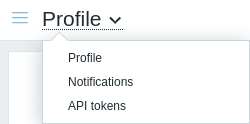 |
| Third-level menu. | Title dropdown. |
User profile
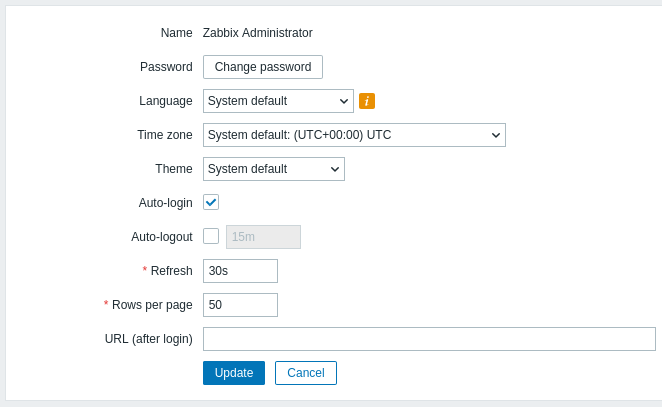
The User profile section provides options to set a custom interface language, color theme, number of rows displayed in the lists, etc. The changes made here will be applied to the current user only.
The User tab allows you to set various user preferences.
| Parameter | Description |
|---|---|
| Password | Click on the Change password button to open three fields: Old password, New password, New password (once again). On a successful password change, the user will be logged out of all active sessions. Note that the password can only be changed for users using Zabbix internal authentication. |
| Language | Select the interface language of your choice or select System default to use default system settings. For more information, see Installation of additional frontend languages. |
| Time zone | Select the time zone to override the global time zone on the user level or select System default to use global time zone settings. |
| Theme | Select a color theme specifically for your profile: System default - use default system settings; Blue - standard blue theme; Dark - alternative dark theme; High-contrast light - light theme with high contrast; High-contrast dark - dark theme with high contrast. |
| Auto-login | Mark this checkbox to make Zabbix remember you and log you in automatically for 30 days. Browser cookies are used for this. |
| Auto-logout | With this checkbox marked, you will be logged out automatically after the set amount of seconds (minimum 90 seconds, maximum 1 day). Time suffixes are supported, for example: 90s, 5m, 2h, 1d. Note that this option will not work in the following cases: * When the Monitoring menu pages perform background information refreshes. In case pages that are refreshing data in a specific time interval (dashboards, graphs, latest data, etc.) are left open, the session lifetime is extended, respectively disabling the auto-logout feature. * If logging in with the Remember me for 30 days option checked. Auto-logout can also accept "0", meaning that the auto-logout feature becomes disabled after profile settings update. |
| Refresh | Set how often the information on the Monitoring menu pages will be refreshed (minimum 0 seconds, maximum 1 hour). Time suffixes are supported, for example: 30s, 90s, 1m, 1h. |
| Rows per page | Set how many rows will be displayed per page in the lists. Fewer rows (and fewer records to display) result in faster loading times. |
| URL (after login) | Set a specific URL to be displayed after login. Instead of the default Dashboards, it can be, for example, the URL of Monitoring → Triggers. |
The Media tab allows you to specify media details for the user, such as media types and addresses to use and when to use them to deliver notifications.
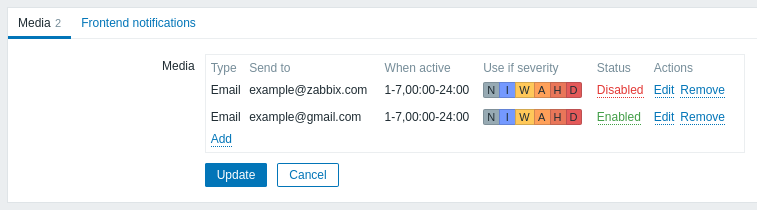
If the media type has been disabled:
- a yellow info icon is displayed after the name;
- "Disabled" is displayed in the Status column.
Only Admin and Super admin type users can change their own media details.
The Frontend notifications tab allows you to set global notifications.
API tokens
The API tokens section allows you to view tokens assigned to the user, edit token details and create new tokens. This section is available to a user only if the Manage API tokens action is allowed in the user role settings.

You can filter API tokens by name, expiry date, or status (Enabled/Disabled). Click on the token status in the list to quickly enable/disable a token. You can also enable/disable multiple tokens at once by selecting them in the list and then clicking on the Enable/Disable buttons below the list.
Users cannot view the Auth token value of the tokens assigned to them in Zabbix. The Auth token value is displayed only once - immediately after creating a token. If the token has been lost, it has to be regenerated.