
Web interface installation
This section provides instructions for installing the Zabbix web interface. Follow these steps after installing the Zabbix backend.
The Zabbix frontend is written in PHP and requires a supported web server such as Apache or NGINX with PHP configured. See the frontend requirements for information about the required software and libraries.
To use a language other than English in the Zabbix web interface, its locale must be installed on the web server, along with the PHP gettext extension. Please note that changing the language may change the time/date format.
To set up SSL for the Zabbix frontend, see Setting up SSL for Zabbix frontend.
Installation wizard
To install the web interface, open the Zabbix frontend URL in a browser:
- For Apache:
http://<server_ip_or_name>/zabbix - For NGINX:
http://<server_ip_or_name>
Welcome screen
The frontend installation wizard opens on the Welcome screen.
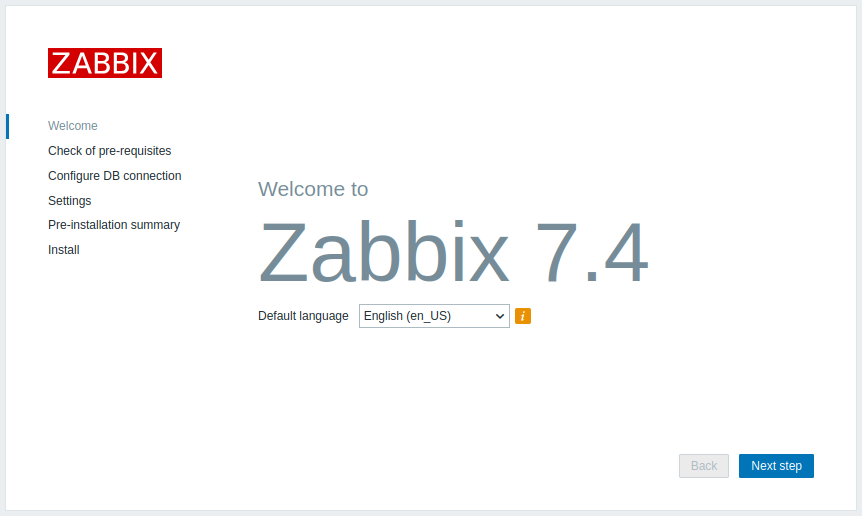
The system-wide default language is English (en_US), with the US time/date format. To change the system-wide default language, select the desired language from the Default language drop-down menu.
Click the Next step button to proceed.
Check of pre-requisites
Make sure that all mandatory Zabbix frontend pre-requisites are met.
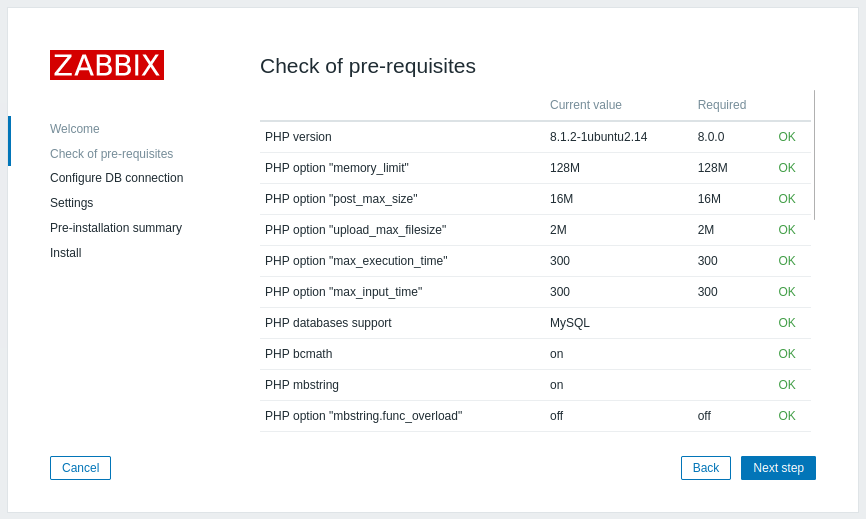
See Requirements for a list of required and optional PHP extensions, the required PHP version, and supported databases. Note that failed optional pre-requisites are displayed with a Warning status, and the setup process can proceed even if they are not met.
Required values for PHP configuration directives in the php.ini file used by the web server:
memory_limit = 128M ; Minimum value
post_max_size = 16M ; Minimum value
upload_max_filesize = 2M ; Minimum value
max_execution_time = 300 ; Minimum value, values 0 and -1 are also allowed
max_input_time = 300 ; Minimum value, values 0 and -1 are also allowed
session.auto_start = 0 ; Must be disabled
arg_separator.output = "&" ; "&" is also allowed
If the web server user or group needs to be changed, verify that the new user or group has the required permissions for the PHP session directory; otherwise, Zabbix setup may be unable to continue.
If all mandatory pre-requisites are met, proceed to the next step.
Configure DB connection
Enter the details for connecting to the database.
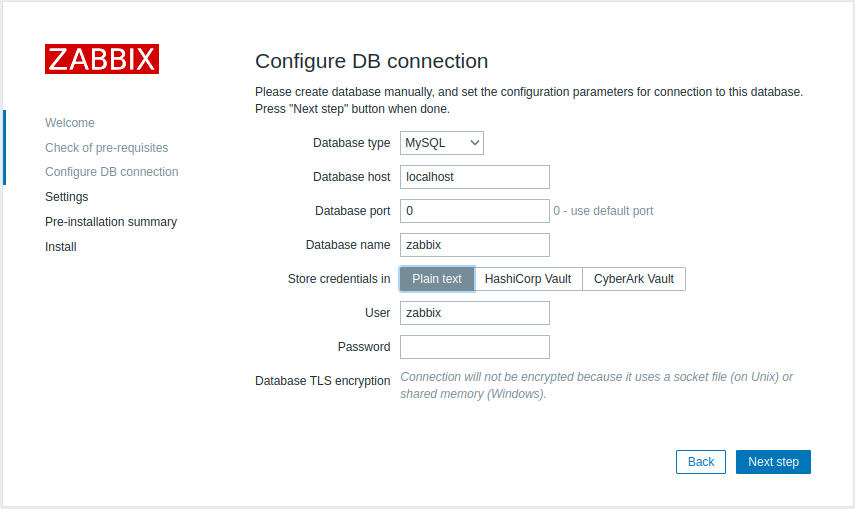
If the Database host field is left empty, the default Unix-domain socket is used.
For MySQL, entering localhost in the Database host field also results in a connection via the default Unix-domain socket.
The wizard does not provide an option to configure the database socket. To use a custom socket, configure it in the Zabbix server settings (for example, with the DBSocket= parameter in the Zabbix server configuration file (zabbix_server.conf)).
This keeps the frontend consistent with the server-to-database connection settings.
For PostgreSQL, the Database host field can contain multiple host:port entries separated by commas.
The string is split into parts and each port is validated in the same way as the Database port field.
After successful validation, the string is parsed into hosts and ports to construct the connection string.
If a port is not defined for a host in the comma-separated list, the value of Database port is used as the default port.
If a socket path is specified (for example, /var/run/pgbouncer), that Unix-domain socket is used instead.
To configure a secure connection to the database, select the Database TLS encryption checkbox and proceed to Frontend to the database to configure the fields. The Database TLS encryption checkbox is disabled in the following cases:
- For MySQL, Database host is set to localhost.
- For PostgreSQL, the value of the Database host field begins with a slash, or the field is empty.
To configure Zabbix to retrieve secrets from HashiCorp Vault, select HashiCorp Vault for Store credentials in and proceed to HashiCorp configuration to fill in the expanded fields. To configure Zabbix to retrieve secrets from CyberArk Vault, select CyberArk Vault for Store credentials in and proceed to CyberArk configuration to fill in the expanded fields.
Settings
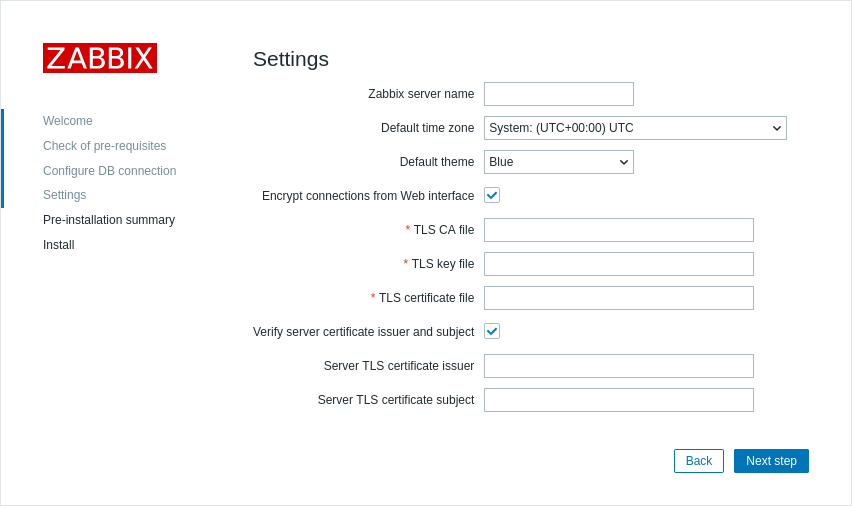
Entering a name for the Zabbix server is optional; however, if submitted, it will be displayed in the menu bar and page titles.
Set the default time zone and theme for the frontend.
To configure TLS connections between Zabbix frontend and Zabbix server, select the Encrypt connections from Web interface checkbox and proceed to configuring the TLS connection to fill in the expanded fields.
Pre-installation summary
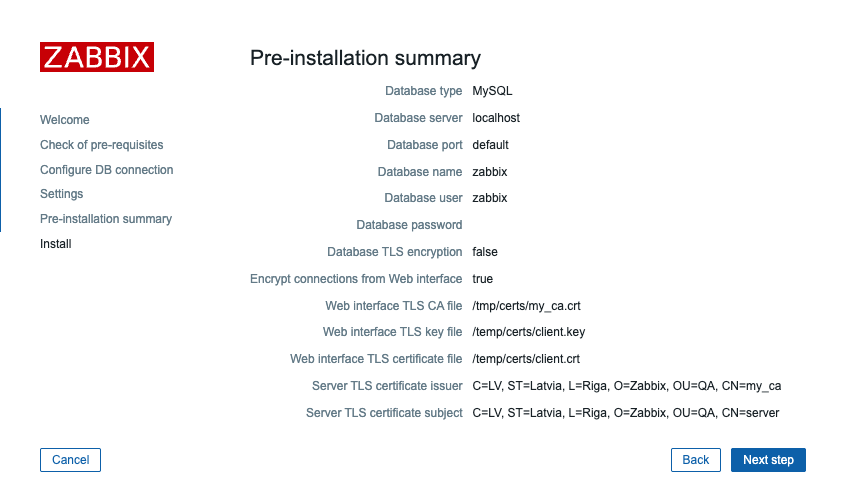
Review a summary of settings.
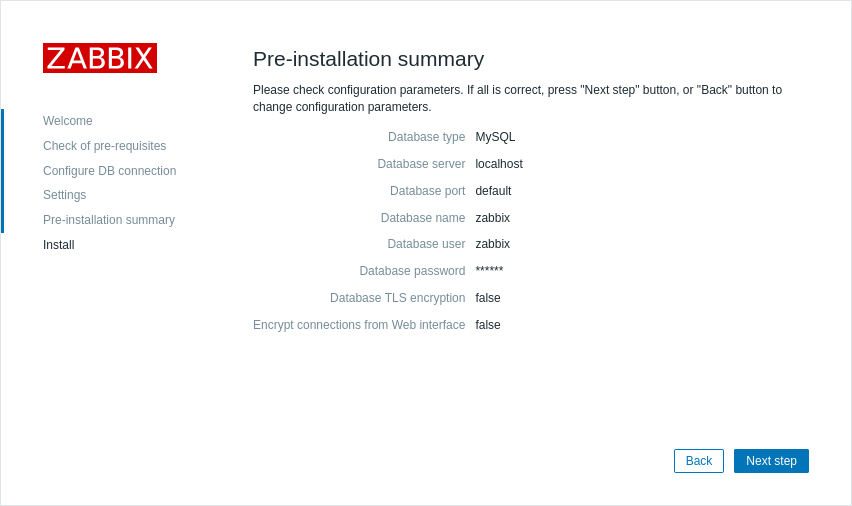
If TLS is configured, the wizard will display its details.
Install
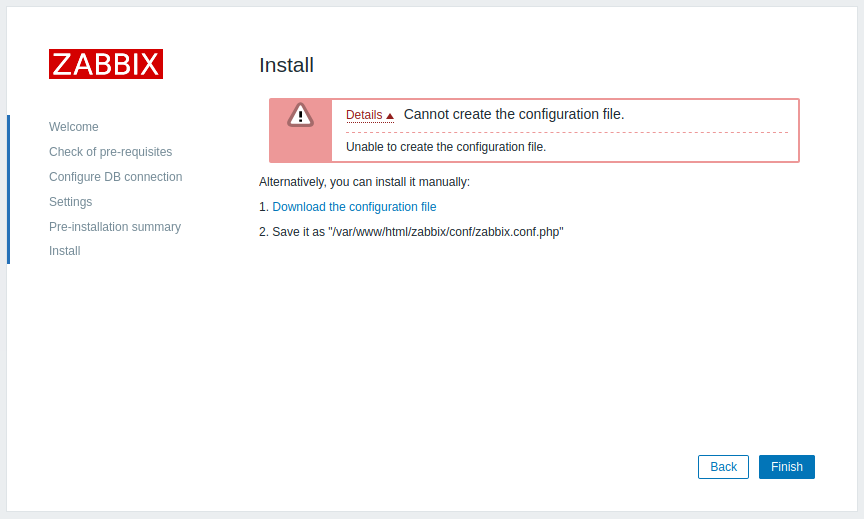
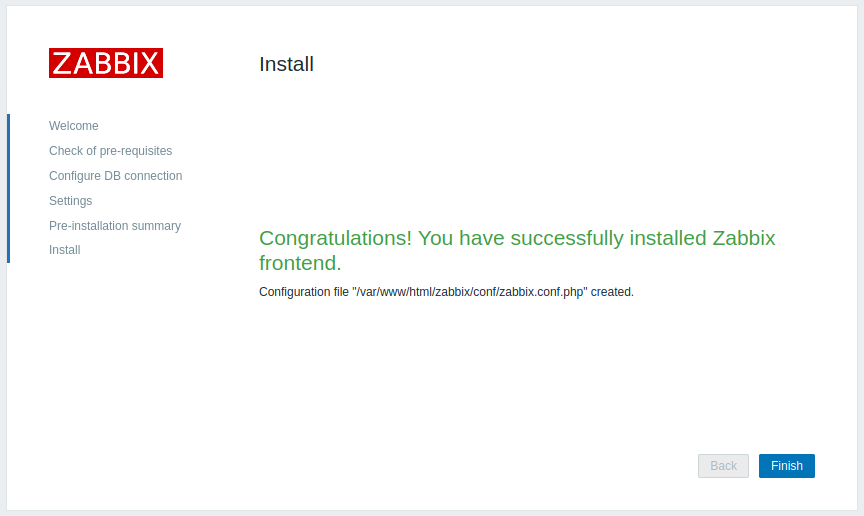
If the web server user has write access to the conf/ directory, the configuration file will be saved automatically, and you can proceed to the next step right away.
If the web server user does not have write access to the conf/ directory, you must download the configuration file and place it under the conf/ directory in the web server's HTML documents directory where you copied the Zabbix PHP files.
Finish the installation.
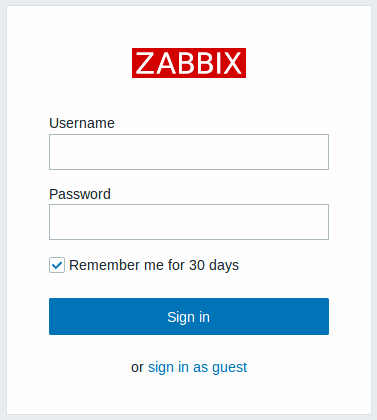
Log in
Login with the default credentials:
- User name: Admin
- Password: zabbix
Frontend configuration file
After installation, you can reconfigure the Zabbix frontend by updating parameters in the zabbix.conf.php frontend configuration file.
The default path to the configuration file depends on the operating system and Zabbix installation method:
- For installation from packages:
/usr/share/zabbix/ui/conf/zabbix.conf.php - For installation from sources:
/var/www/html/zabbix/conf/zabbix.conf.php - For appliance:
/etc/zabbix/web/zabbix.conf.php
See the configuration file options for details on configuring the Zabbix frontend.