AWS deployment guide
Deploying Zabbix proxy
Important note: A working instance of Zabbix Server is required to use the Zabbix Proxy component.
Step 1
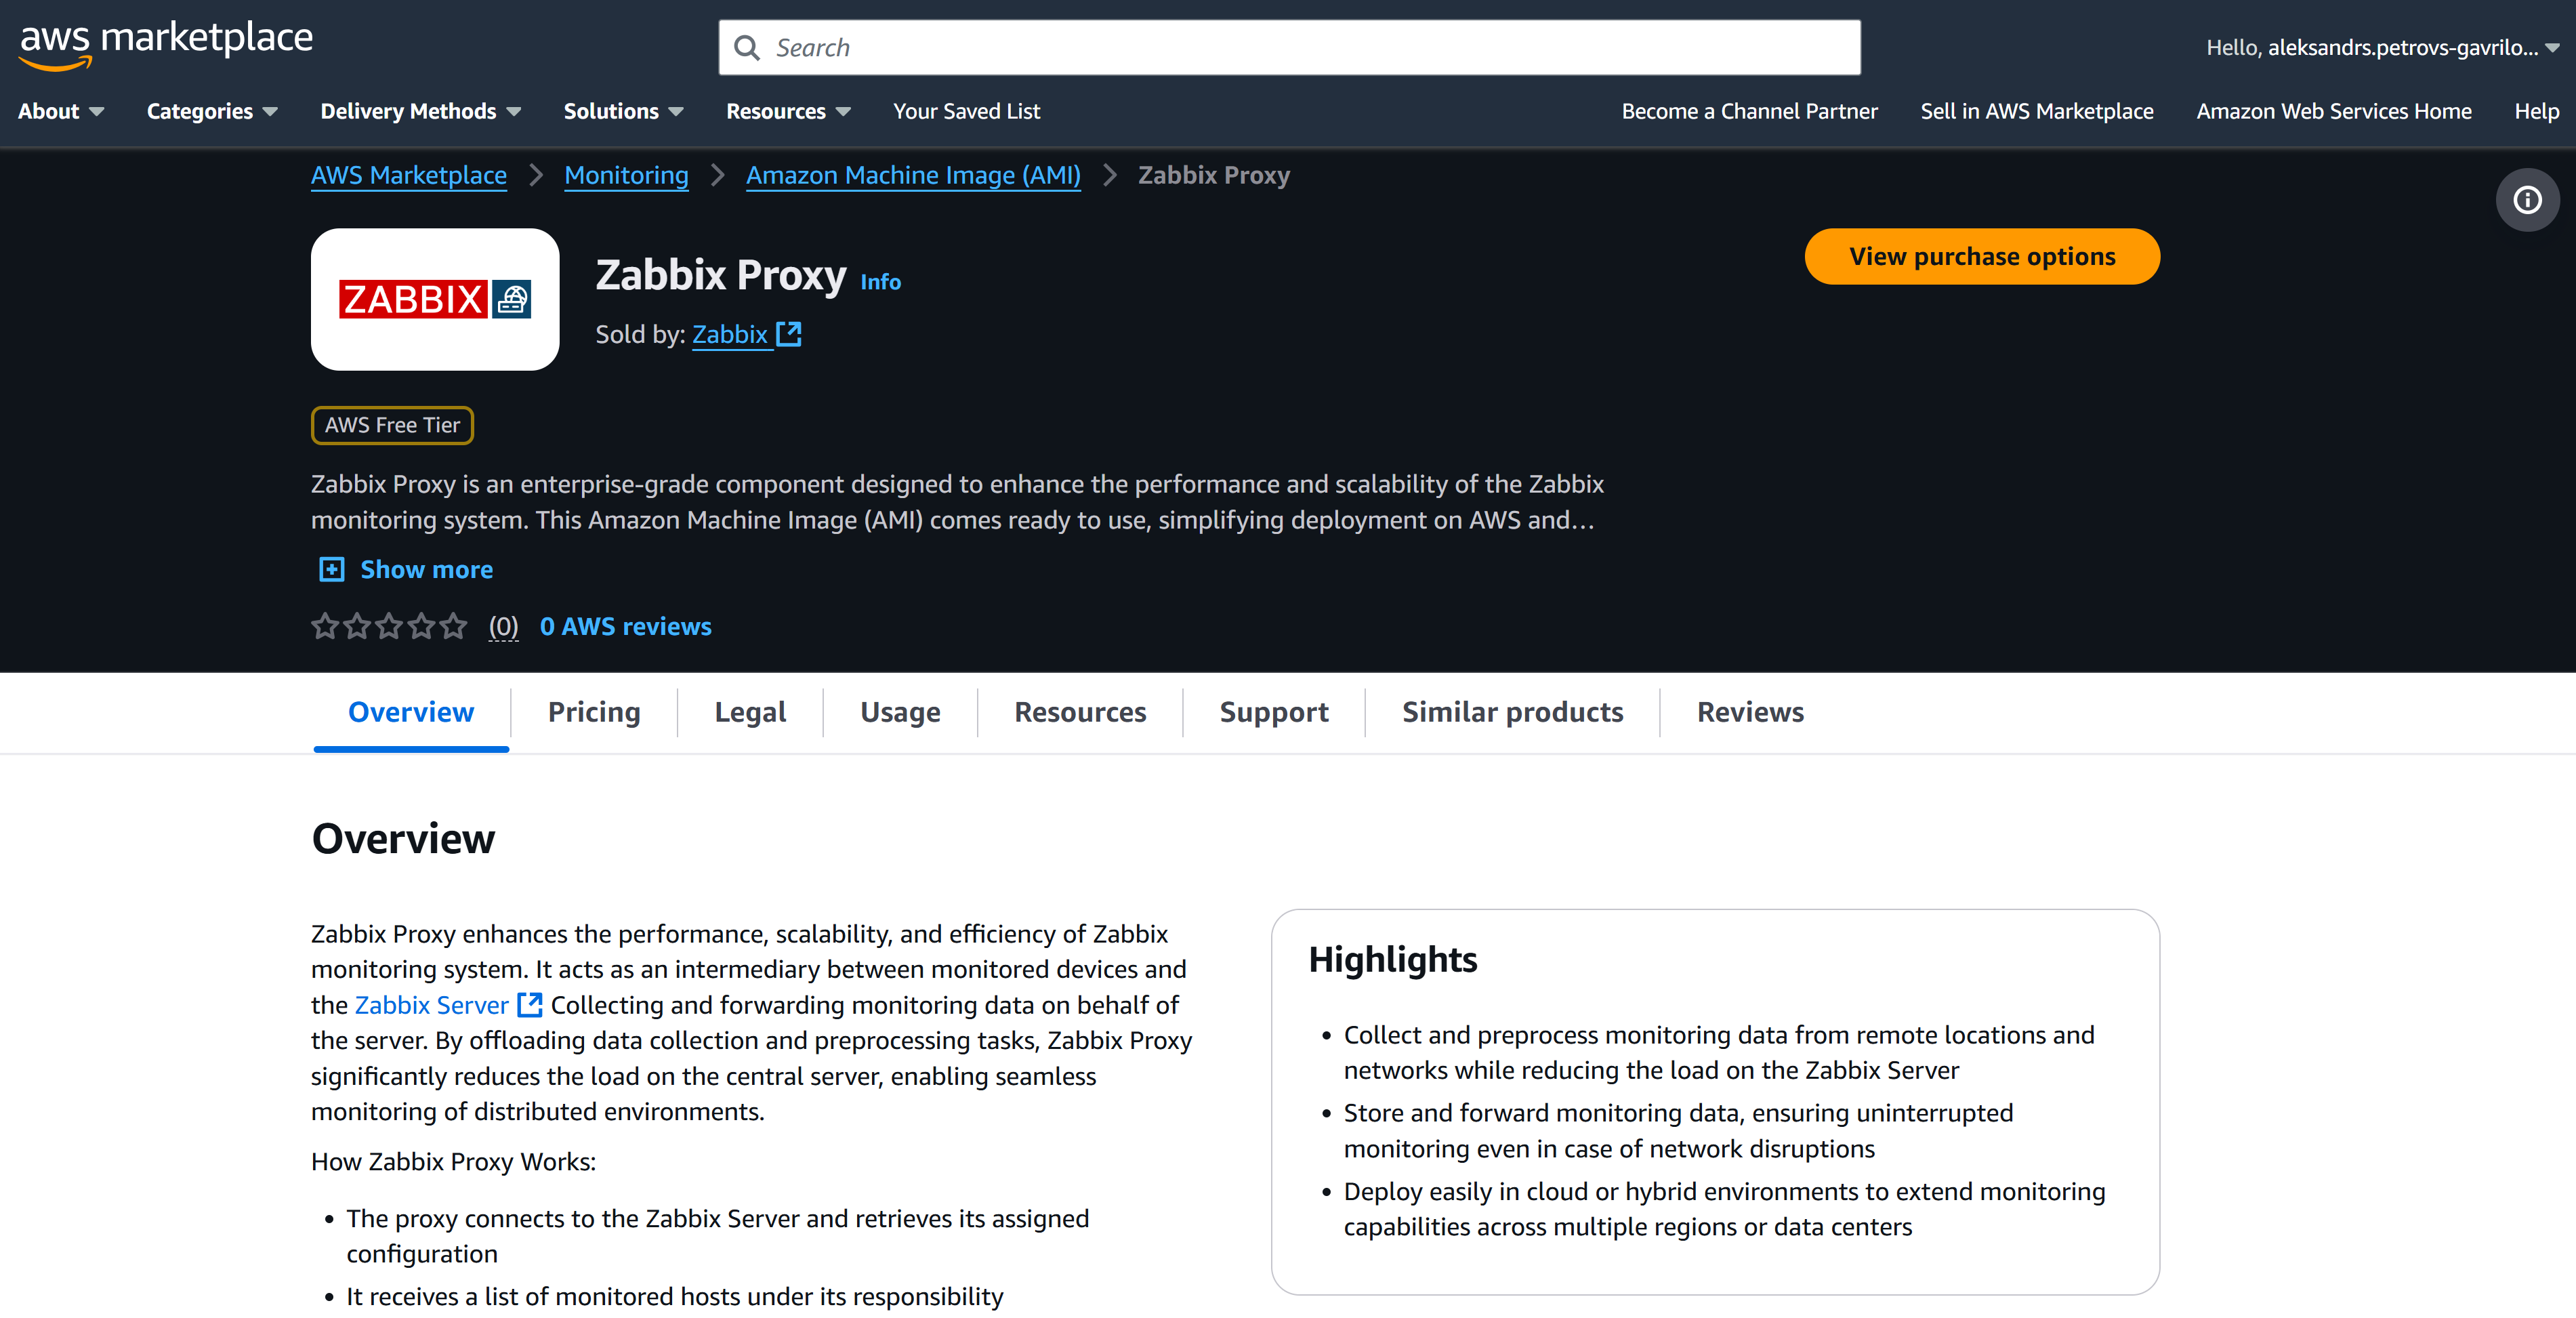
To deploy Zabbix Proxy, first, let's navigate to the Zabbix AWS marketplace page.
Next, click on the View purchase options button to deploy the Image and proceed to the subscription page
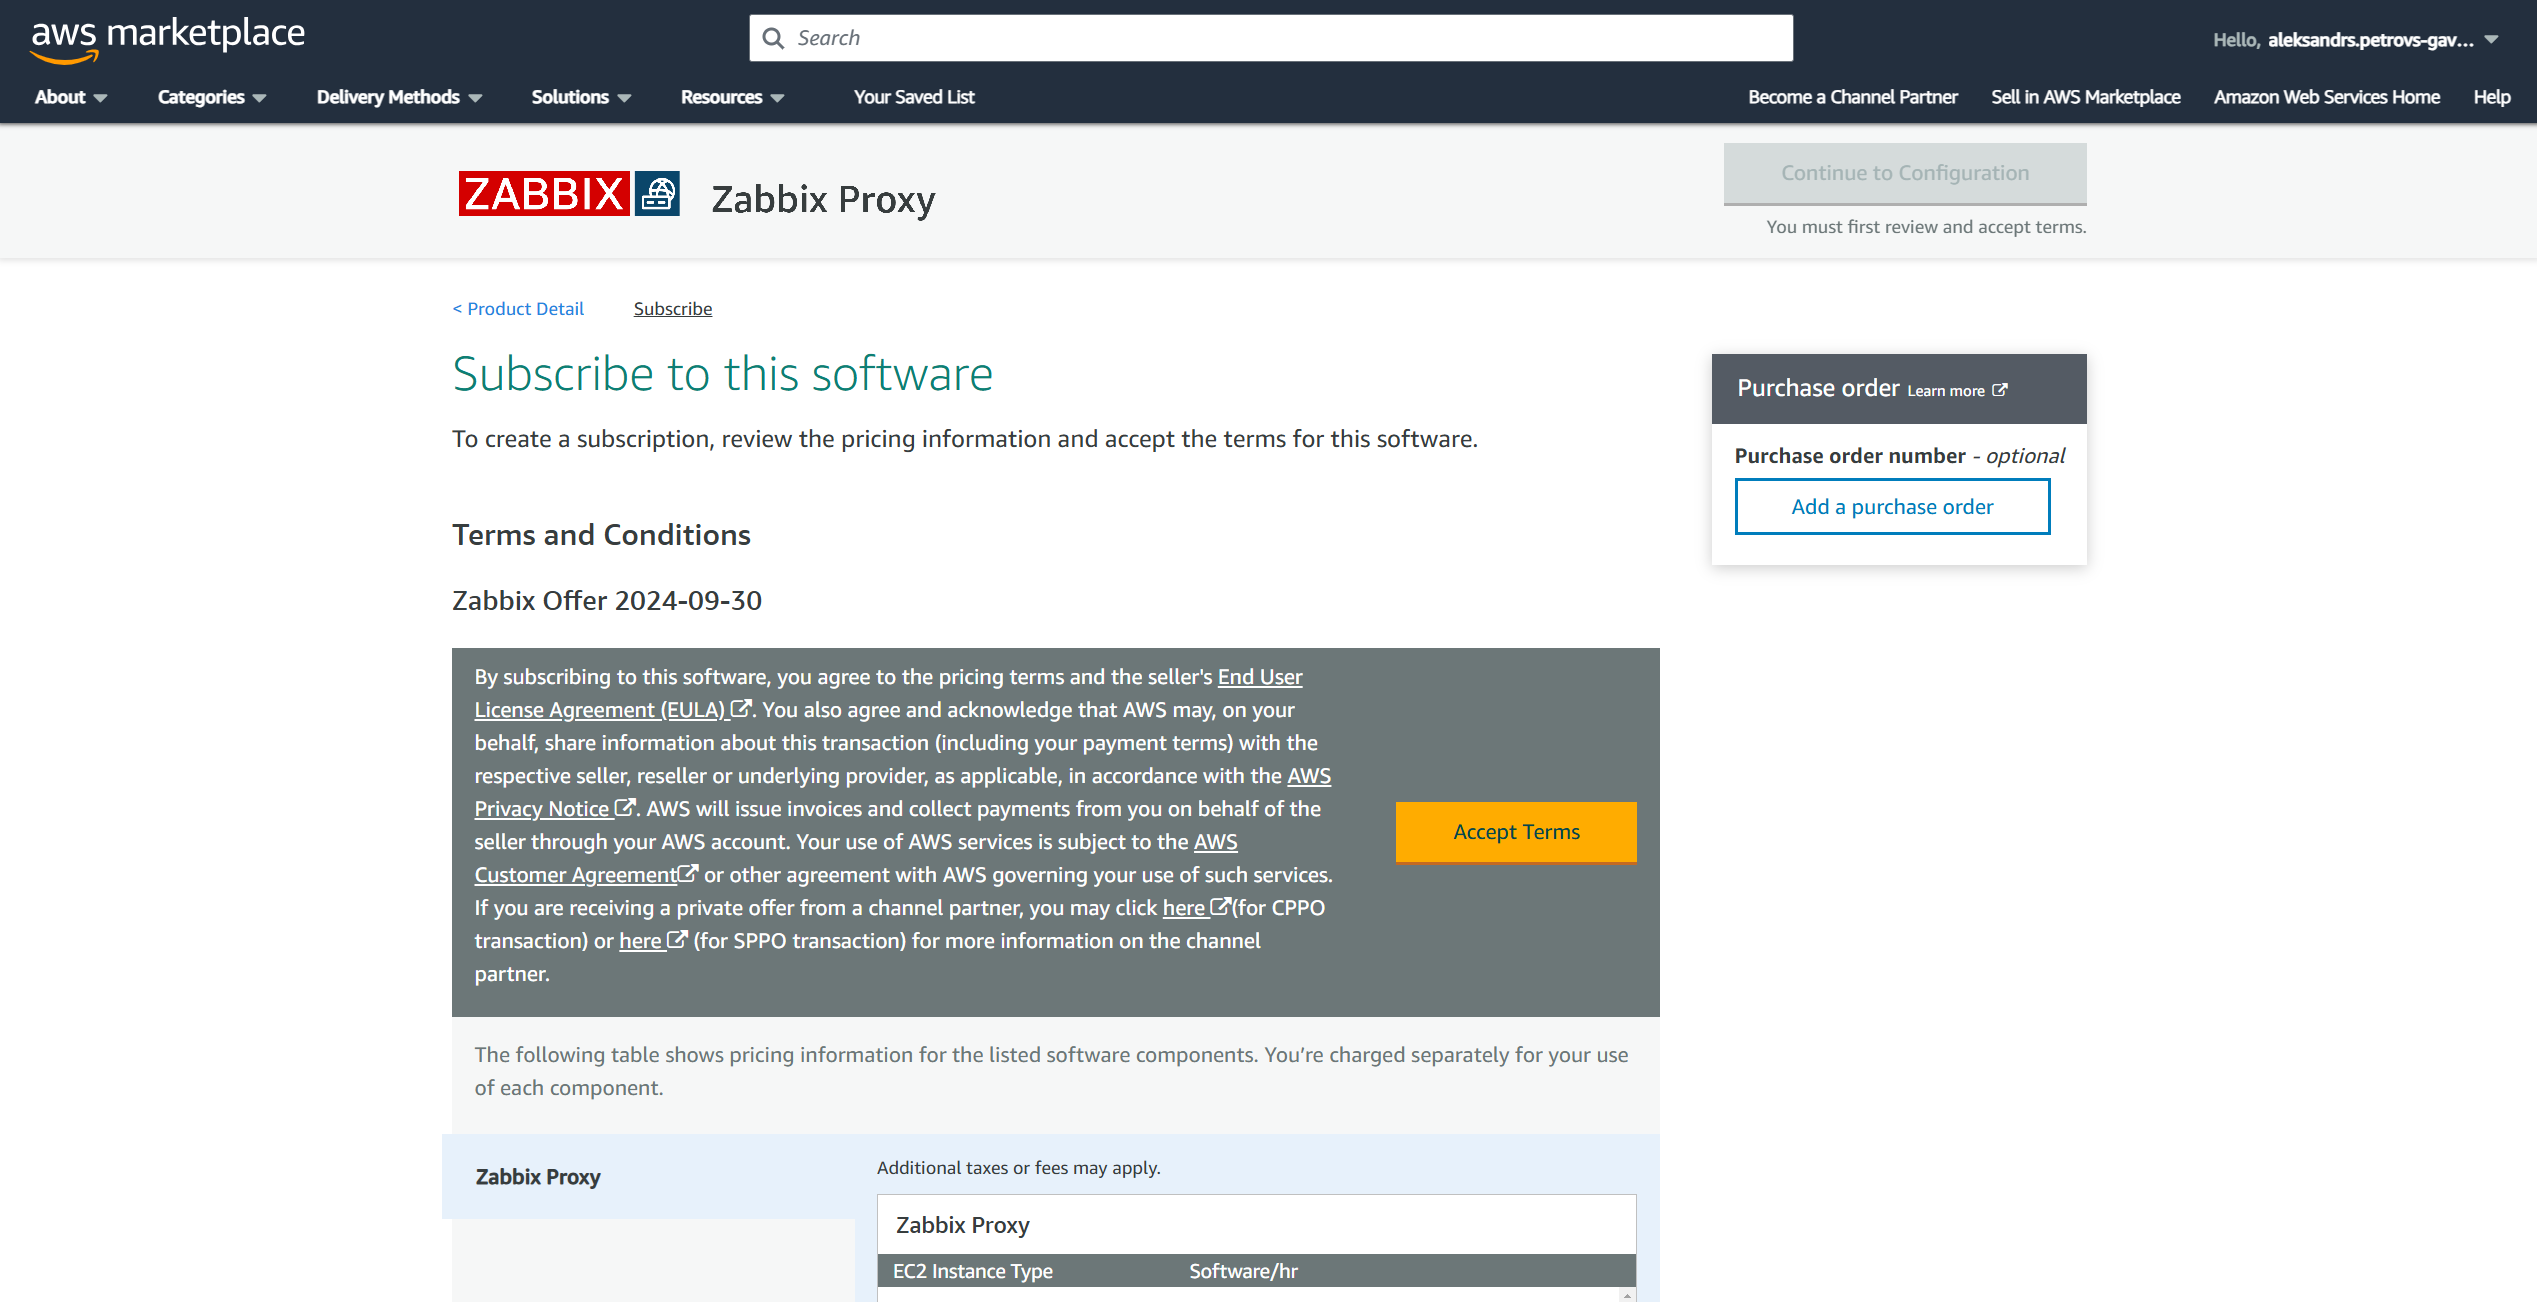
Step 2
Press the Accept terms button to accept Terms and Conditions.
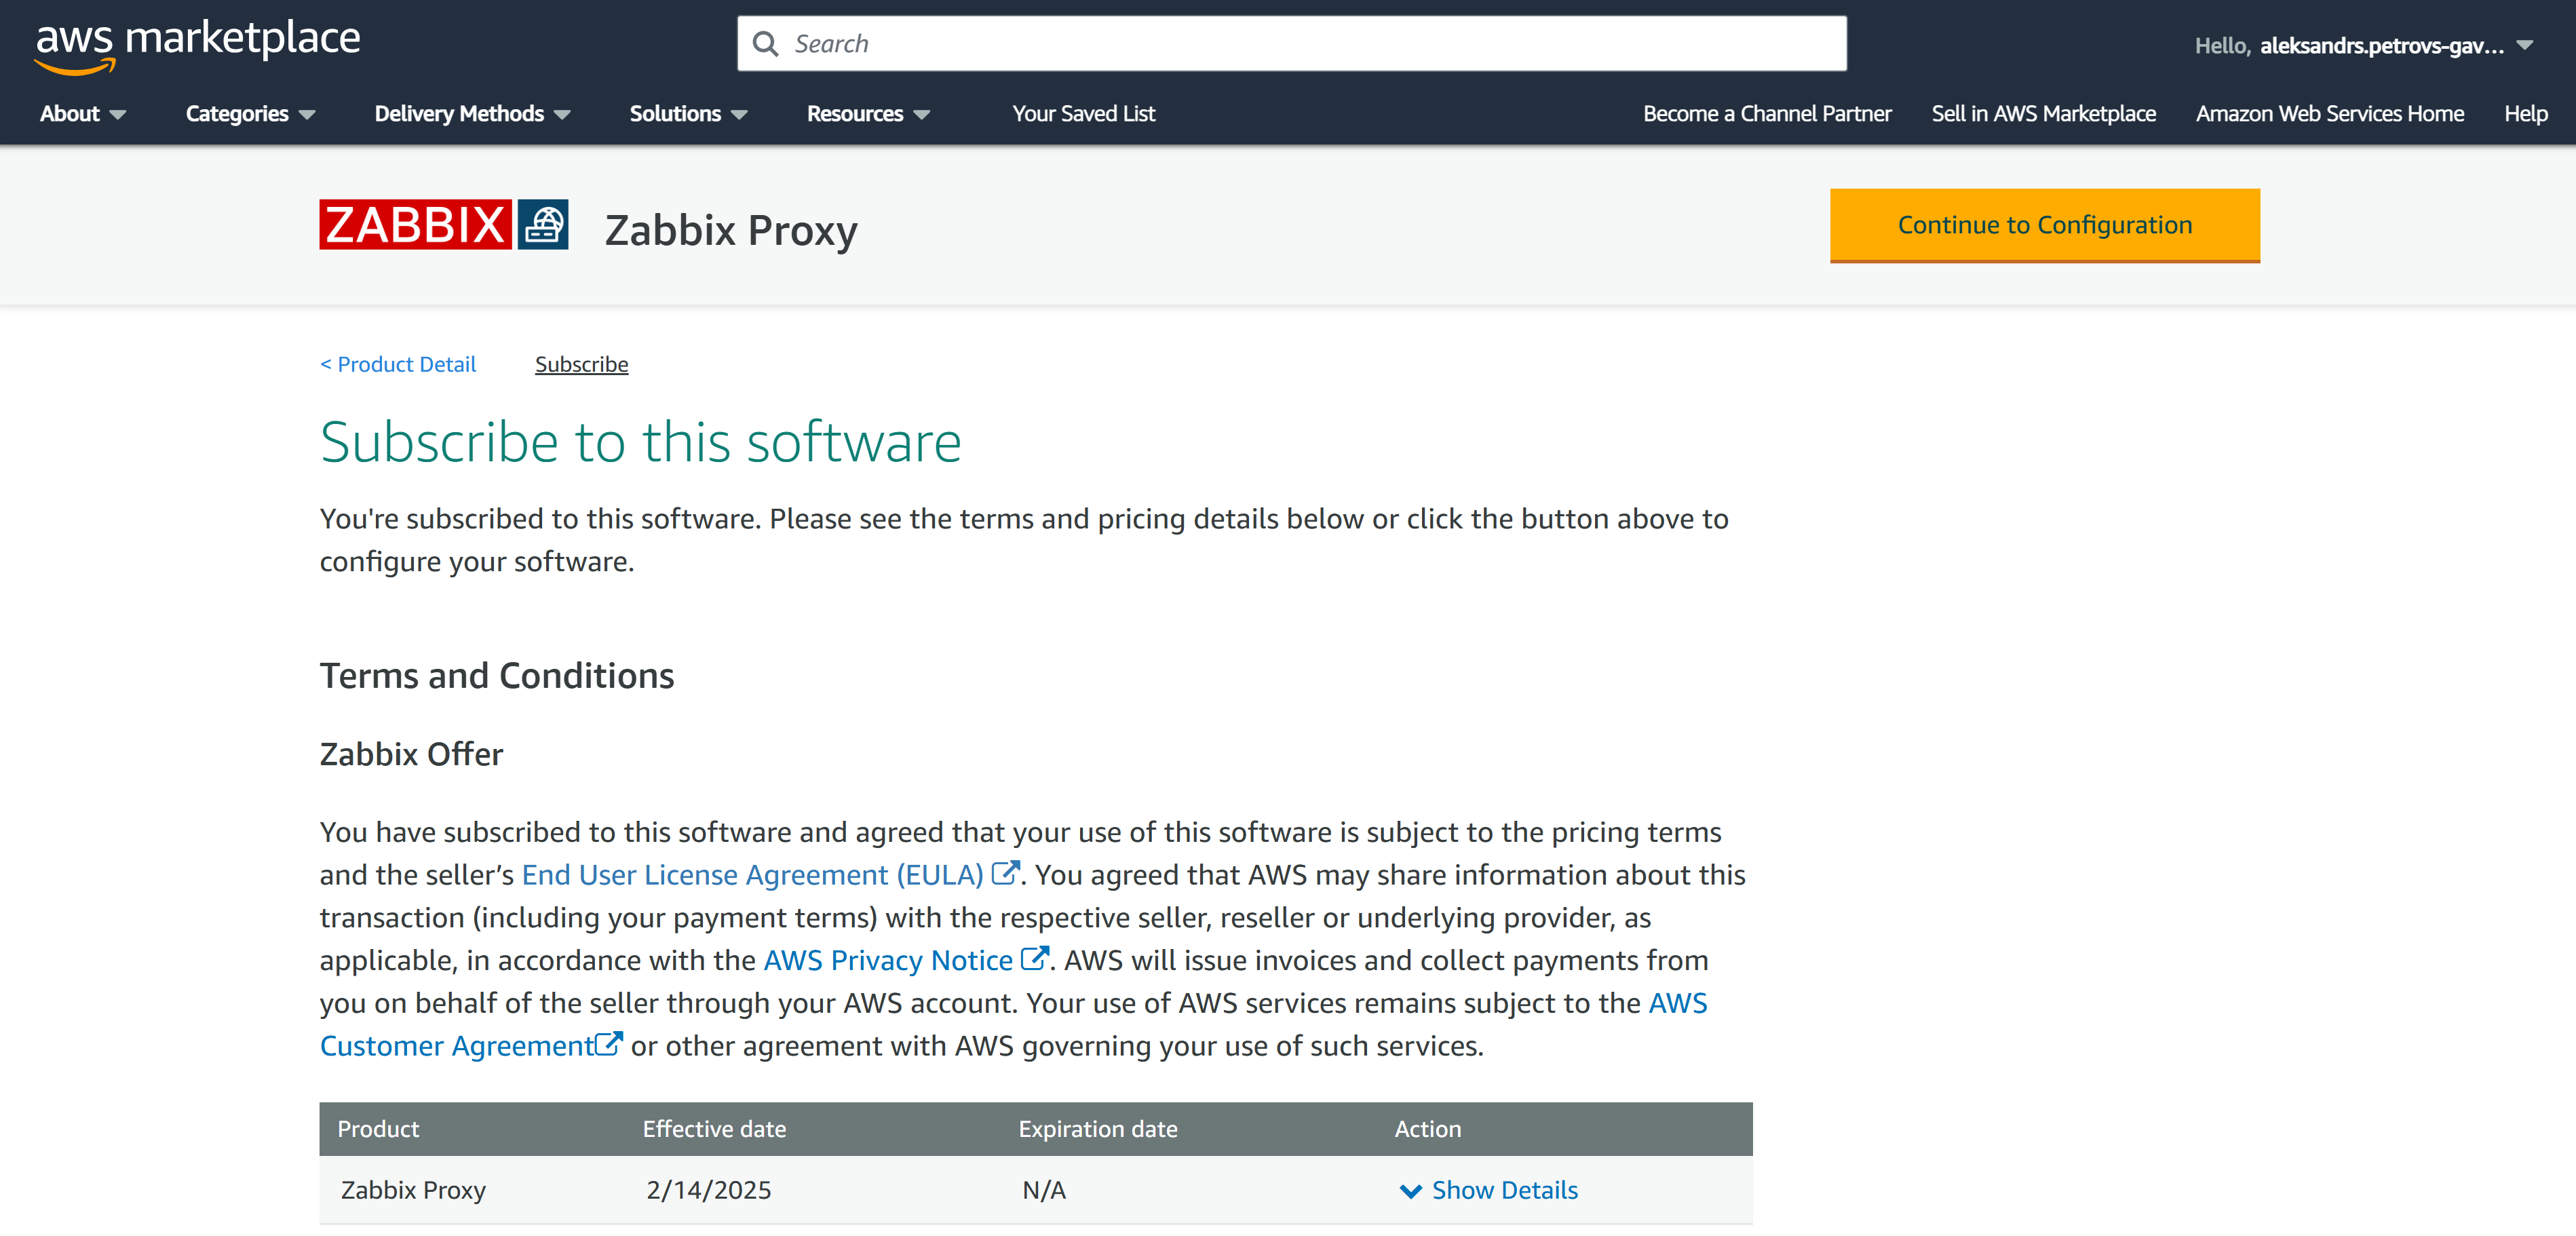
Step 3
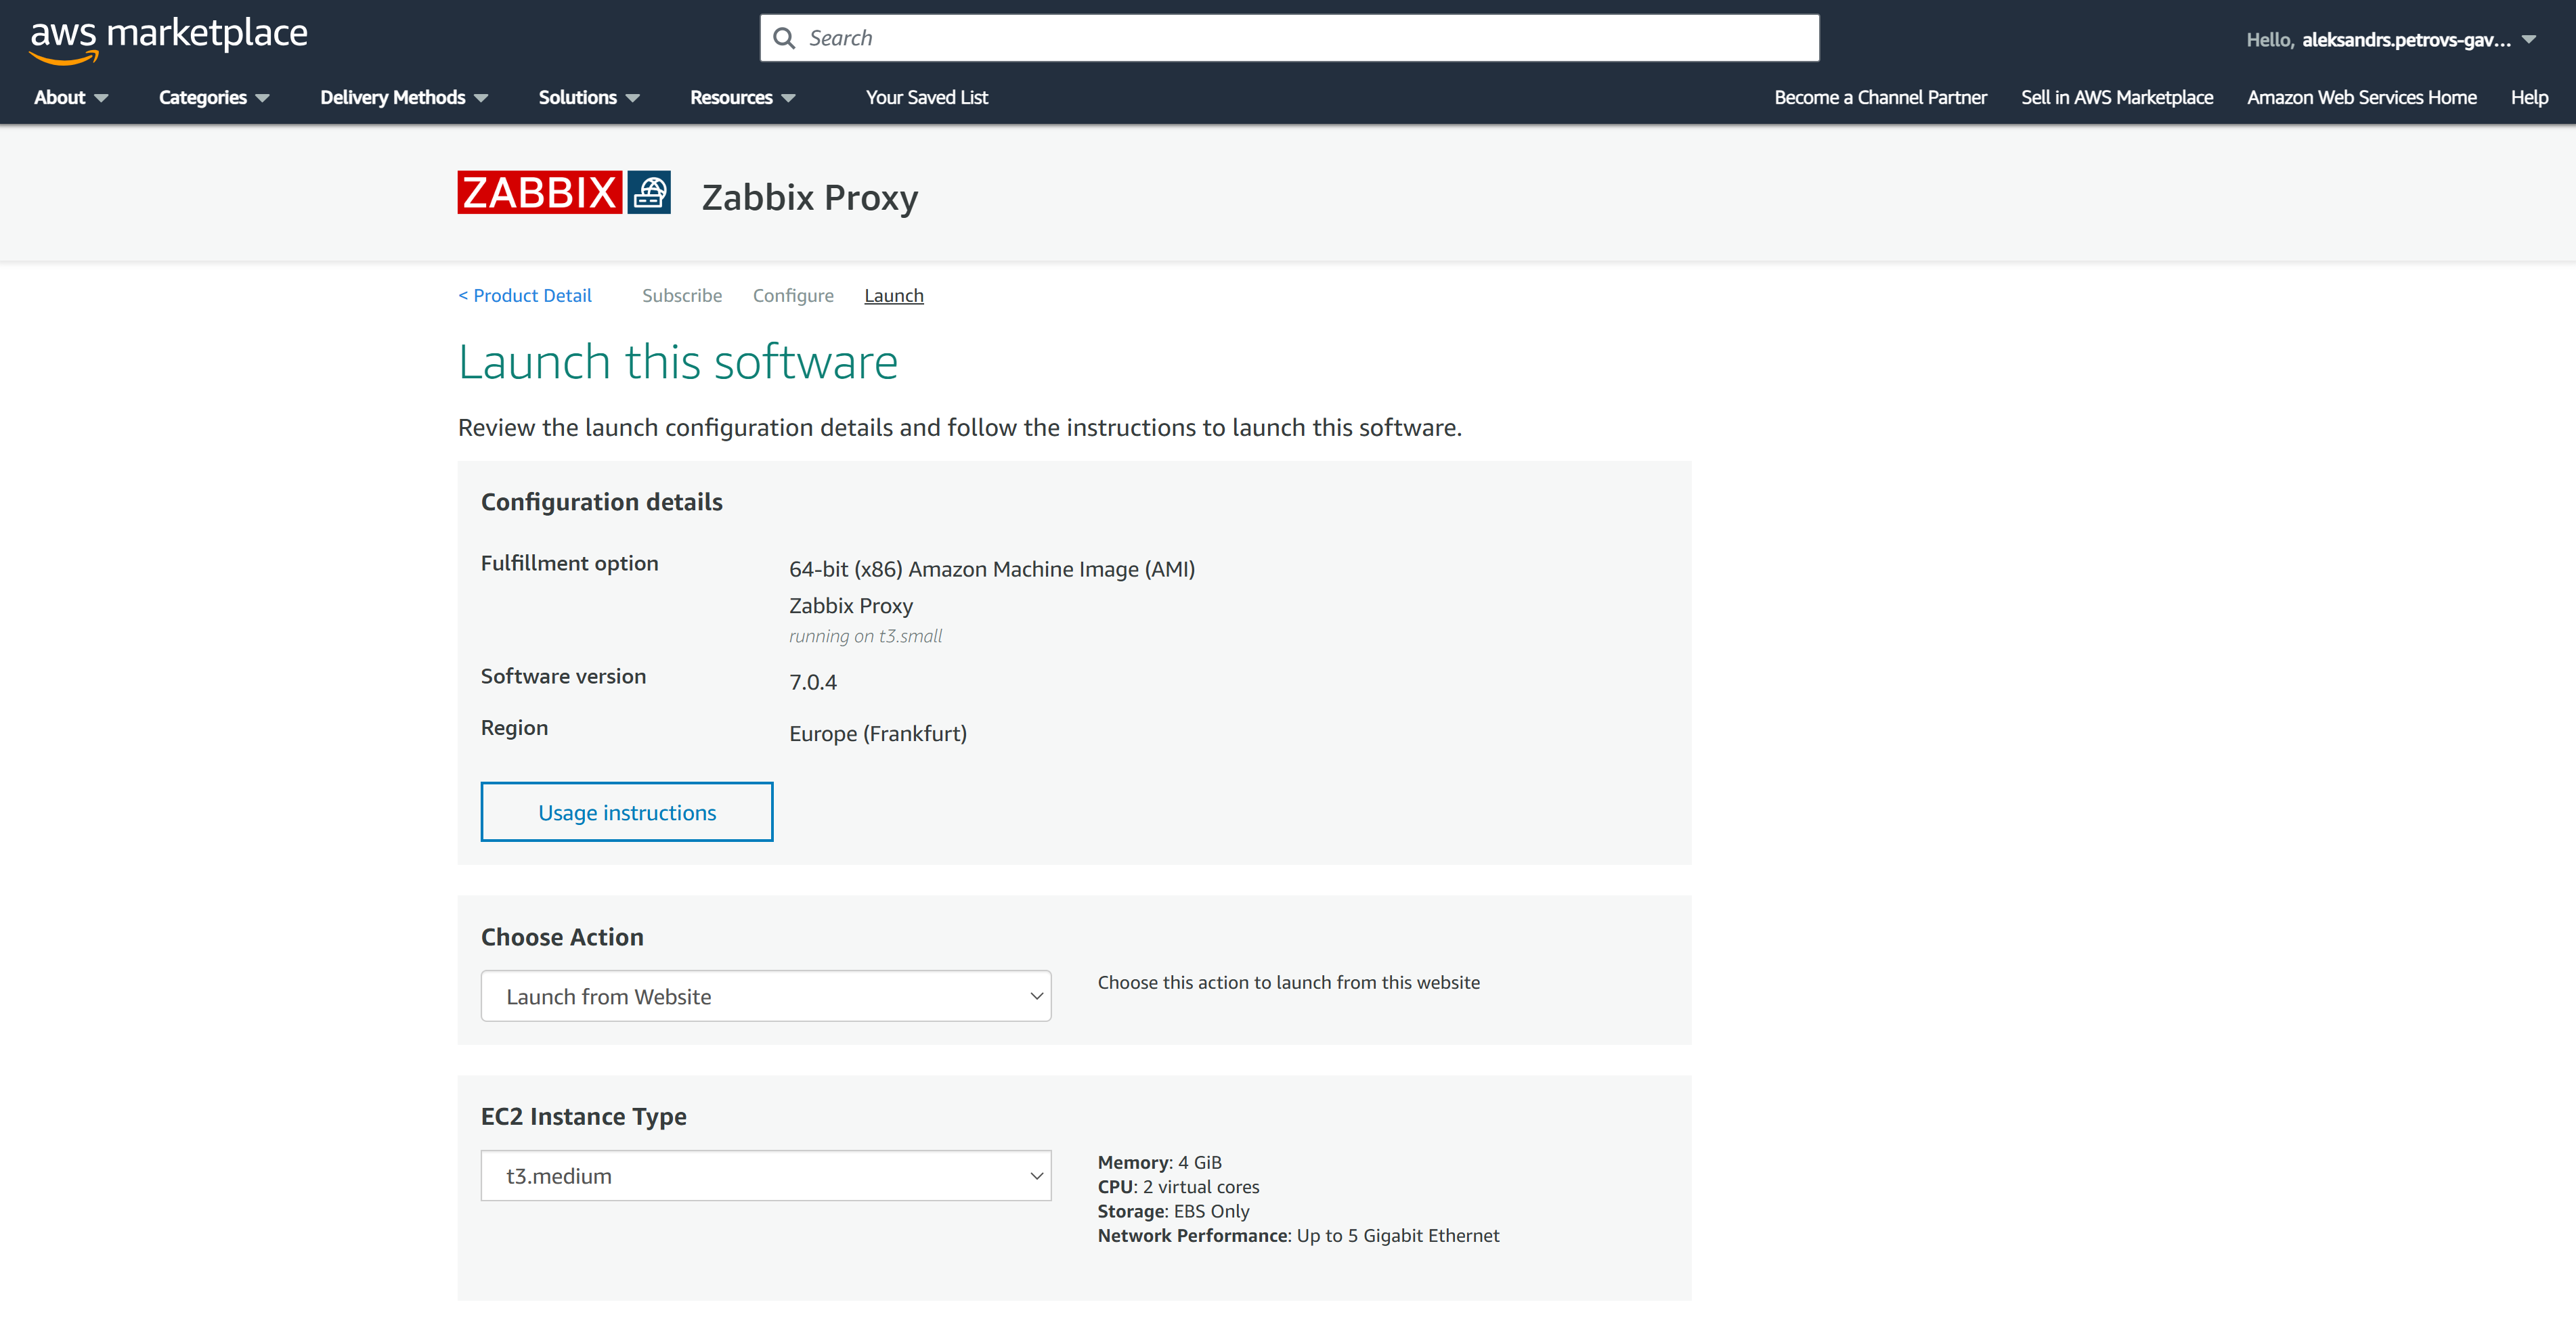
Press the Continue to Configuration button to move to the Configuration section for Zabbix Proxy.
Step 4
Select the Fulfilment option, Zabbix proxy version and your preferred Region.
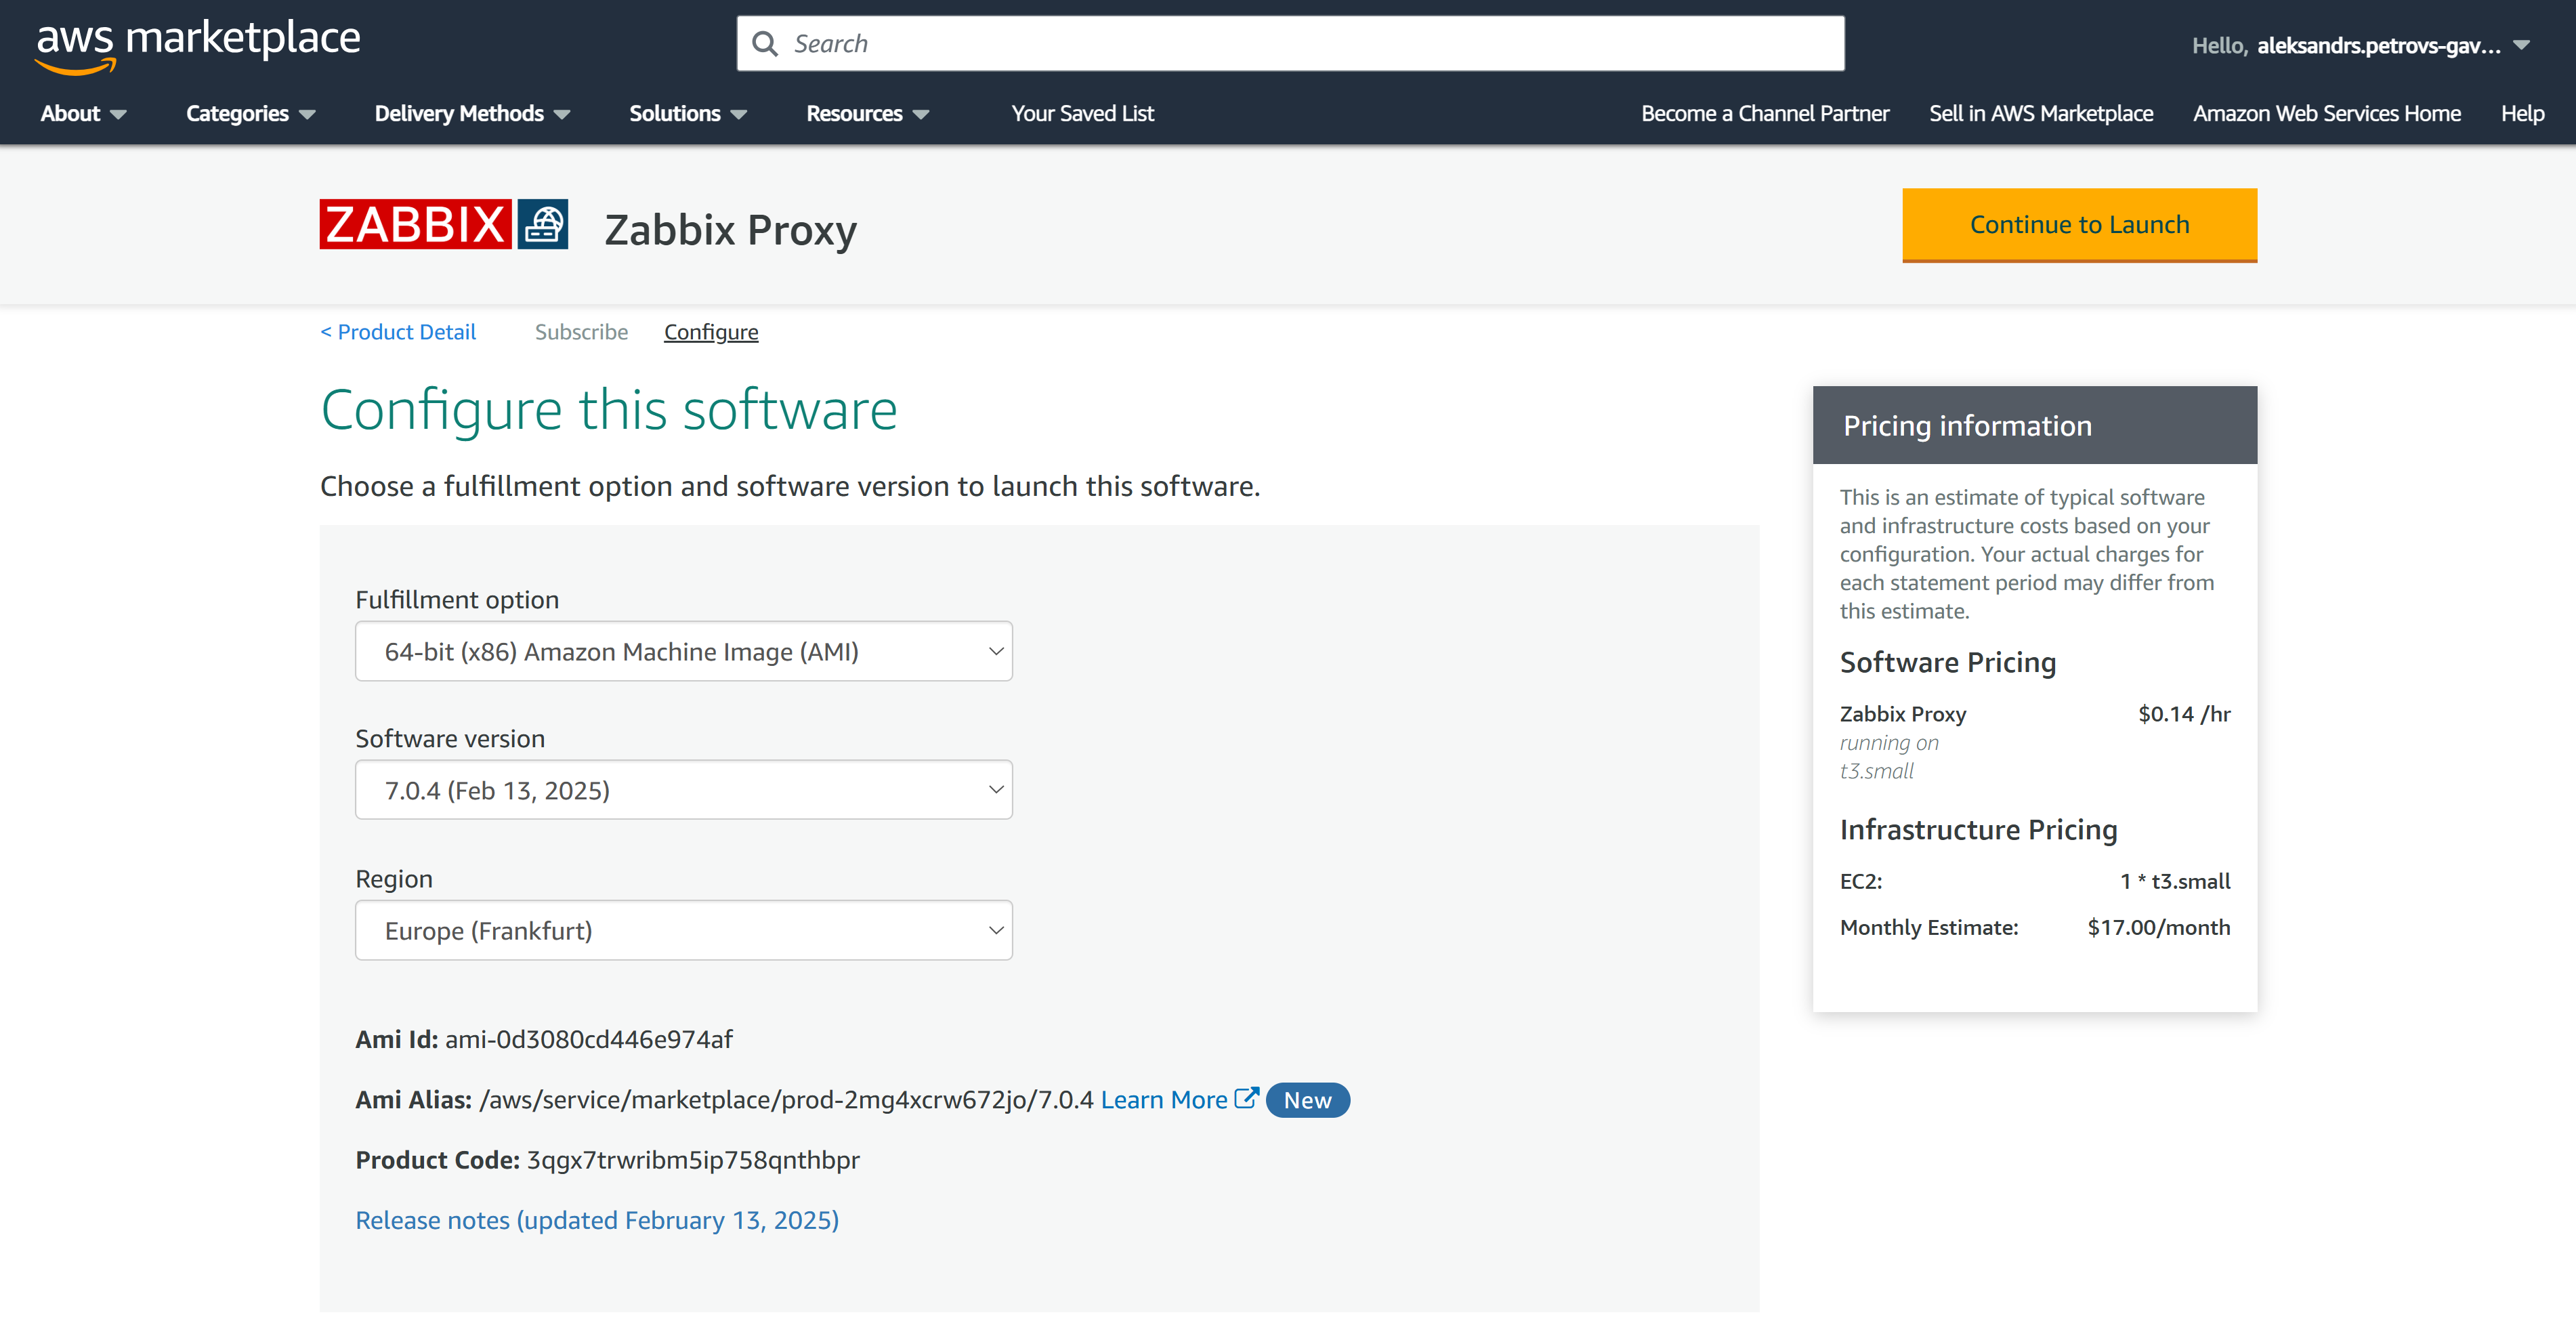
Step 5
Press the Continue to Launch button.
On the Launch page, select the preferred Launch option, EC2 Instance Type, VPC, and Subnet settings.
Step 6
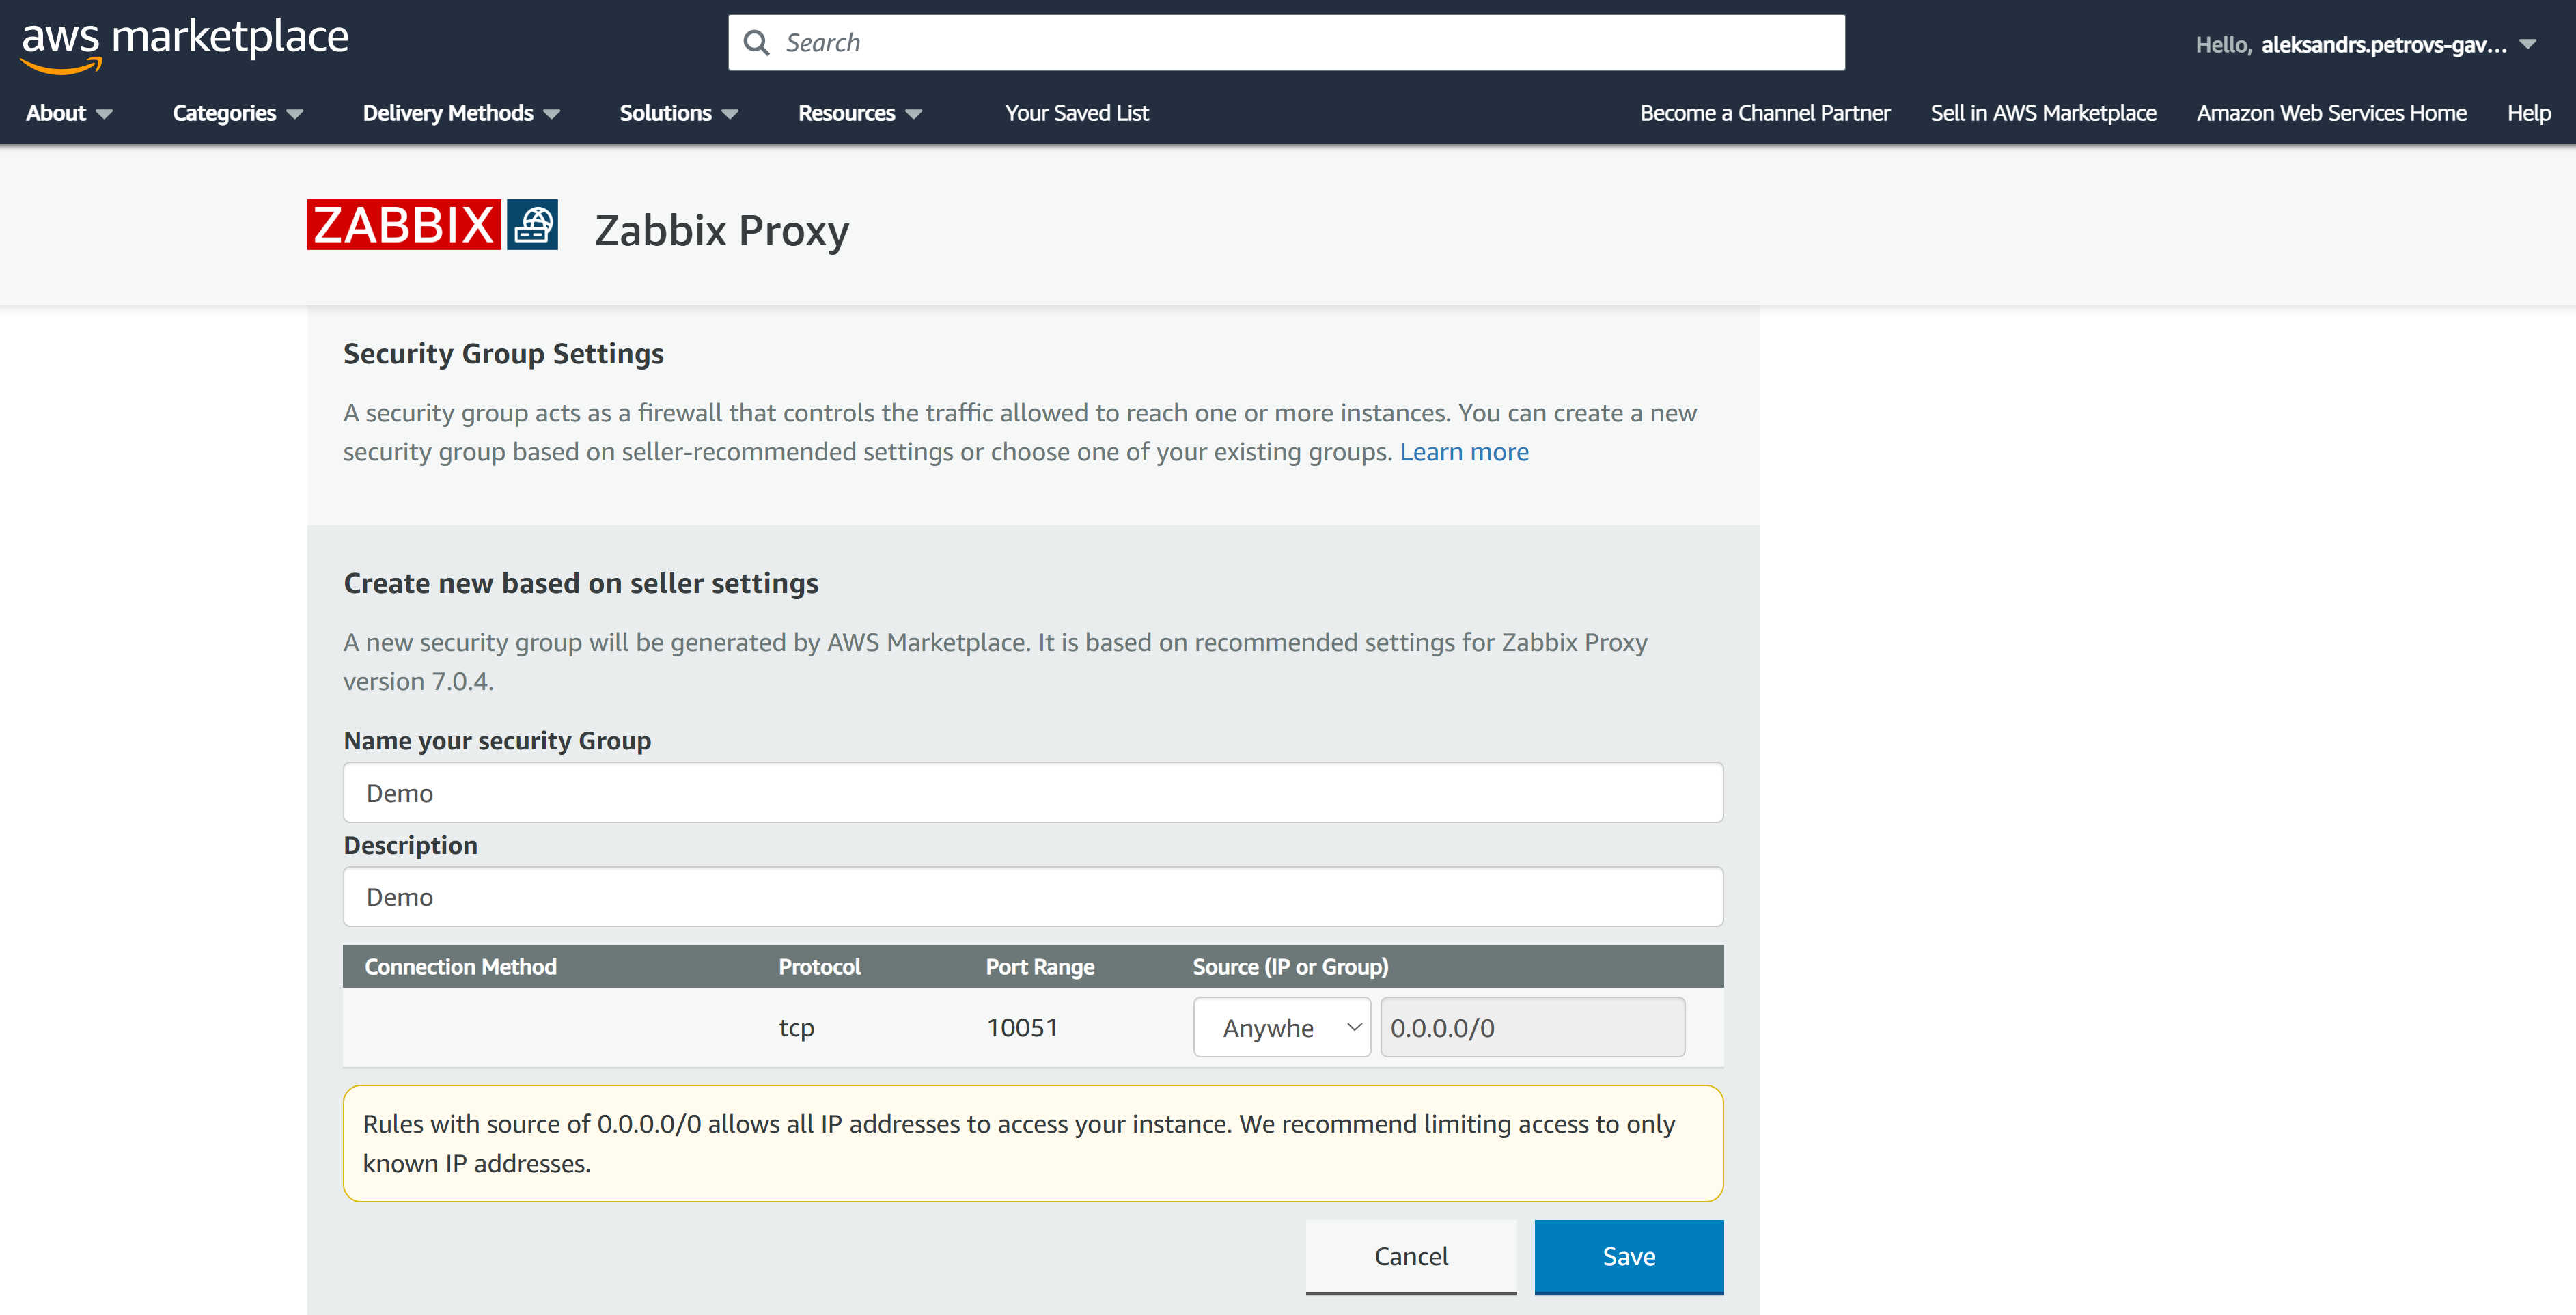
At the bottom of the Launch page, specify the Security Group settings and select or generate the EC2 Key pair - make sure to save your private key in a safe location!
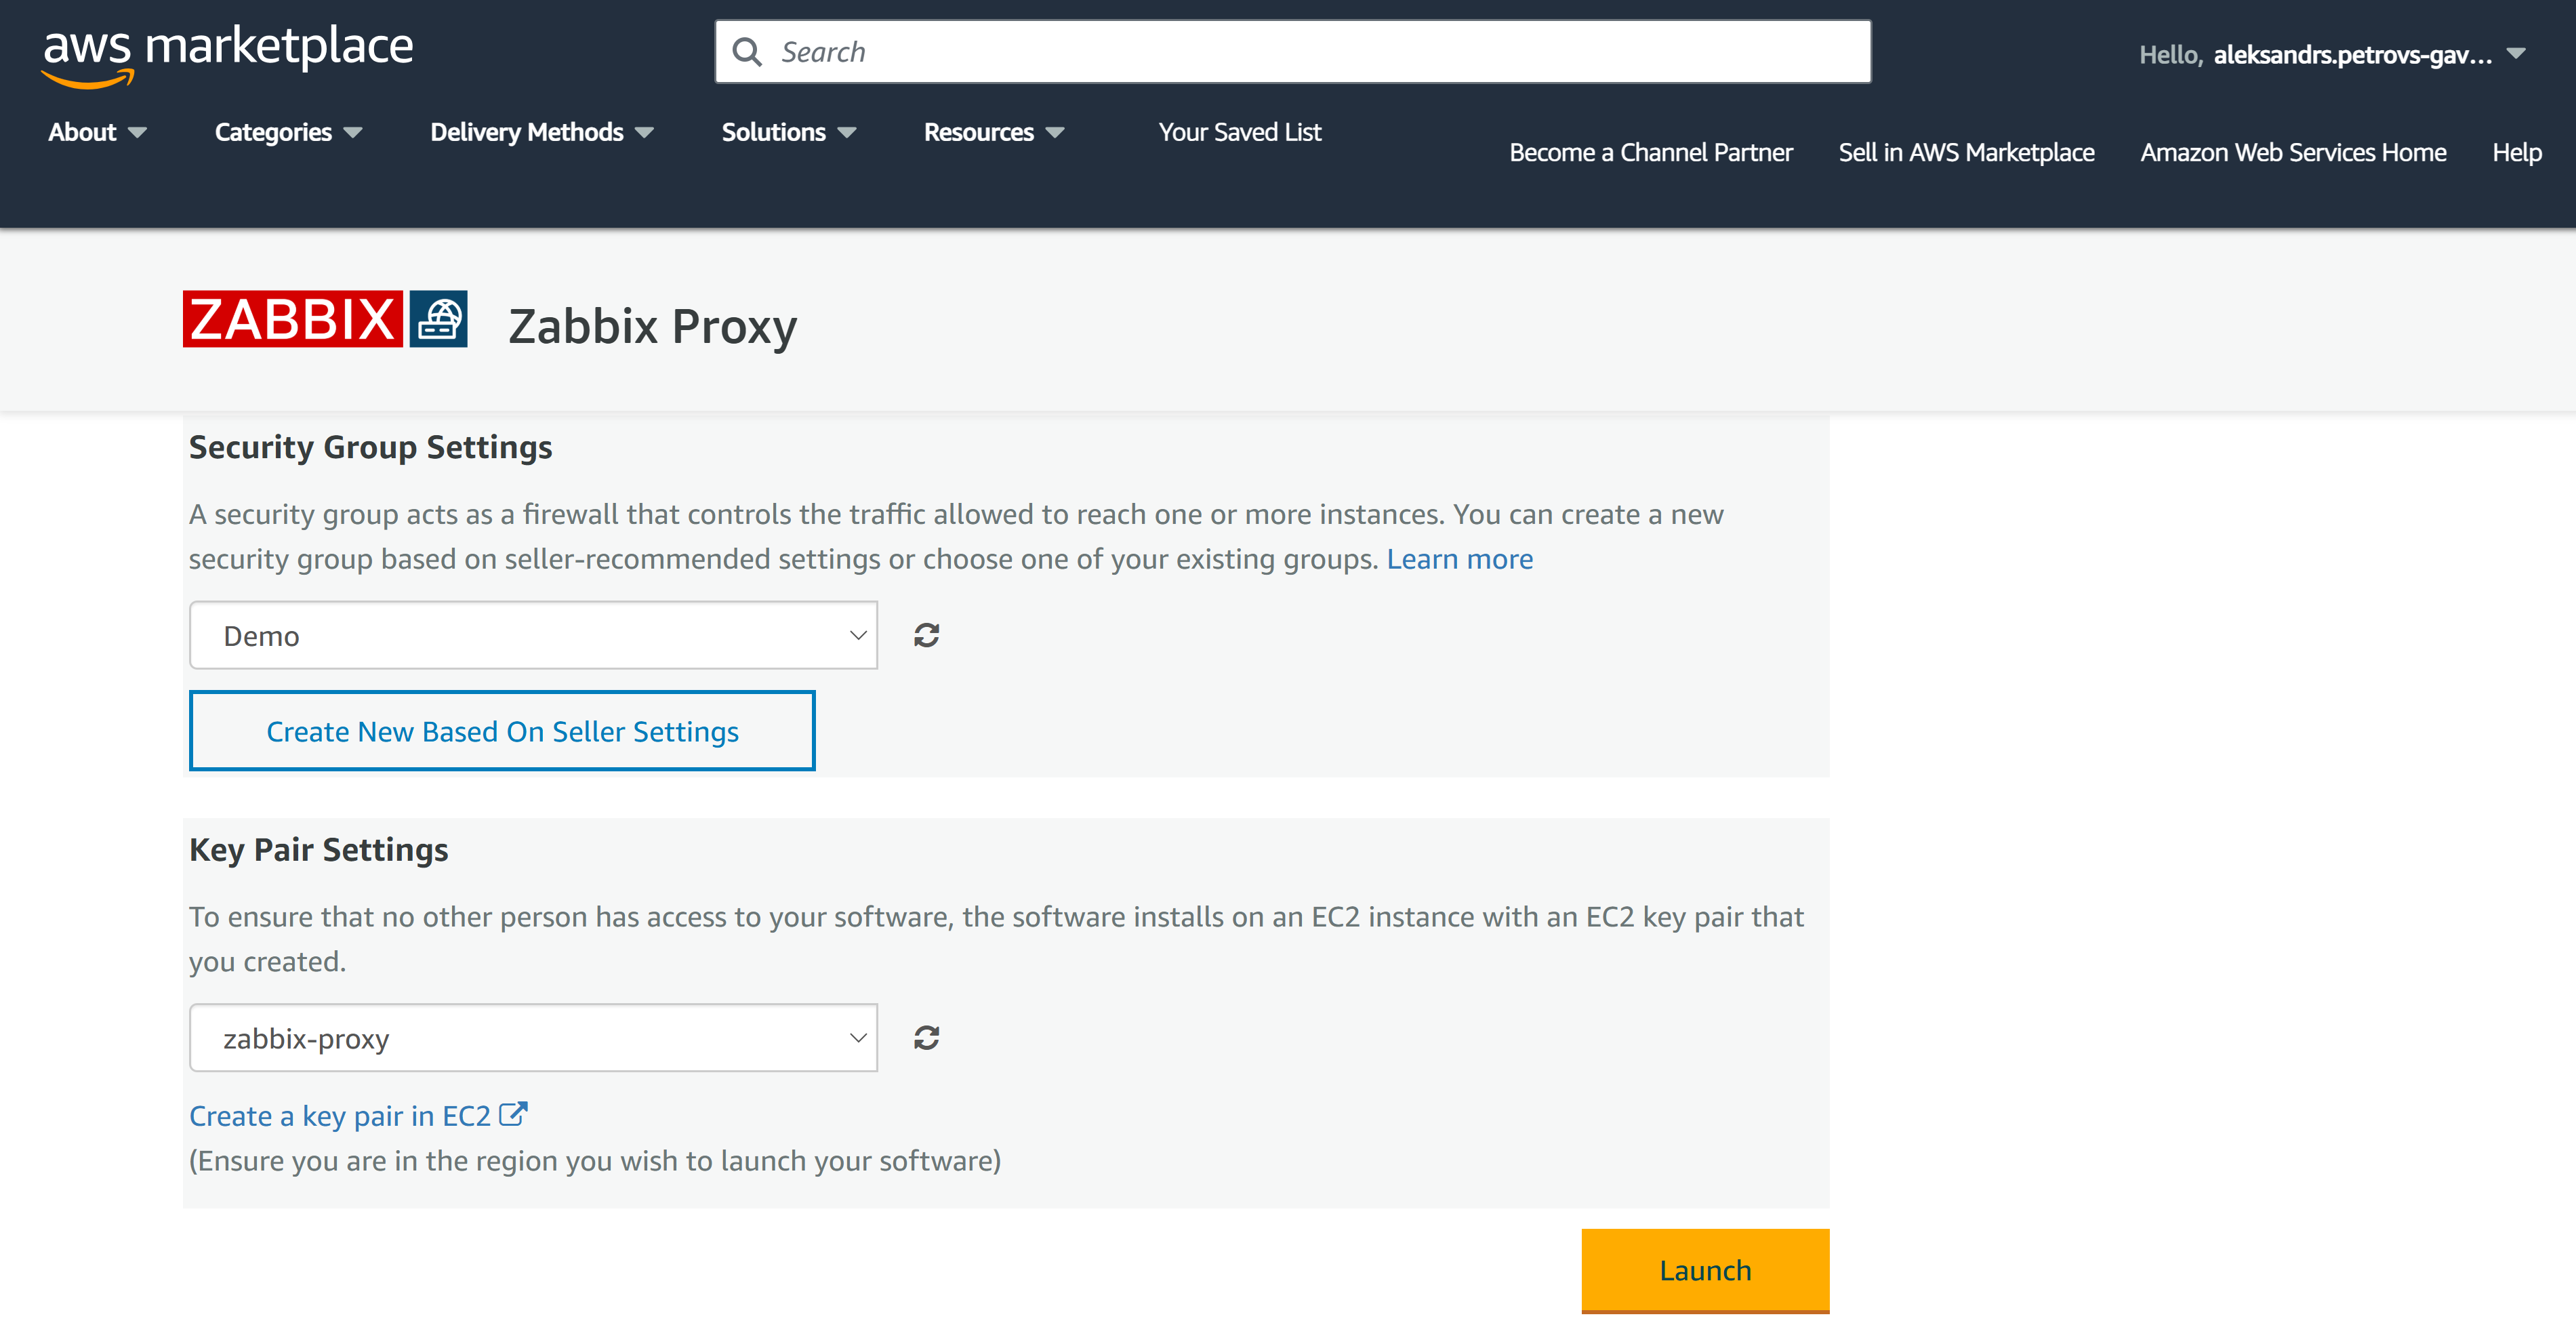
Step 7
If you select to create a new Security Group based on the Seller settings, the traffic through TCP port (Zabbix Proxy) 10051 will be permitted!
Note: If you wish to access the instance via SSH, you will also need to permit SSH connections in your Security Group settings.
Step 8
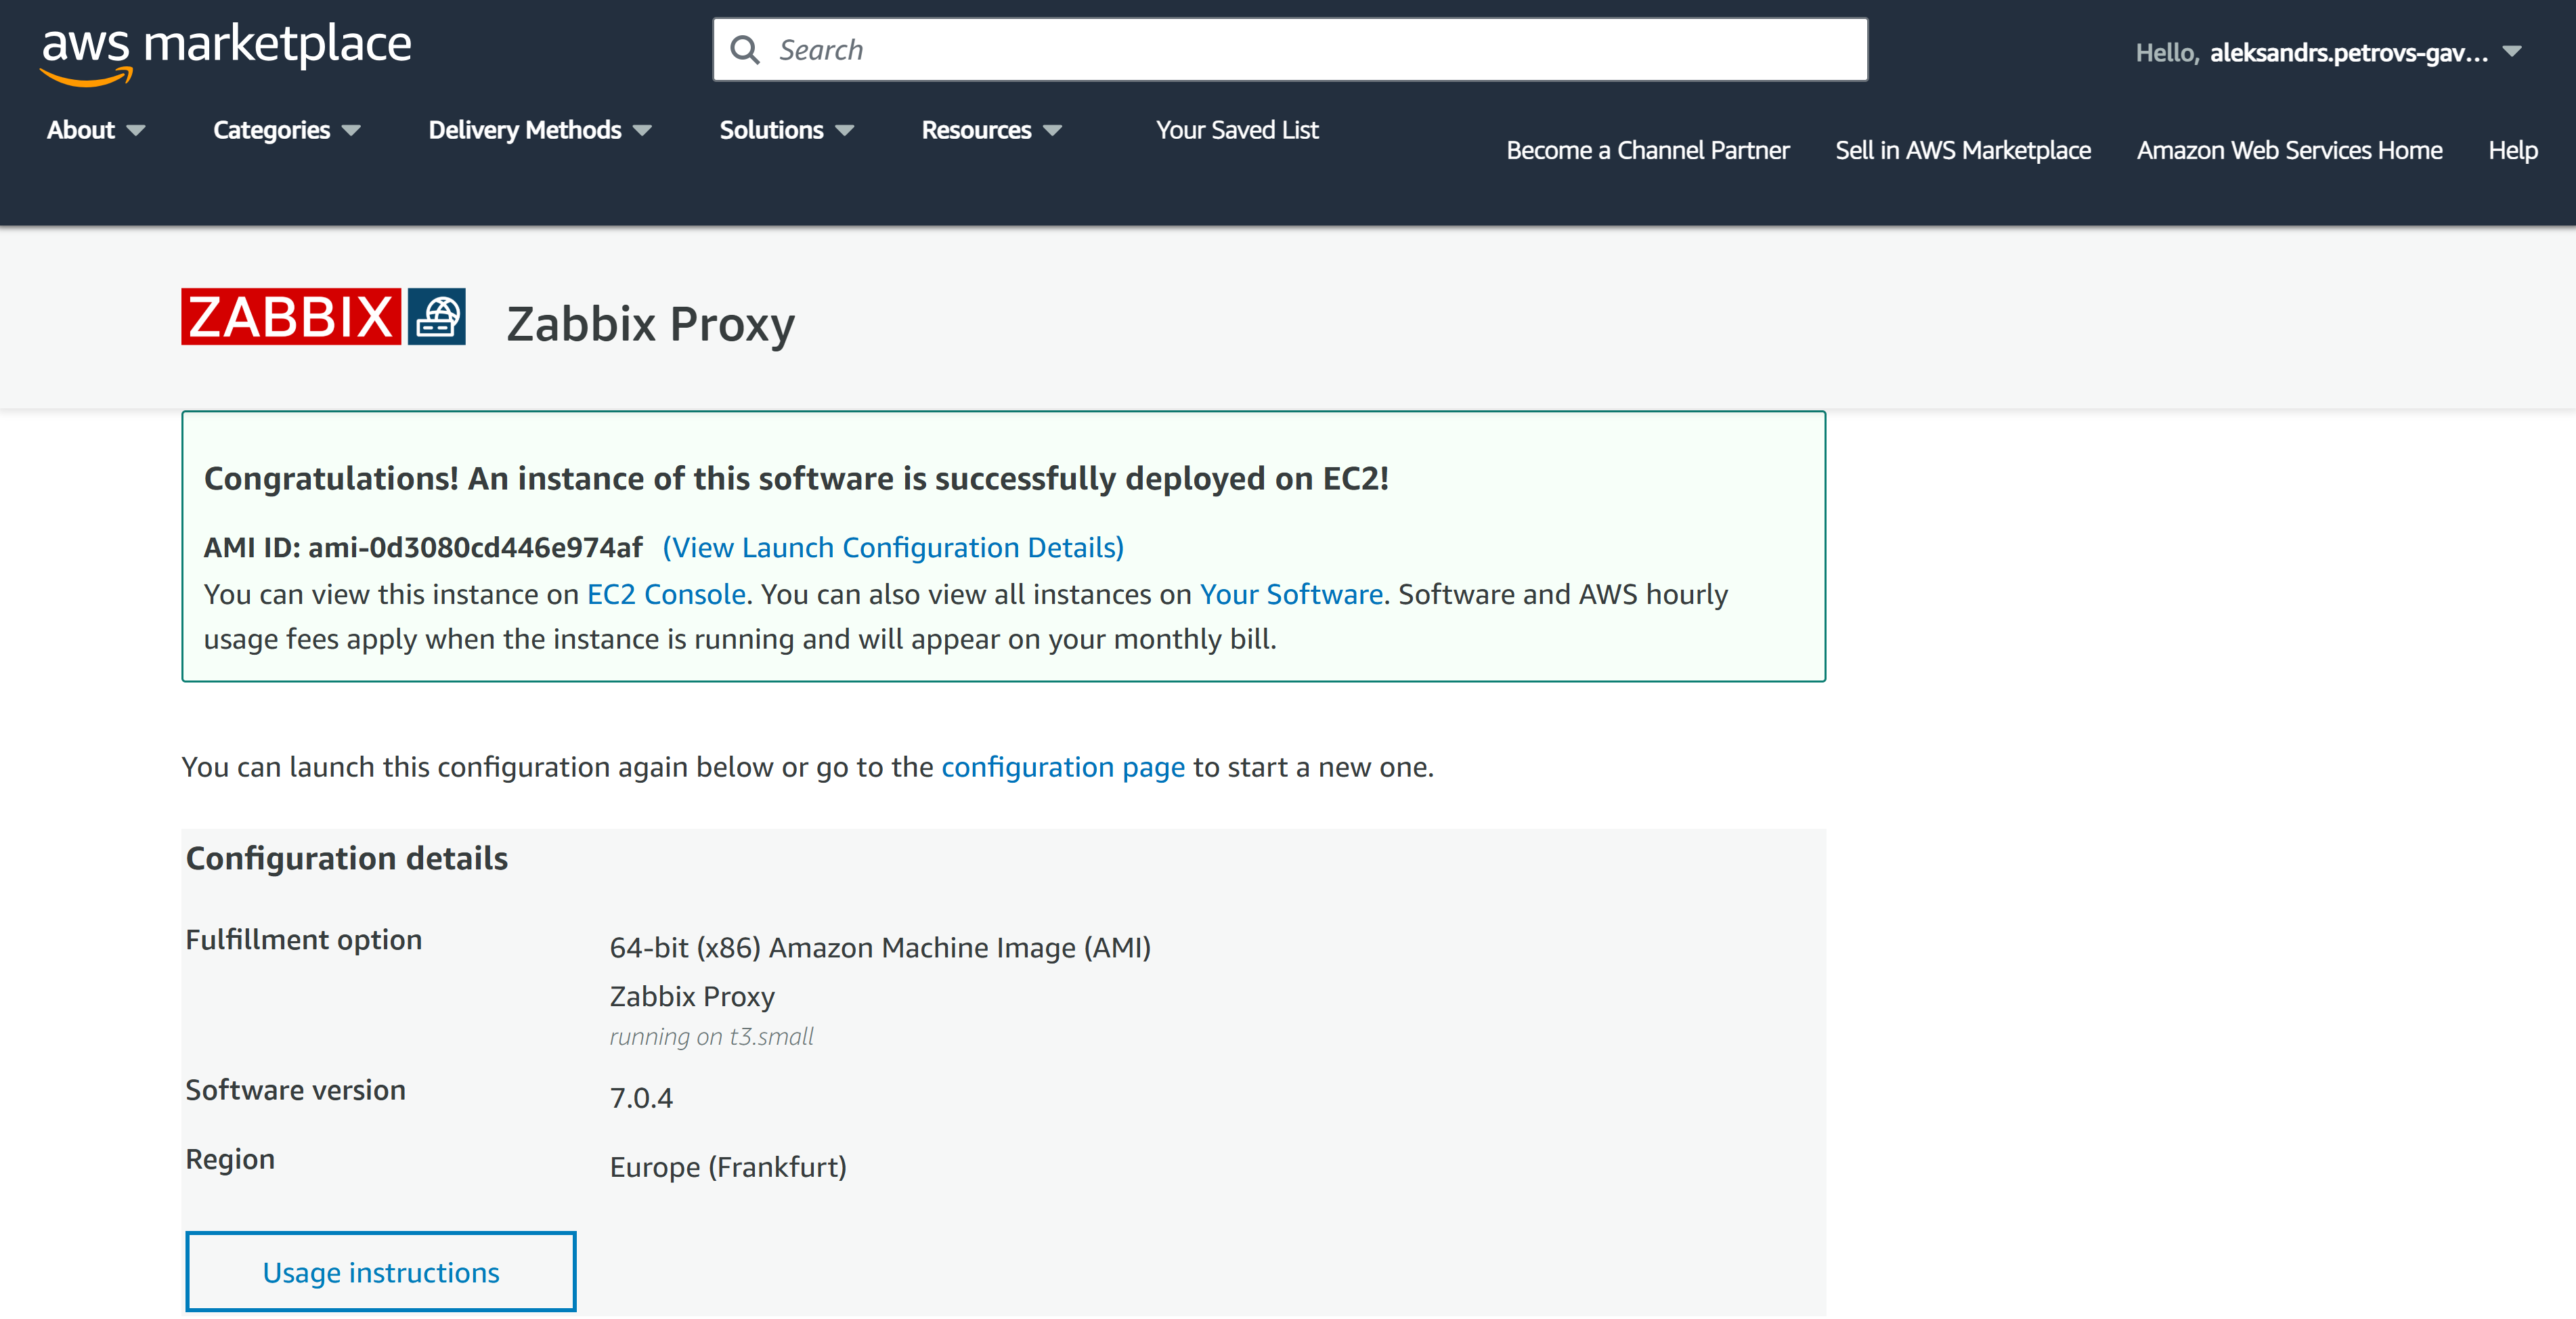
Finally, press the Launch button. Congratulations, your Zabbix Appliance is now being prepared!
Configuring and Accessing Zabbix proxy
Step 1
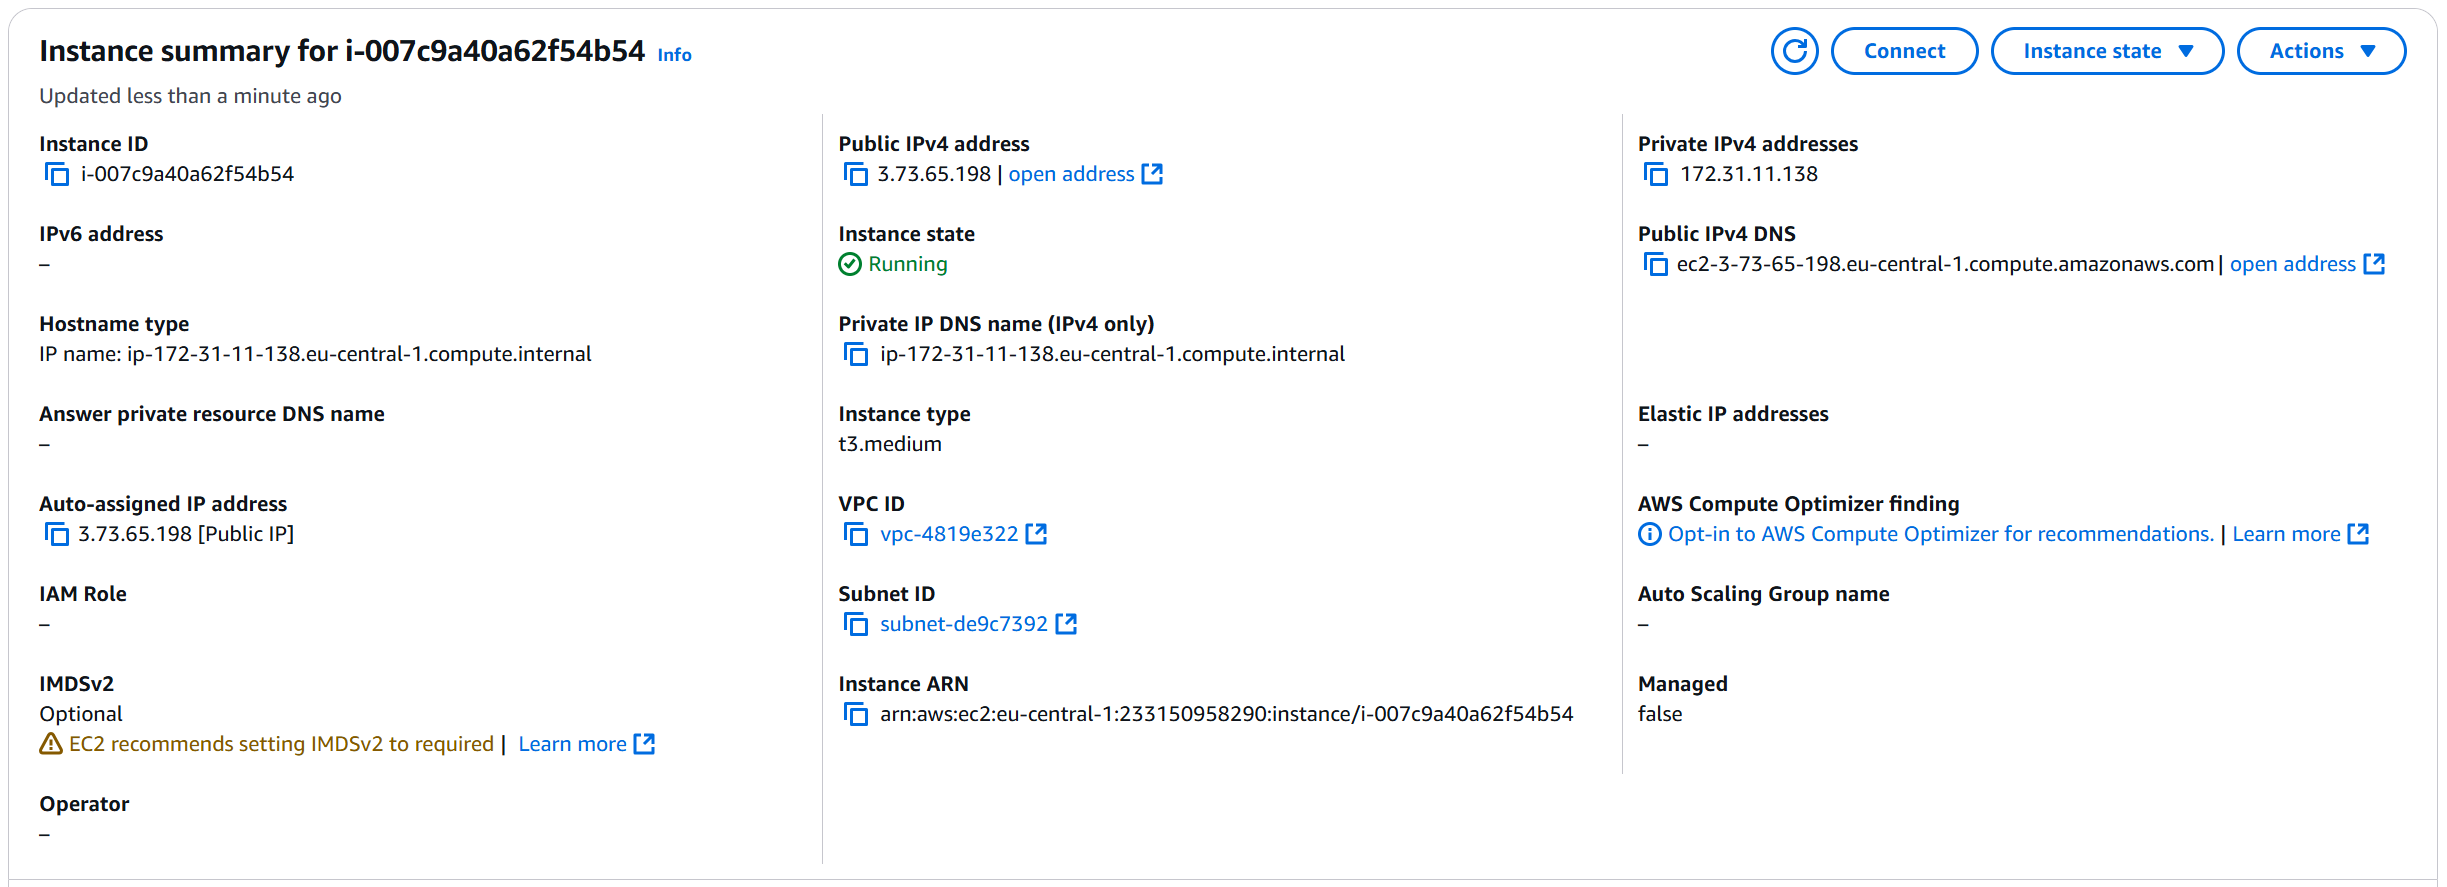
Let's navigate to the Instances section in the EC2 console and open our newly deployed Zabbix Proxy instance
Step 2
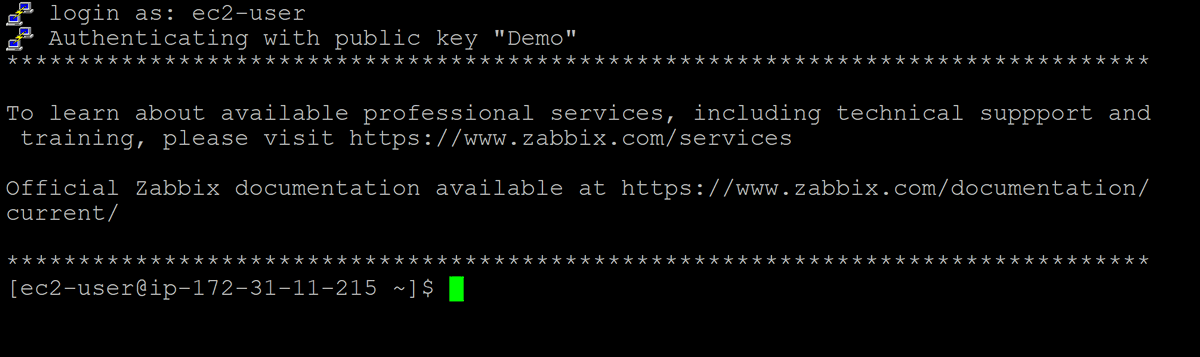
Connect to the Public IPv4 address or DNS name of Zabbix proxy via SSH. The default SSH username is rocky. Don’t forget to use the key pair that you generated previously. Please note that generating credentials may take time. Please wait a few minutes before attempting to connect with the aforementioned credentails.
Step 3
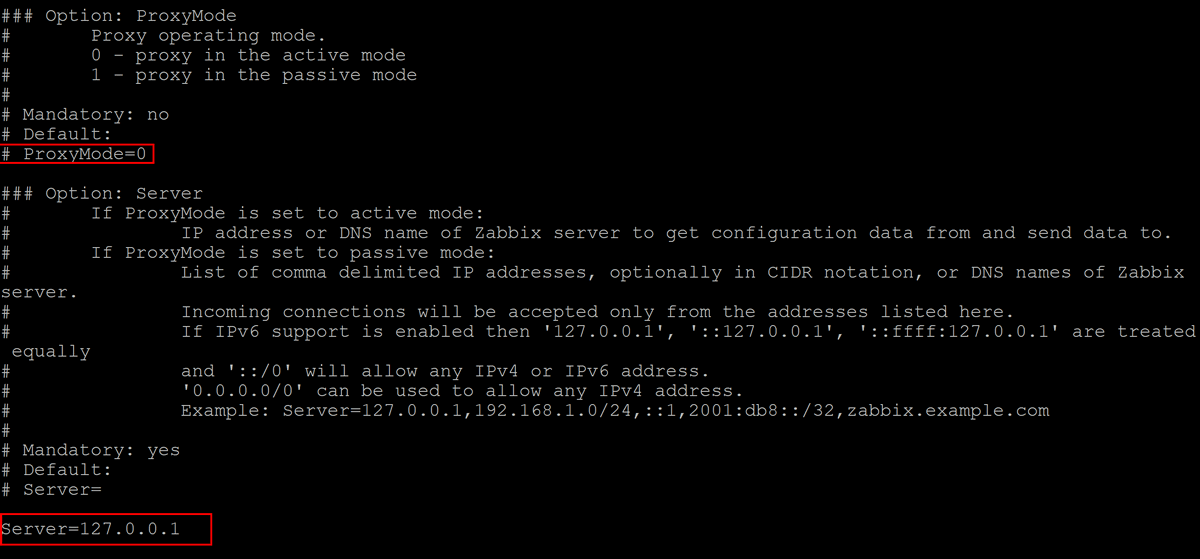
The Zabbix proxy configuration file can be found in: /etc/zabbix/zabbix_proxy.conf
The configuration file can be opened with a text editor of your choice, for example vi:
sudo vi /etc/zabbix/zabbix_proxy.conf
The initial proxy configuration consists of modifying the following parameters in the Zabbix proxy configuration file:
The Proxy mode can be changed by editing the ProxyMode parameter. Set ProxyMode=0 for active proxy mode or ProxyMode=1 for passive proxy mode.
The Server parameter should contain the Zabbix server IP address.
Example:
Server=192.168.50.141
The Hostname parameter should contain the Zabbix proxy hostname. The Hostname defined here should match the Proxy name provided during the proxy configuration in Zabbix frontend.
Example:
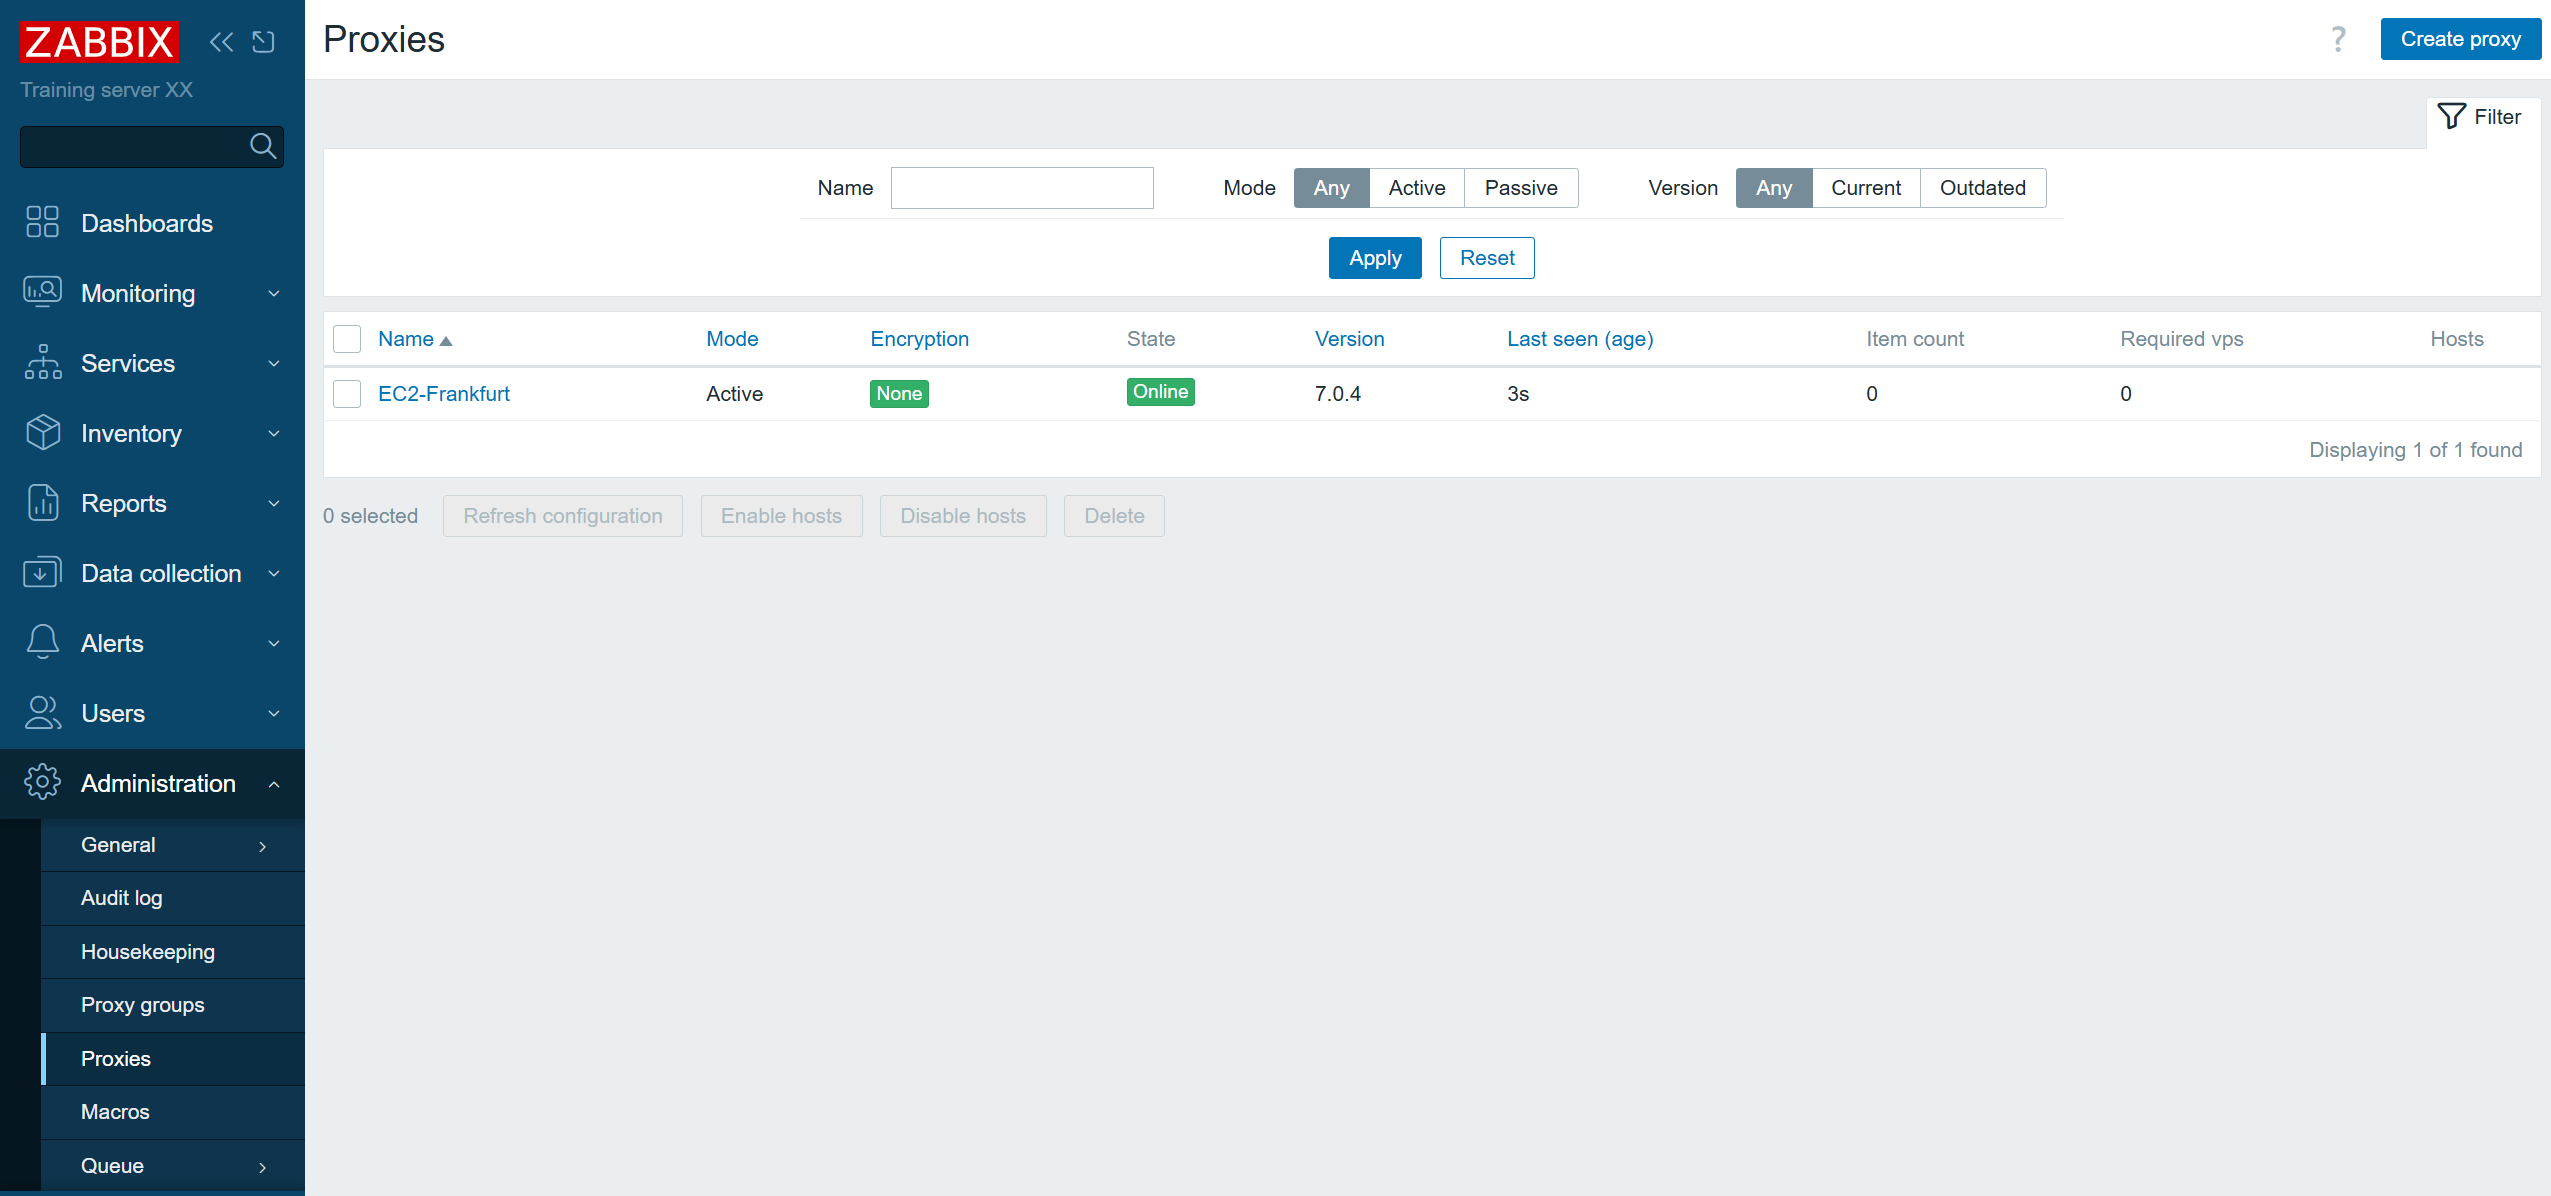
Hostname=EC2-Frankfurt
Once the configuration is complete, restart your Zabbix proxy by using the systemctl restart zabbix-proxy command
Note: You should use sudo to edit configuration files and execute commands from the command line.

Step 4
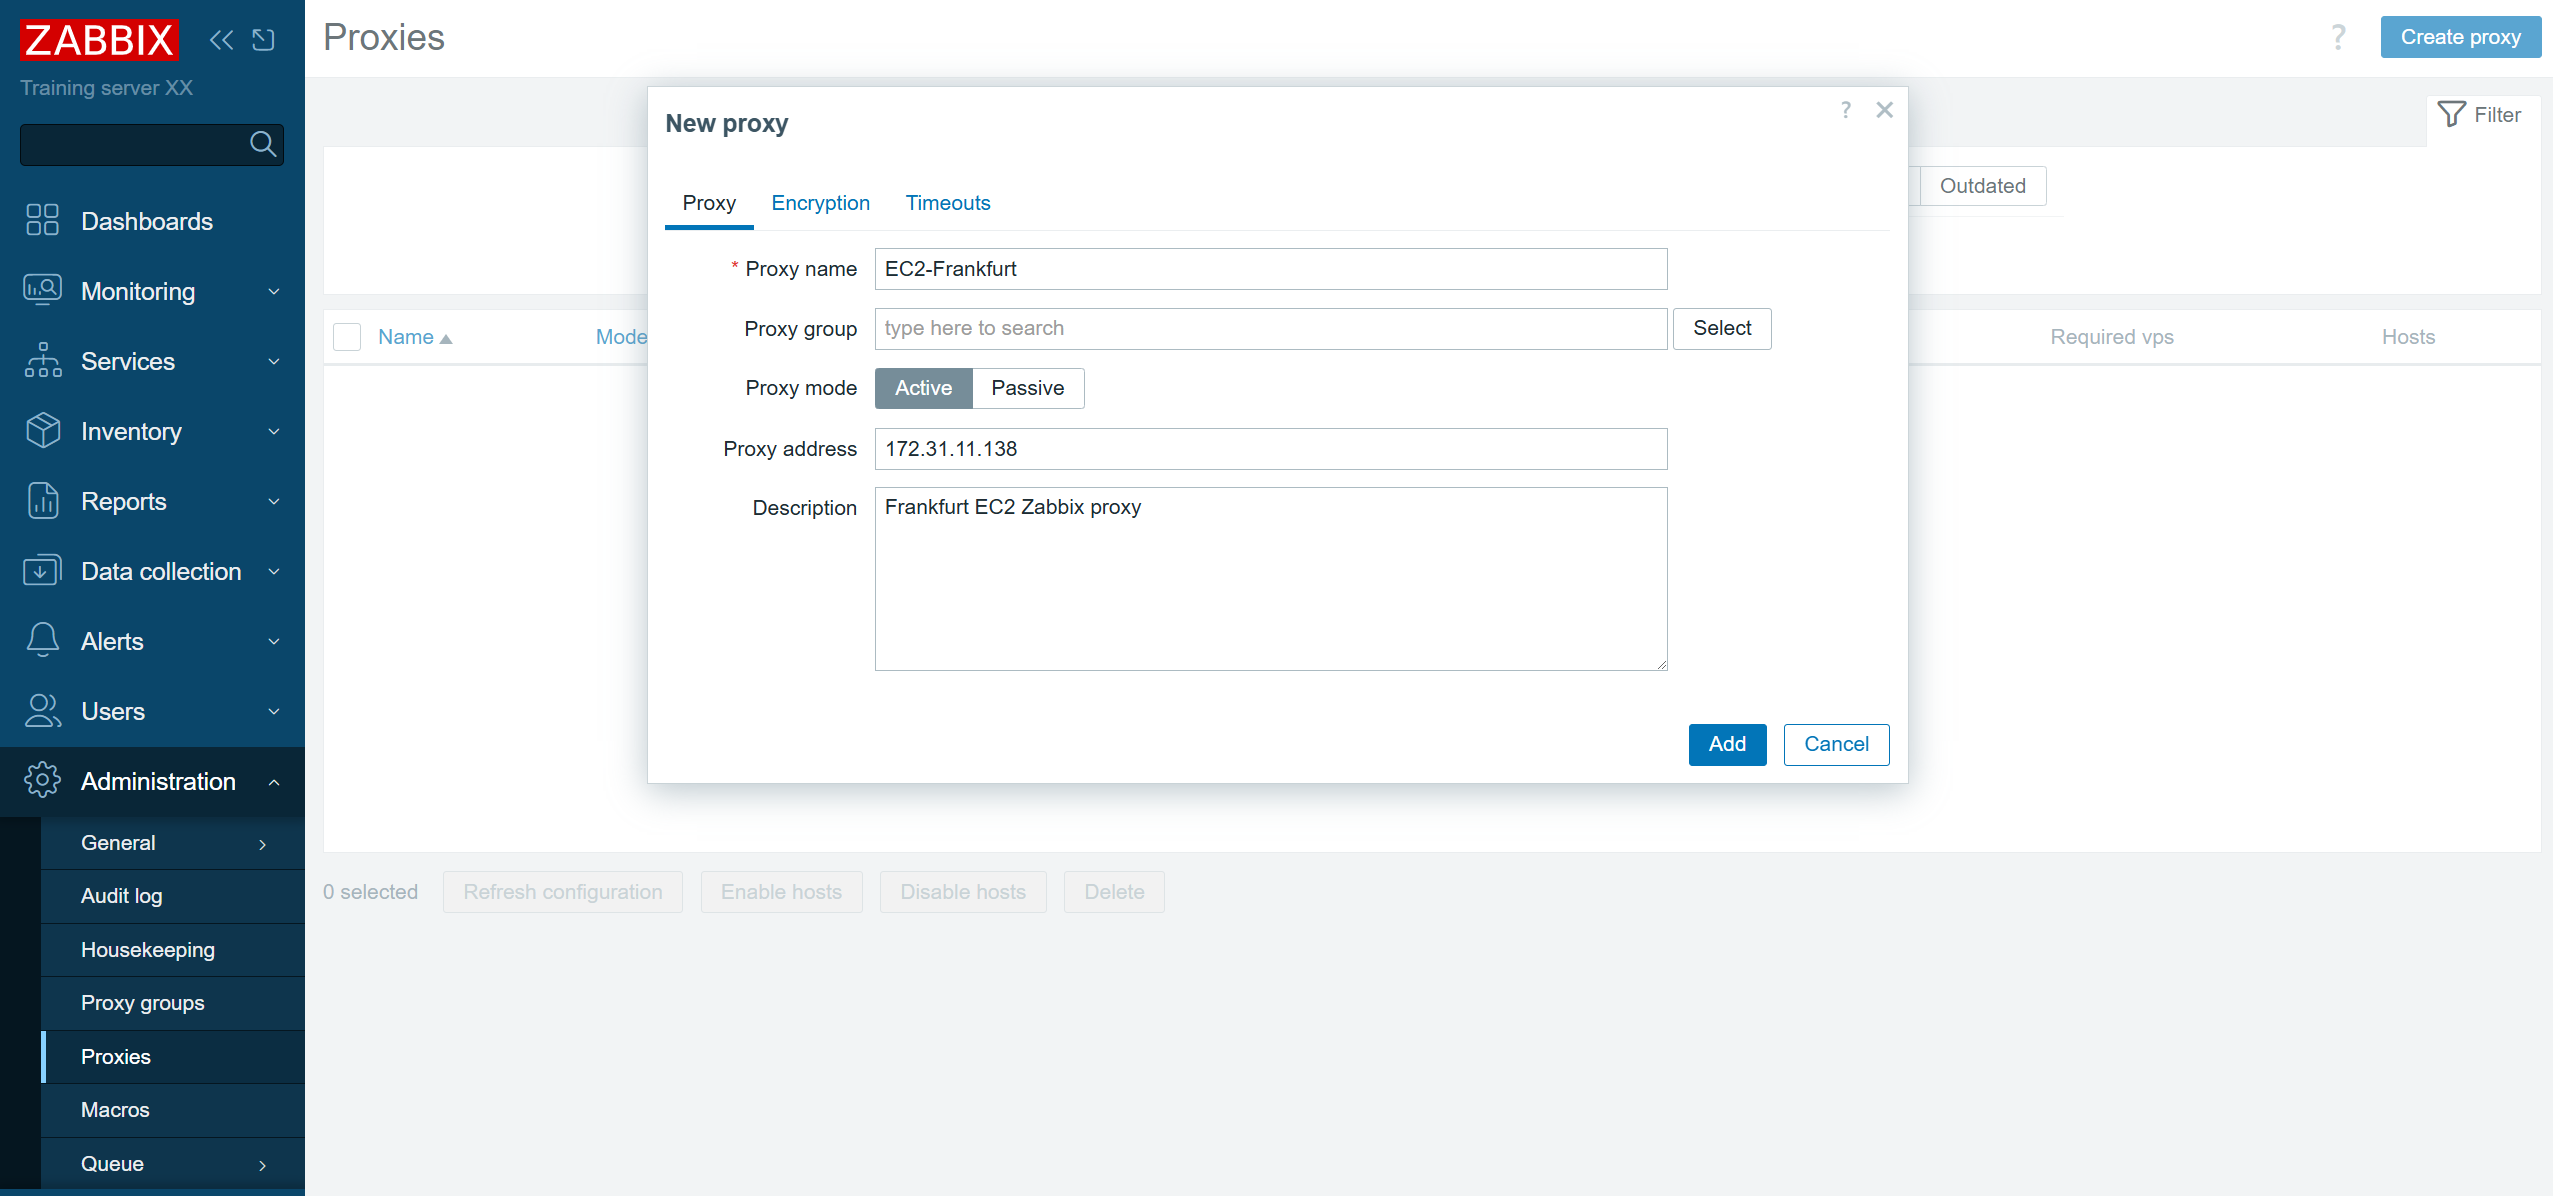
Open Zabbix frontend and navigate to Administration – Proxies. Press the Create proxy button.
Enter the Zabbix proxy name that you specified in the previous step as the value of the Hostname parameter.
Select the proxy mode and provide the proxy IP address. (Optional for proxies running in the active mode)
Press the Create proxy button to create a proxy.

Proxy database location
The SQLite proxy database can be found in /tmp/zabbix_proxy.sqlite3 and is specified in the Zabbix proxy configuration file in the DBName parameter.