Azure deployment guide
Deploying the Appliance
Step 1
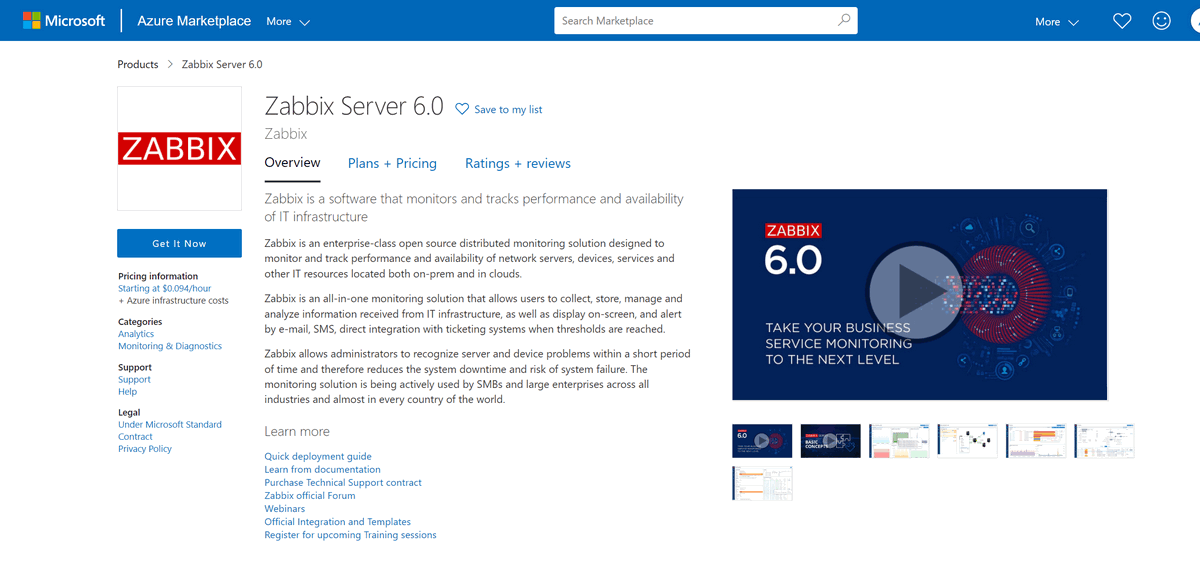
To deploy the Zabbix Appliance, first, let's navigate to the Zabbix Azure marketplace page. Once you have familiarized yourself with the overview, click on the Get it now button.
Step 2
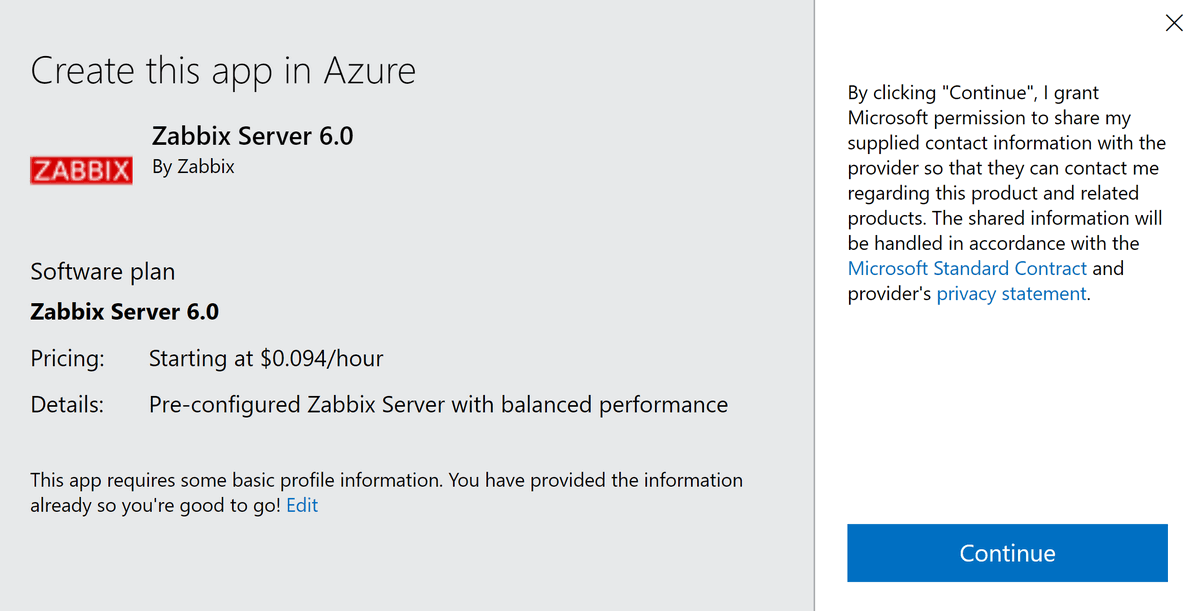
Click Continue to proceed to the Zabbix Appliance deployment page
Step 3
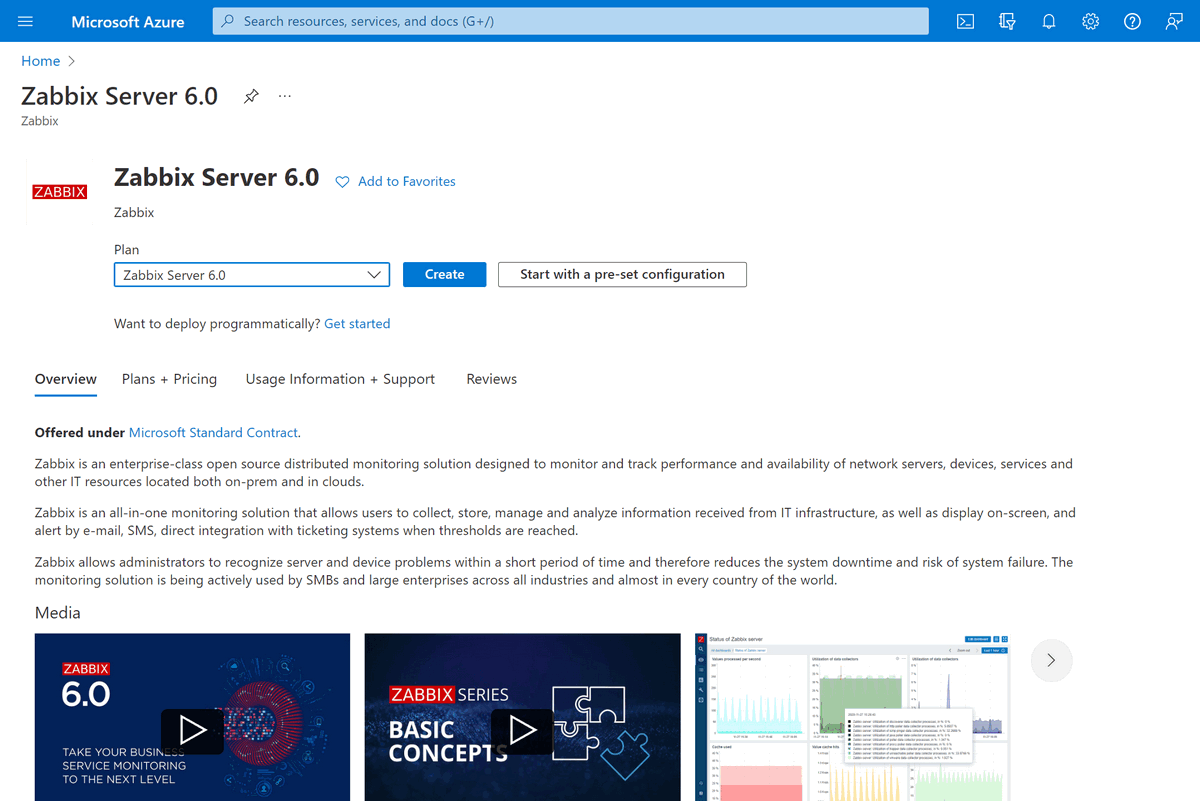
Here you can read additional information about the current deployment, such as the general overview, pricing plans, and more.
Next, click either on the Create or Start with a pre-set configuration button to deploy your Zabbix Appliance.
Step 4
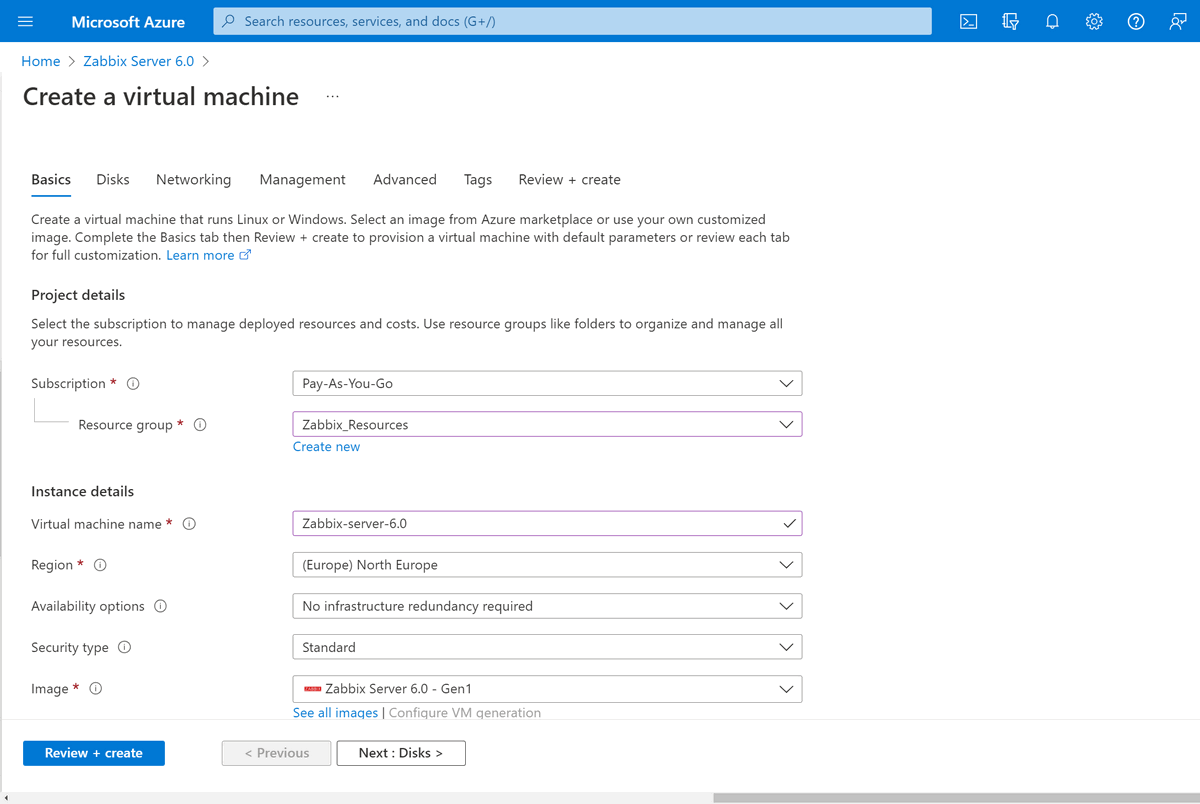
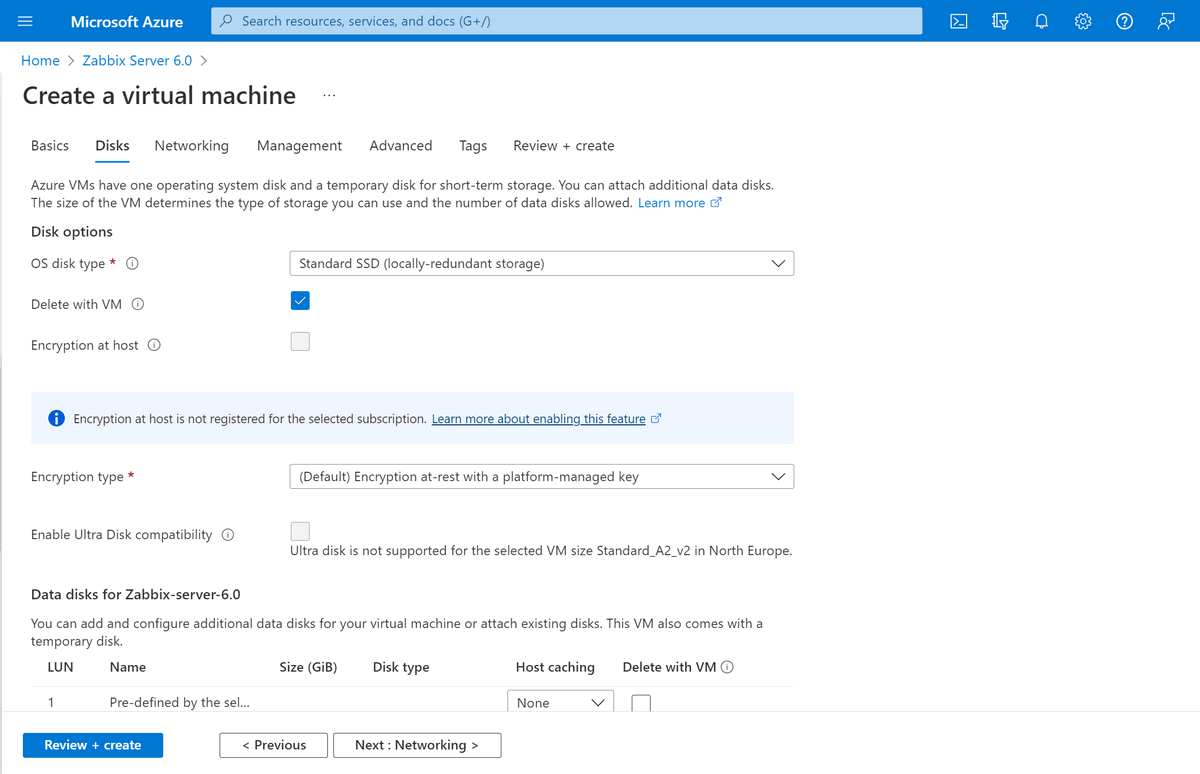
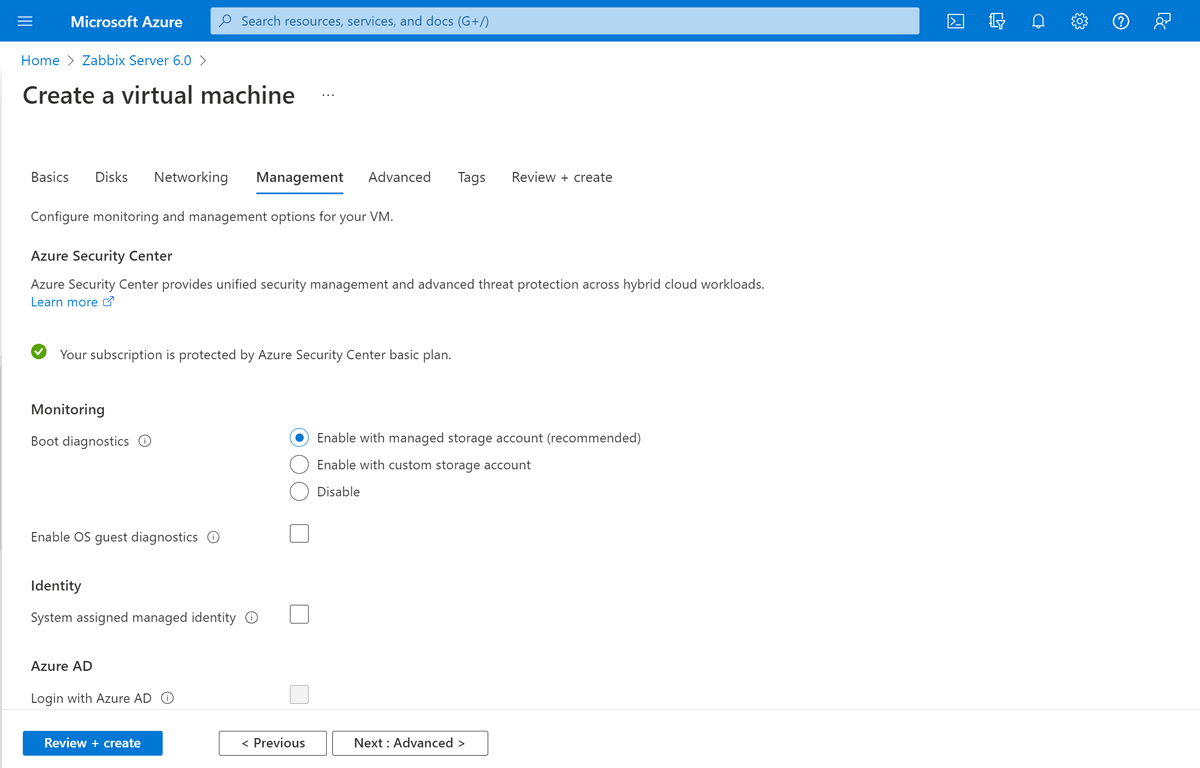
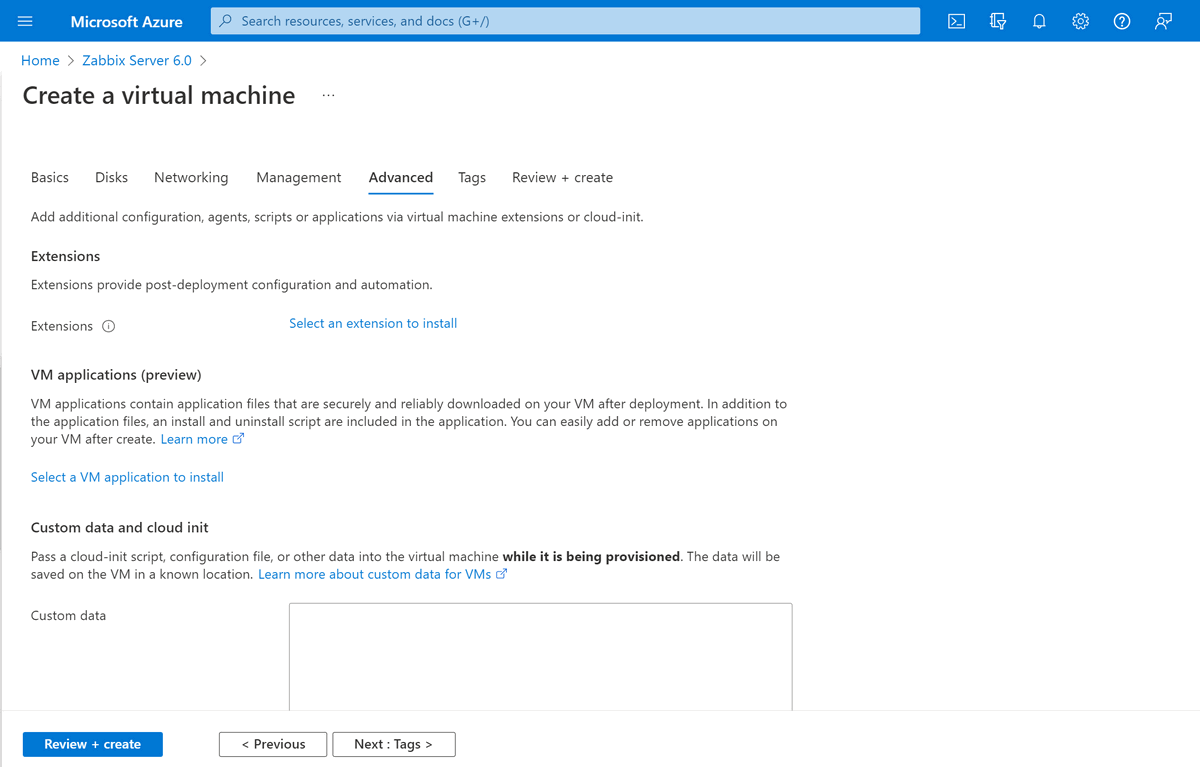
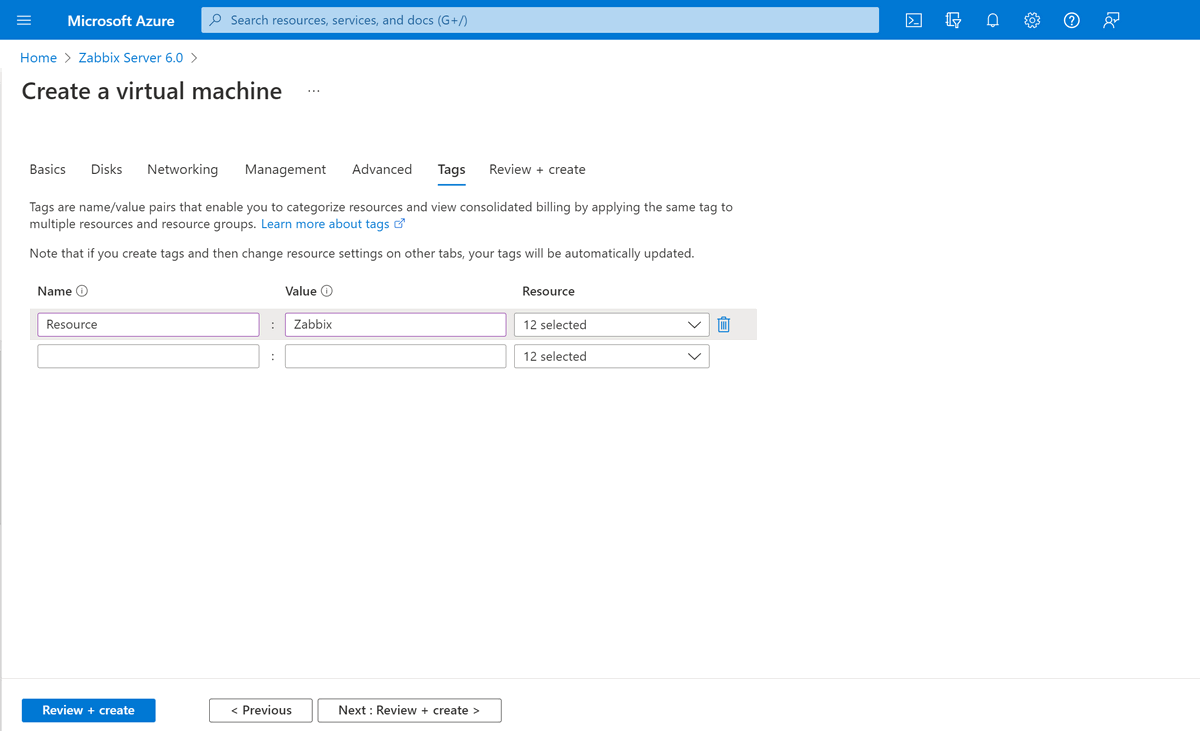
Proceed with the detailed VM configuration: Select the VM Size, create the Administrator account for the VM, define Disk, network, Management, and other settings. This can vary per your infrastructure requirements.

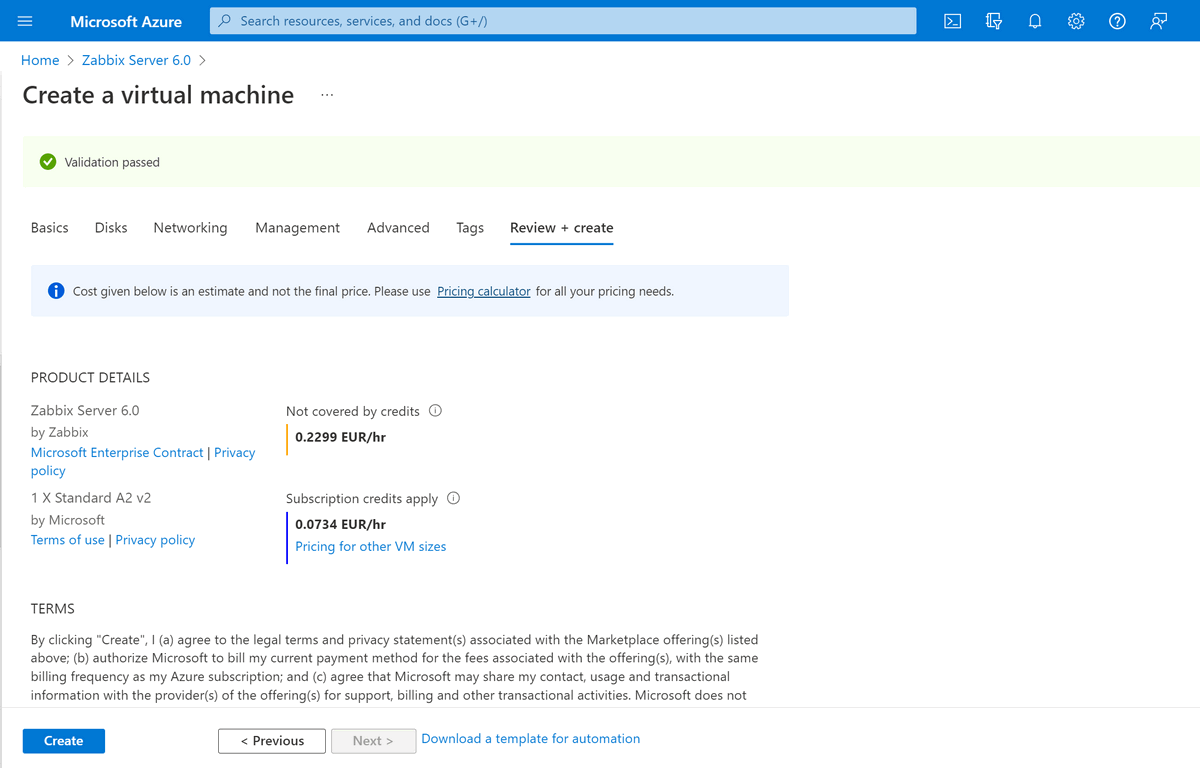
Step 5
Confirm the VM details and create the VM
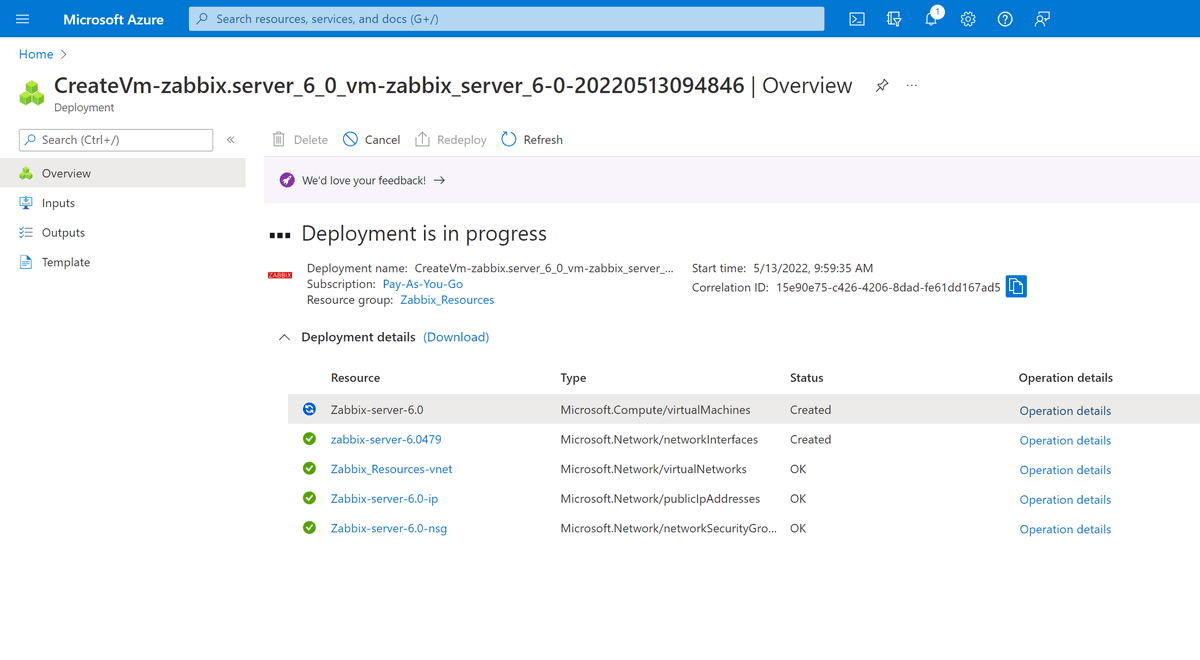
Step 6
You will be redirected to the VM deployment status page. Wait until the deployment is finished.
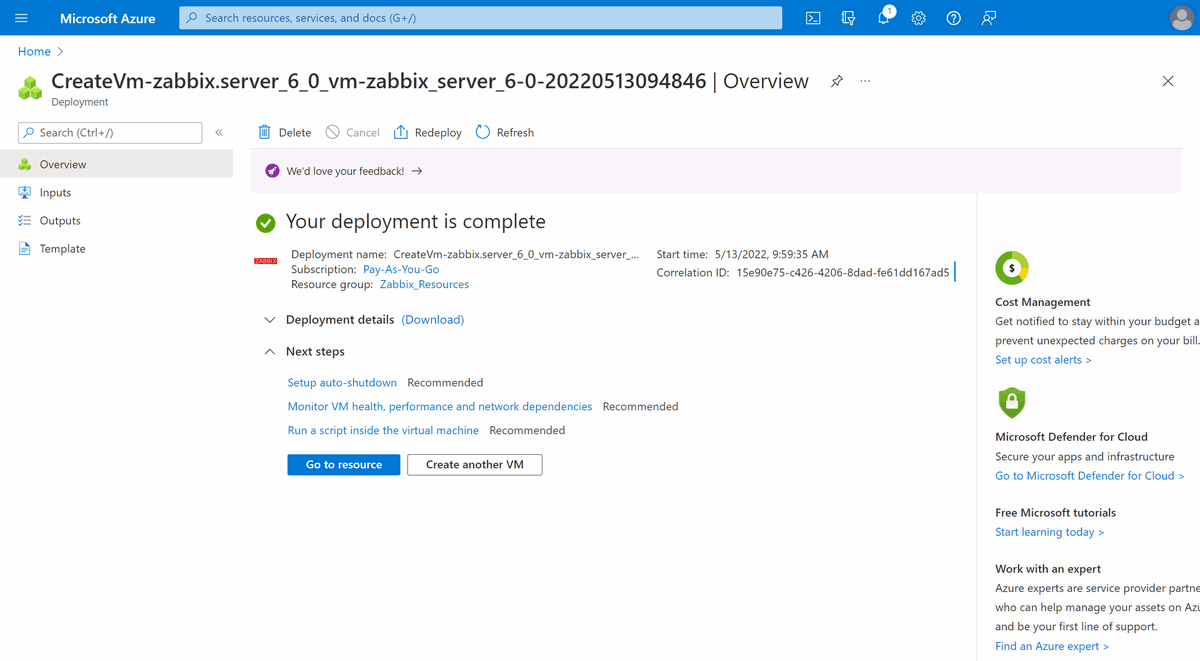
Step 7
Once the deployment is complete, open the resource and save the Public IP address of the resource. You will now have to connect to the Zabbix server terminal (For example, via SSH and the pre-created administrative user credentials) to obtain the frontend login and password.
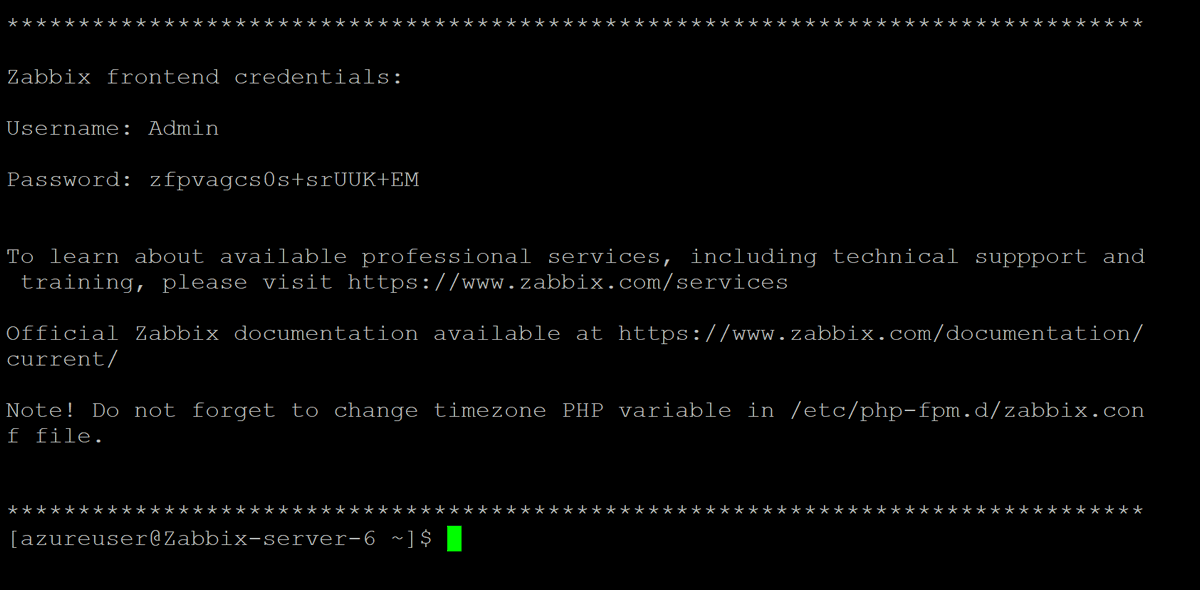
Step 8
We can access Zabbix Frontend by opening the Public IP address of the Zabbix Appliance in our browser. To log-in, use the Username and Password obtained in the previous step.


Accessing the Database
You can access the Zabbix database by using the root user. By default, it can be used without a password.

The password is stored in /root/.my.cnf configuration file.
Next steps
If you want to learn more about Zabbix Monitoring solution, check official documentation https://www.zabbix.com/documentation/current/manual/quickstart
