Google deployment guide
Deploying appliance
Step 1
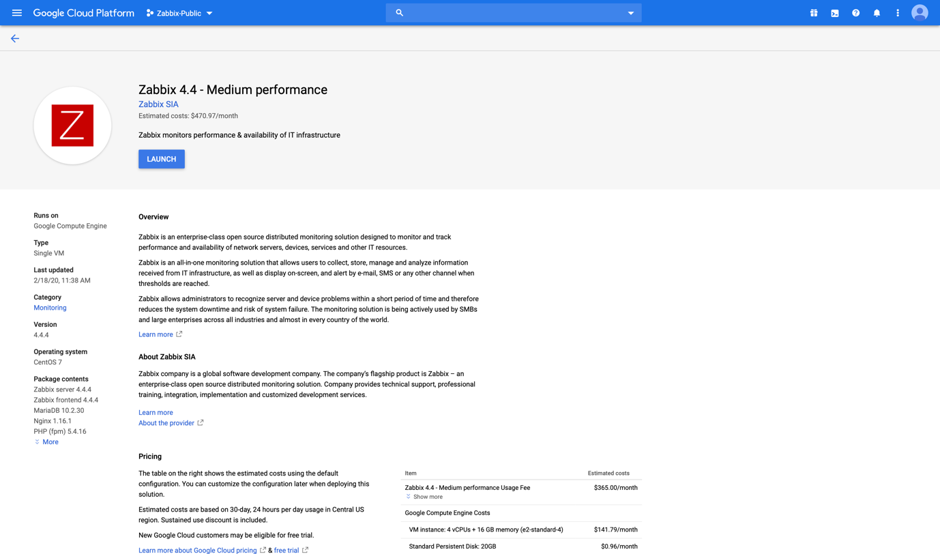
First off we're going to deploy Zabbix Appliance. That's really easy with Cloud Launcher. Simply go to https://console.cloud.google.com/launcher/details/zabbix-public/zabbix-4-4-medium-performance
Step 2
Click "Launch" or "Launch on Compute Engine"
Step 3
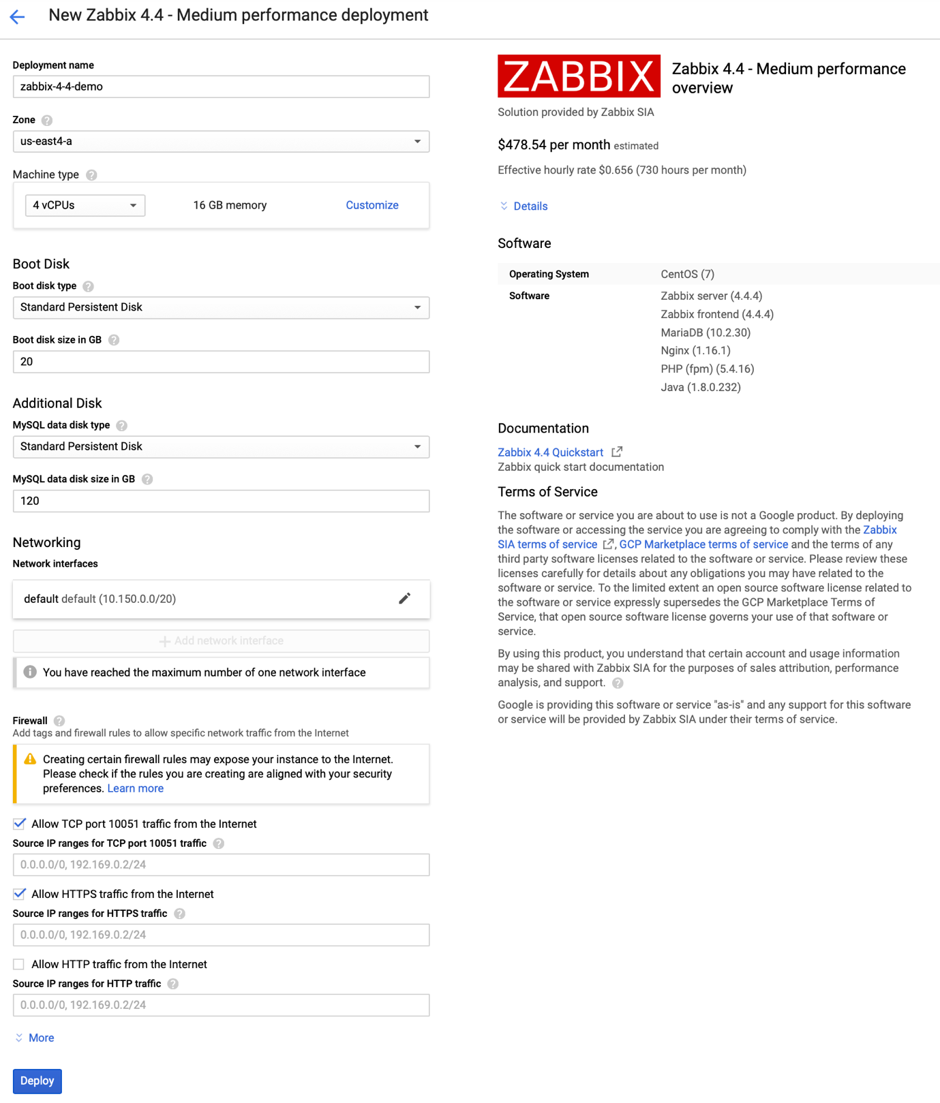
You can take the default settings or customize them. When complete click "Deploy"
Step 4
You can take the default settings or customize them. When complete click "Deploy"
Step 5
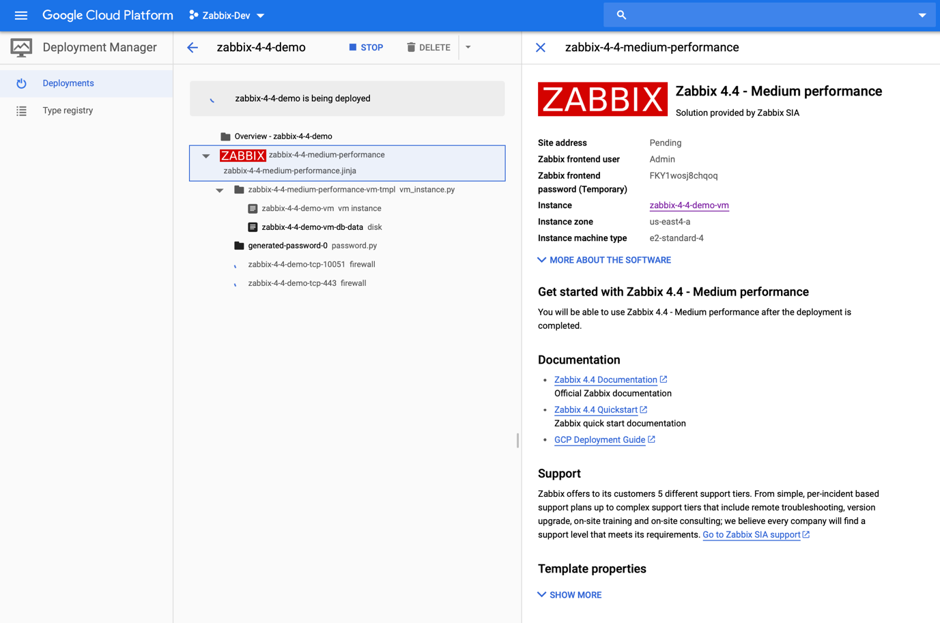
That's it! Your solution is now deploying.
Inspecting the Appliance
Step 1
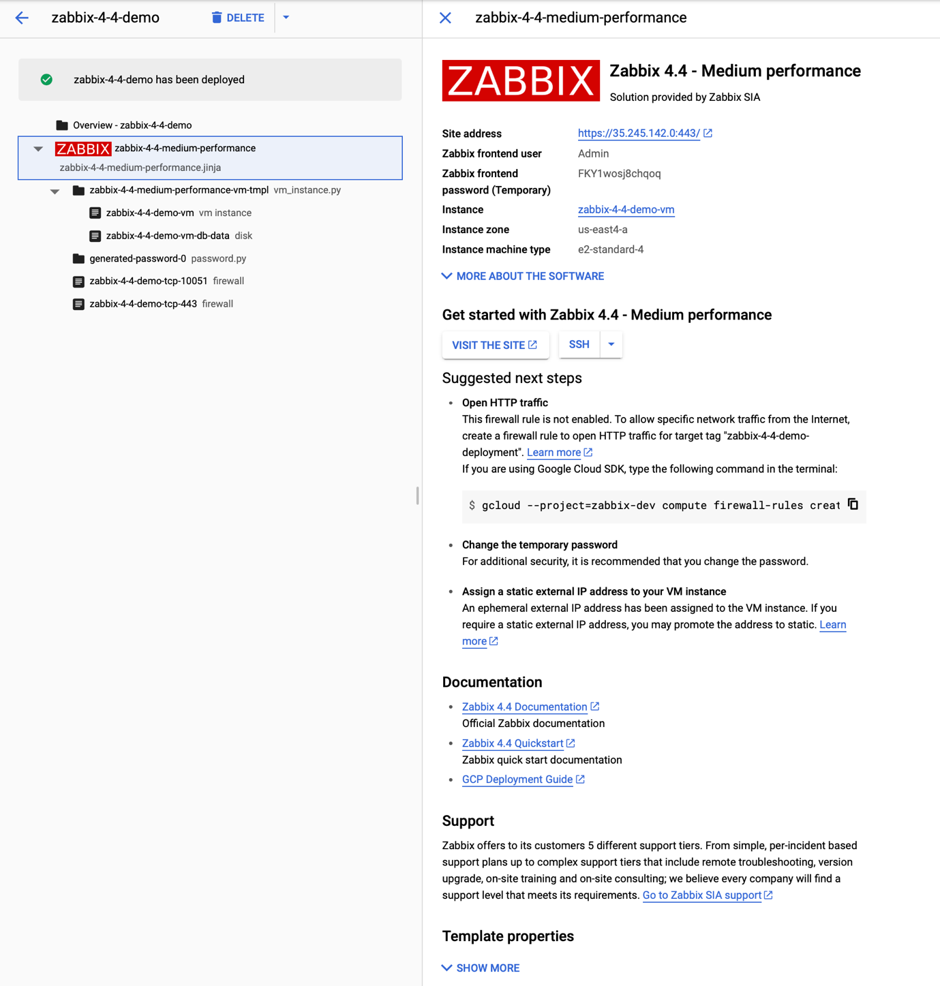
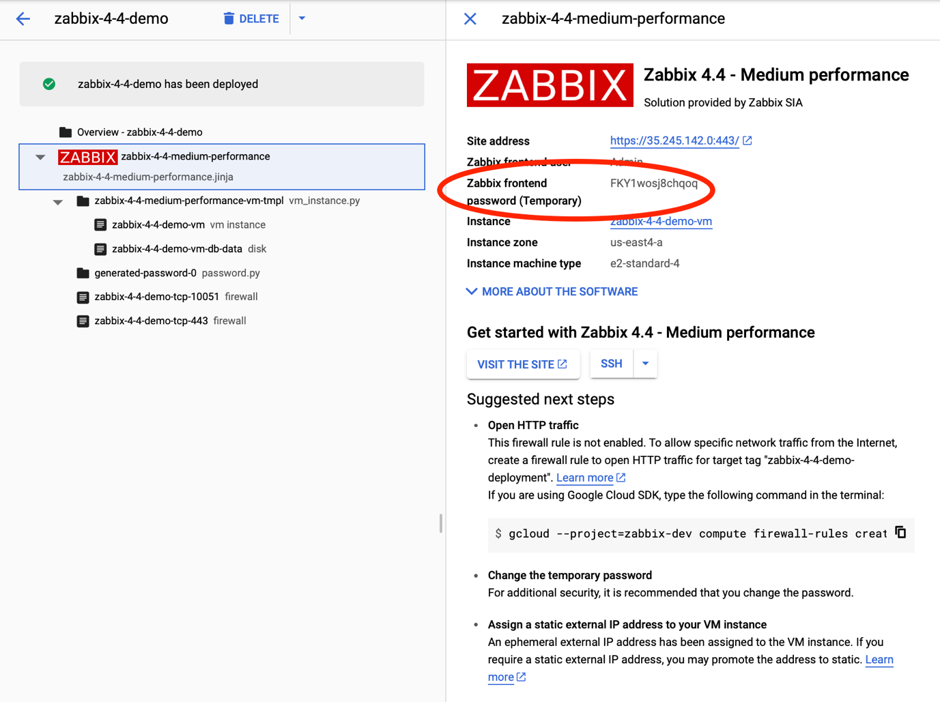
When deployment is complete you should see:
Step 2
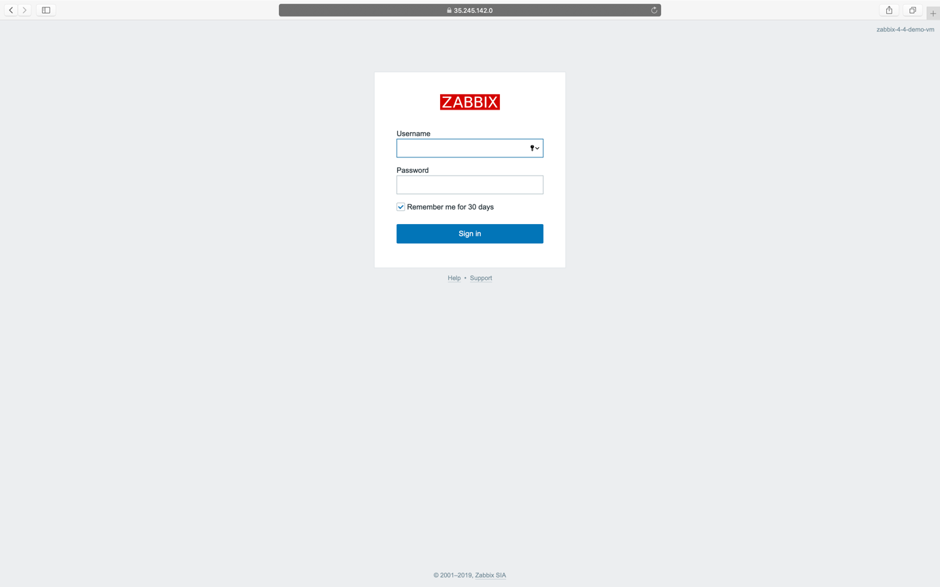
Now, we can open a web browser to "Site Address" to view Zabbix Frontend. Before that, grab the Zabbix "Admin" user's password to log into your Zabbix Appliance instance.
Step 3
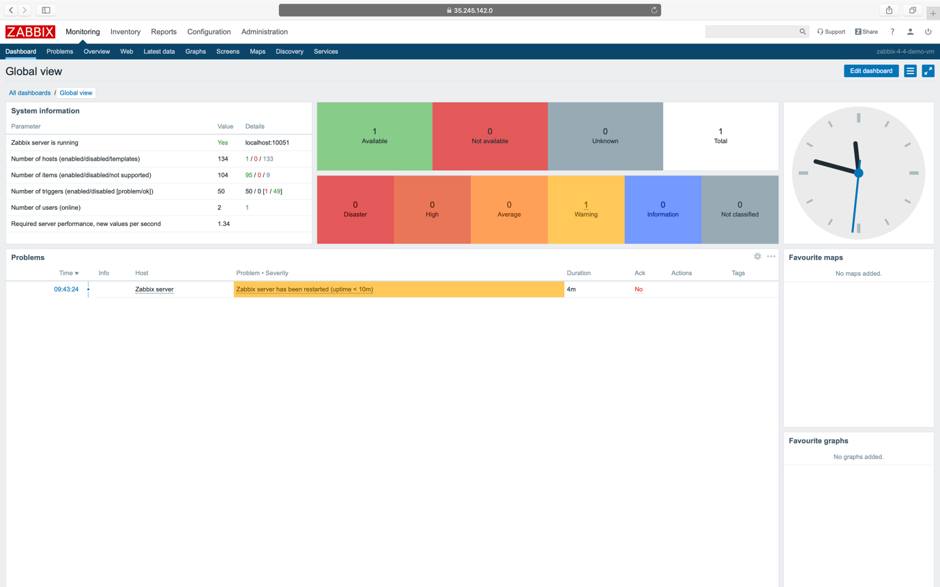
Great! You now have Zabbix Appliance.
Step 4
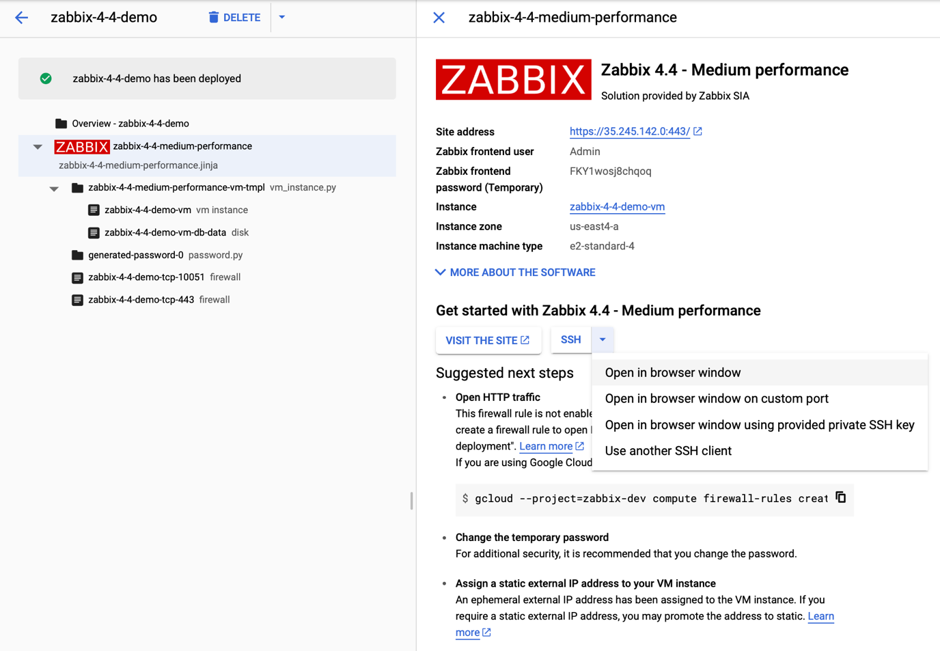
We can also log into a node to interact with the database. To do that go back to the Google console and follow the red arrow as shown below to start an ssh session using the "Open in browser window" option.
Step 5
MySQL is available without "root" password. The password is stored in /root/.my.cnf configuration file. By default, Zabbix Appliance has "UTC" timezone. If you need to change it, edit date.timezone PHP variable in /etc/php.d/99-zabbix.ini and restart php-fpm process: systemctl restart php-fpm
Next steps
If you want to learn more about Zabbix Monitoring solution, check official documentation https://www.zabbix.com/documentation/current/manual/quickstart


