
1 Login and configuring user
Overview
In this section you will learn how to log in and set up a system user in Zabbix.
Login
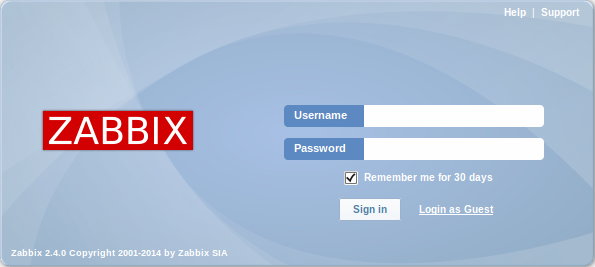
This is the Zabbix "Welcome" screen. Enter the user name Admin with password zabbix to log in as a Zabbix superuser.
When logged in, you will see 'Connected as Admin' in the lower right corner of the page. Access to Configuration and Administration menus will be granted.
Protection against brute force attacks
In case of five consecutive failed login attempts, Zabbix interface will pause for 30 seconds in order to prevent brute force and dictionary attacks.
The IP address of a failed login attempt will be displayed after a successful login.
Adding user
To view information about users, go to Administration → Users and select Users in the dropdown.

Initially there are only two users defined in Zabbix.
- 'Admin' user is a Zabbix superuser, which has full permissions.
- 'Guest' user is a special default user. If you are not logged in, you are accessing Zabbix with "guest" permissions. By default, "guest" has no permissions on Zabbix objects.
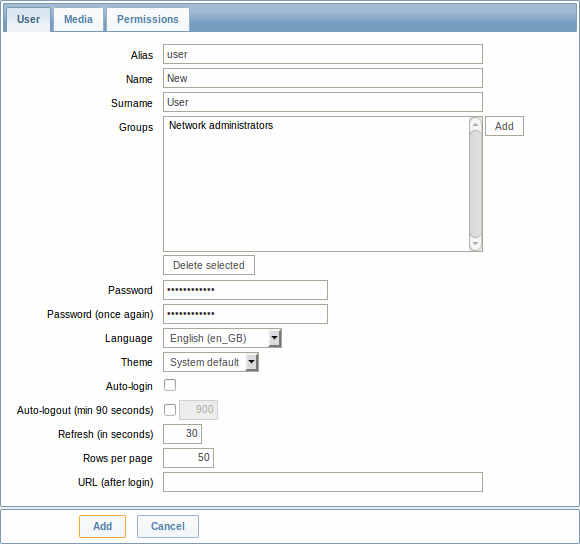
To add a new user, click on Create user.
In the new user form, make sure to add your user to one of the existing user groups, for example 'Network administrators'.
By default, new users have no media (notification delivery methods) defined for them. To create one, go to the 'Media' tab and click on Add.
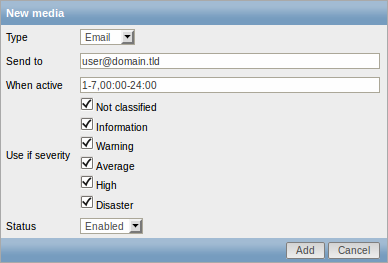
In this pop-up, enter an e-mail address for the user.
You can specify a time period when the medium will be active (see Time period specification page for description of the format), by default a medium is always active. You can also customise trigger severity levels for which the medium will be active, but leave all of them enabled for now.
Click on Add, then click Add in the user properties form. The new user appears in the userlist.

Adding permissions
By default, a new user has no permissions to access hosts. To grant the user rights, click on the group of the user in the Groups column (in this case - 'Network administrators'). In the group properties form, go to the Permissions tab.
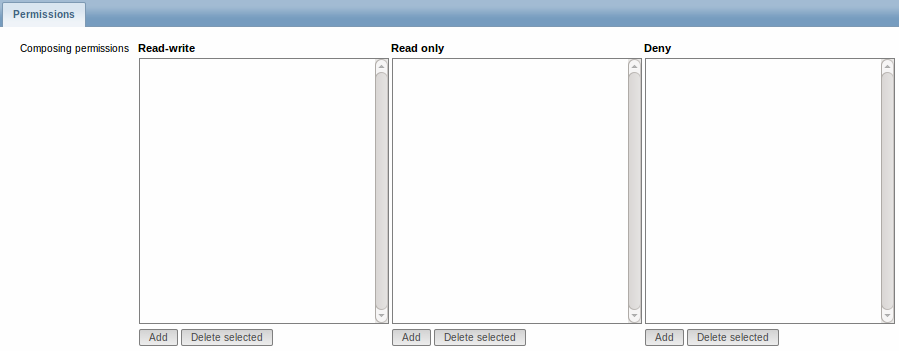
This user is to have read-only access to Linux servers group, so click on Add below the 'Read only' listbox.

In this pop-up, mark the checkbox next to 'Linux servers', then click Select. Linux servers should be displayed in the respective box. In the user group properties form, click Update.
In Zabbix, access rights to hosts are assigned to user groups, not individual users.
Done! You may try to log in using the credentials of the new user.