
3 ユーザーの追加
はじめに
以下の例では、組織とノードにユーザーを追加する方法について説明します。
組織へのユーザーの追加
Zabbixのユーザーと同様に、Zabbix Cloudでもユーザーを作成し、ロールを割り当てることで、組織内およびノード内での権限を制御できます。
組織にユーザーを追加するには:
1. すべての組織 ページを開きます。
2. 特定の組織の ![]() 設定ボタンをクリックして、管理メニューに入ります。
設定ボタンをクリックして、管理メニューに入ります。
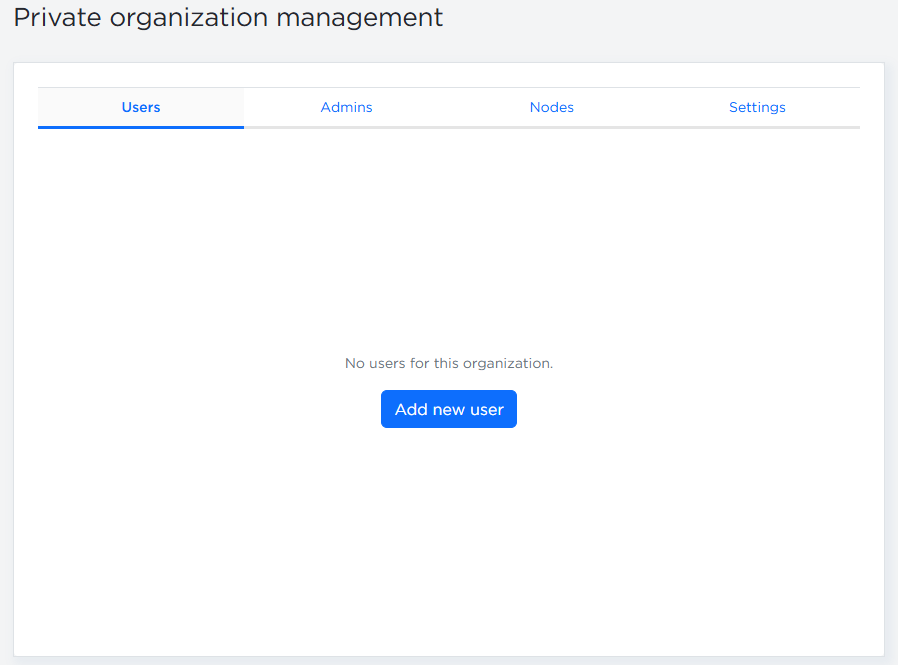
3. ユーザー または 管理者 タブで、新しいユーザーを追加をクリックします。
4.ユーザーのメールアドレスを入力し、役割(管理者またはユーザー)を選択します。
ユーザー役割を選択すると、ユーザーは組織に追加されますが、ノードへのアクセス権は付与されませんのでご注意ください。
各ロールには異なるレベルのアクセス権限が付与されます。
-
ユーザー - 割り当てられたノードにアクセスでき、課金が発生しない設定タスクを実行できます。例:
-
管理者 - すべてのユーザー権限を持ち、課金が発生する可能性のあるアクションも実行できます。例:
- バックアップ の作成と復元
- ノードリソース(コンピューティング層とディスクサイズ)のアップグレードまたはダウングレード
- サブスクリプションのキャンセル
-
オーナー - 組織に対する完全な管理権限を持ちます。すべての管理者権限に加えて、オーナーは以下の操作を実行できます。
- ノードの作成と削除
- ユーザーと管理者の追加または削除
- 組織の名前変更または削除
- 請求情報の管理
::: 重要 すべてのサービスはオーナーの支払い方法で請求されます。銀行振込による承認が必要な場合は、管理者が開始した場合でも、オーナーが承認する必要があります。 :::
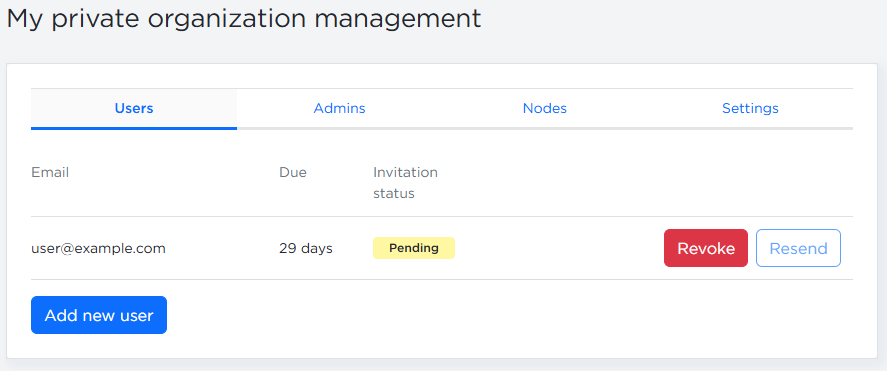
招待されたユーザーは 保留中 ステータスで追加されます。
招待を取り消したり、再送信したりできます(再送信は10分ごとに1回可能です。この制限に達するとボタンは無効になります)
ノードへのユーザーの追加
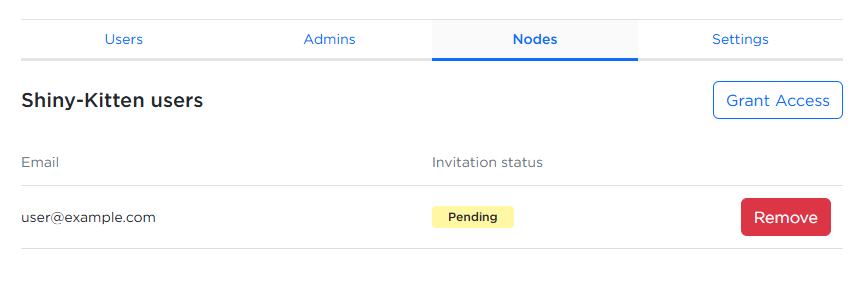
ユーザーをノードに追加するには、以下の手順に従います。
- ノードタブに移動します。
- アクセスを許可をクリックします。
- ドロップダウンから組織に追加するユーザーを選択します。
- アクセスを許可 をクリックします。
または、ノード構成ウィンドウからアクセスを許可することもできます。
 設定ボタンをクリックします。
- ユーザーを追加を選択します。
- ユーザーを選択し、アクセスを許可 をクリックします。
招待されたユーザーは、招待を送信したのと同じメールアドレスを使用してZabbix Cloudアカウントを作成し、招待を承諾する必要があります。 ユーザーがそのメールアドレスで既にZabbix Cloudアカウントを持っている場合は、サインインして招待を確認する必要があります。 招待は特定のメールアドレスに関連付けられており、別のアカウントから承諾することはできません。