
1 Deploy Zabbix with Zabbix Cloud
Introduction
This page describes how to perform the following actions in Zabbix Cloud:
- Manage organizations
- Create and manage nodes
- Accessing Zabbix frontend on a deployed node
Accessing Zabbix frontend
To access Zabbix frontend on a node for the first time:
1. Click on the node in either All organizations or in your organization menu to open the Node configuration page.
2. In the Overview tab, click the Password settings dropdown.
Copying, clearing, and resetting frontend password can be only performed by the owner.
3. Select Copy initial password.
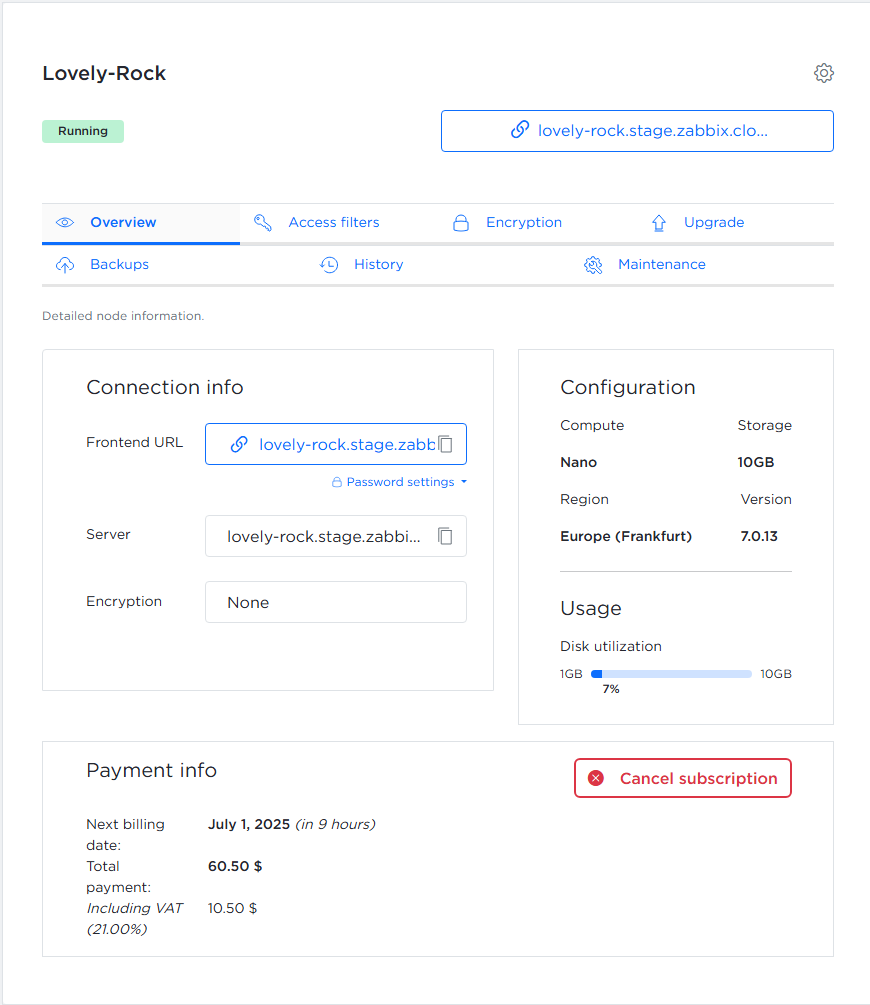
4. On the node configuration page, click the frontend URL (e.g., lovely-rock.stage.zabbix.cloud) to open Zabbix frontend.
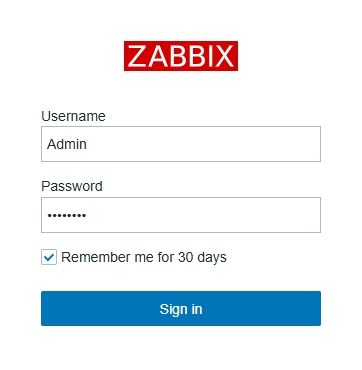
Then, log in using the following credentials:
- Username - Admin
- Password - the password copied in step 4 (e.g., HzTG9t7Y)
Organization management
An organization is a container for one or more nodes. Organizations also help you structure your resources and delegate responsibilities, such as:
- Node management
- Billing
- Viewing node activity
When you log in to Zabbix Cloud, the All organizations page is displayed. Each organization acts as a container for one or more nodes. By default, a private organization is created for your account.
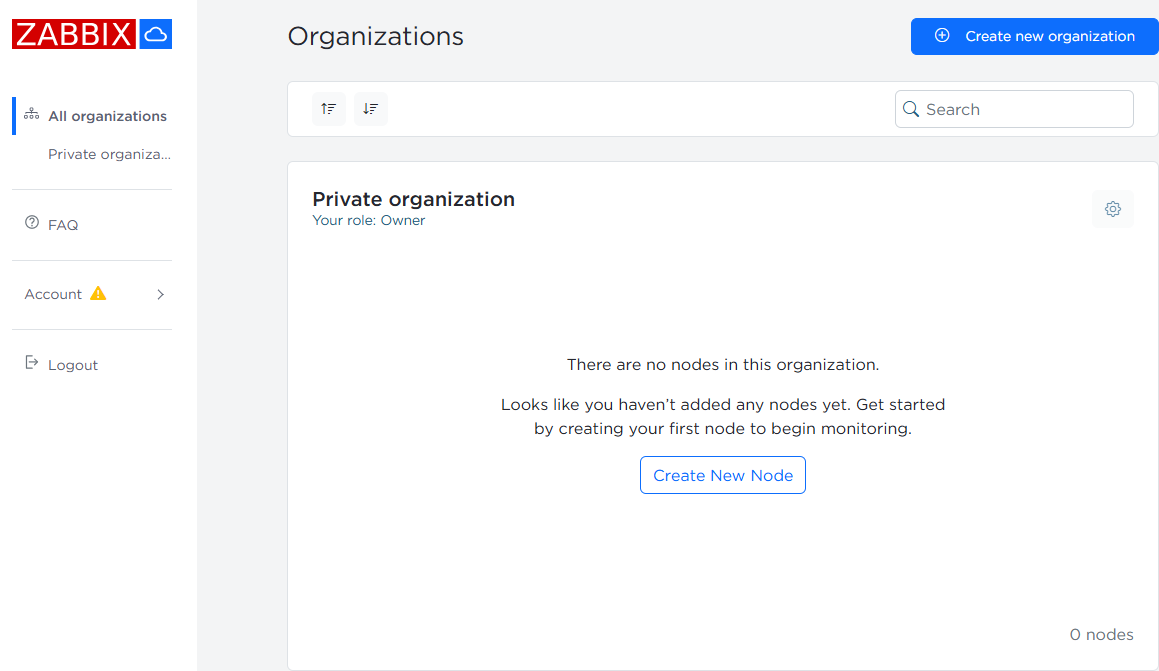
As the owner of this organization, you can manage users, admins, nodes, and the organization name.
Click the  settings button to access management options.
Account management
Changing the account email address
To change the account email address, navigate to Account > Profile settings.
In the User email field, enter the new email address and click Save changes.
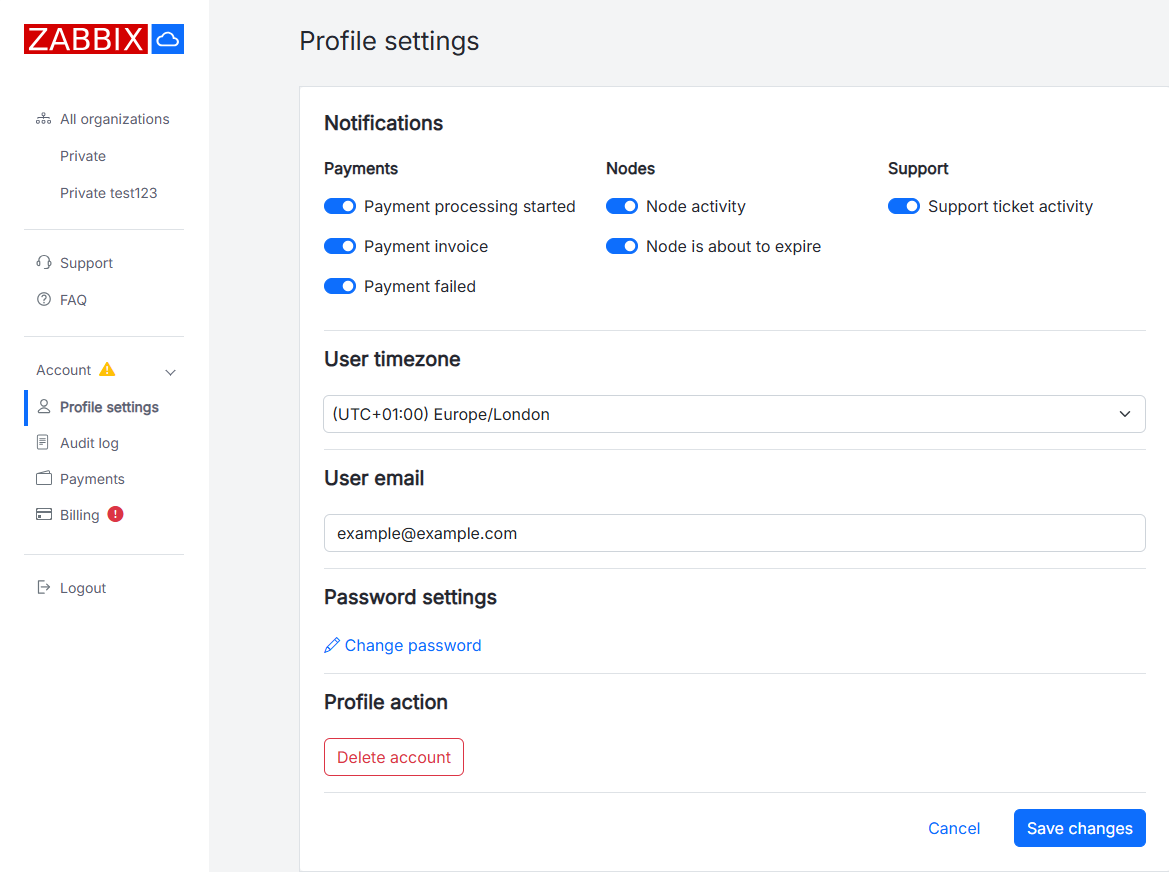
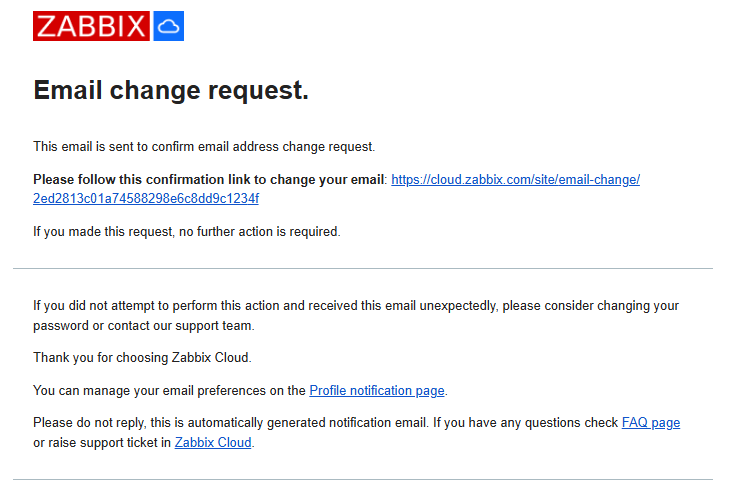
A confirmation message is sent to the new email address. Follow the link in the message to confirm the email address change.
The confirmation link opens the Profile settings page with a confirmation message and the updated email address in the User email field.
An email notification about the email address change is also sent to the previous email address.