
Azure-Bereitstellungshandbuch für den Zabbix Proxy
Übersicht
Diese Seite beschreibt, wie Sie einen Zabbix Proxy mithilfe von Azure bereitstellen.
Für die Bereitstellung auf der Plattform sind mehrere Zabbix-Versionen verfügbar. Lesen Sie unbedingt die Dokumentation für dieselbe Zabbix-Version, die Sie bereitgestellt haben. Die Dokumentation für verschiedene Zabbix-Versionen kann über das Dropdown-Menü für die Version ausgewählt werden.
Bereitstellung des Zabbix Proxy
Um den Zabbix Proxy bereitzustellen, rufen Sie zunächst die Zabbix Azure Marketplace-Seite auf. Klicken Sie auf Get it now.
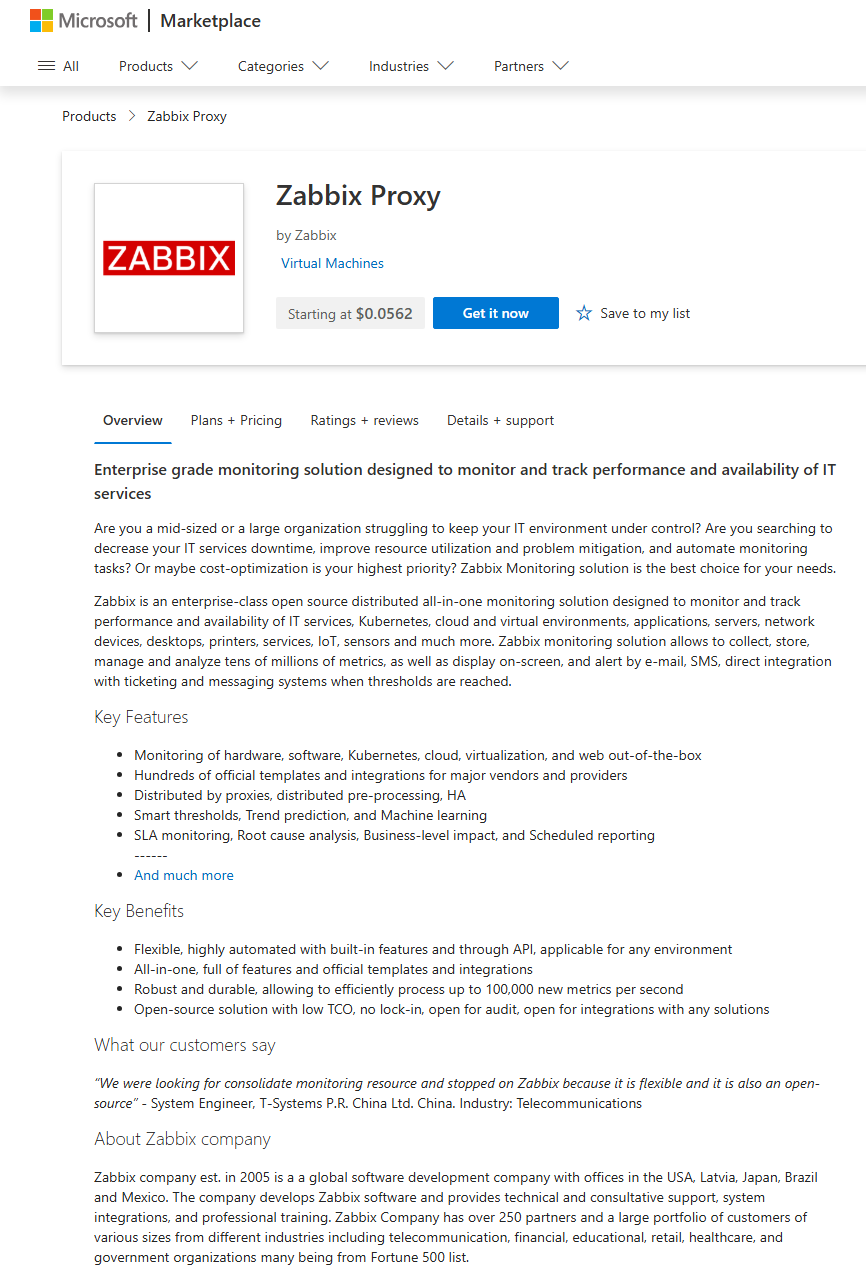
Hier können Sie zusätzliche Informationen zur aktuellen Bereitstellung lesen, z. B. die allgemeine Übersicht, Preispläne und mehr. Klicken Sie entweder auf Create oder auf Start with a pre-set configuration.
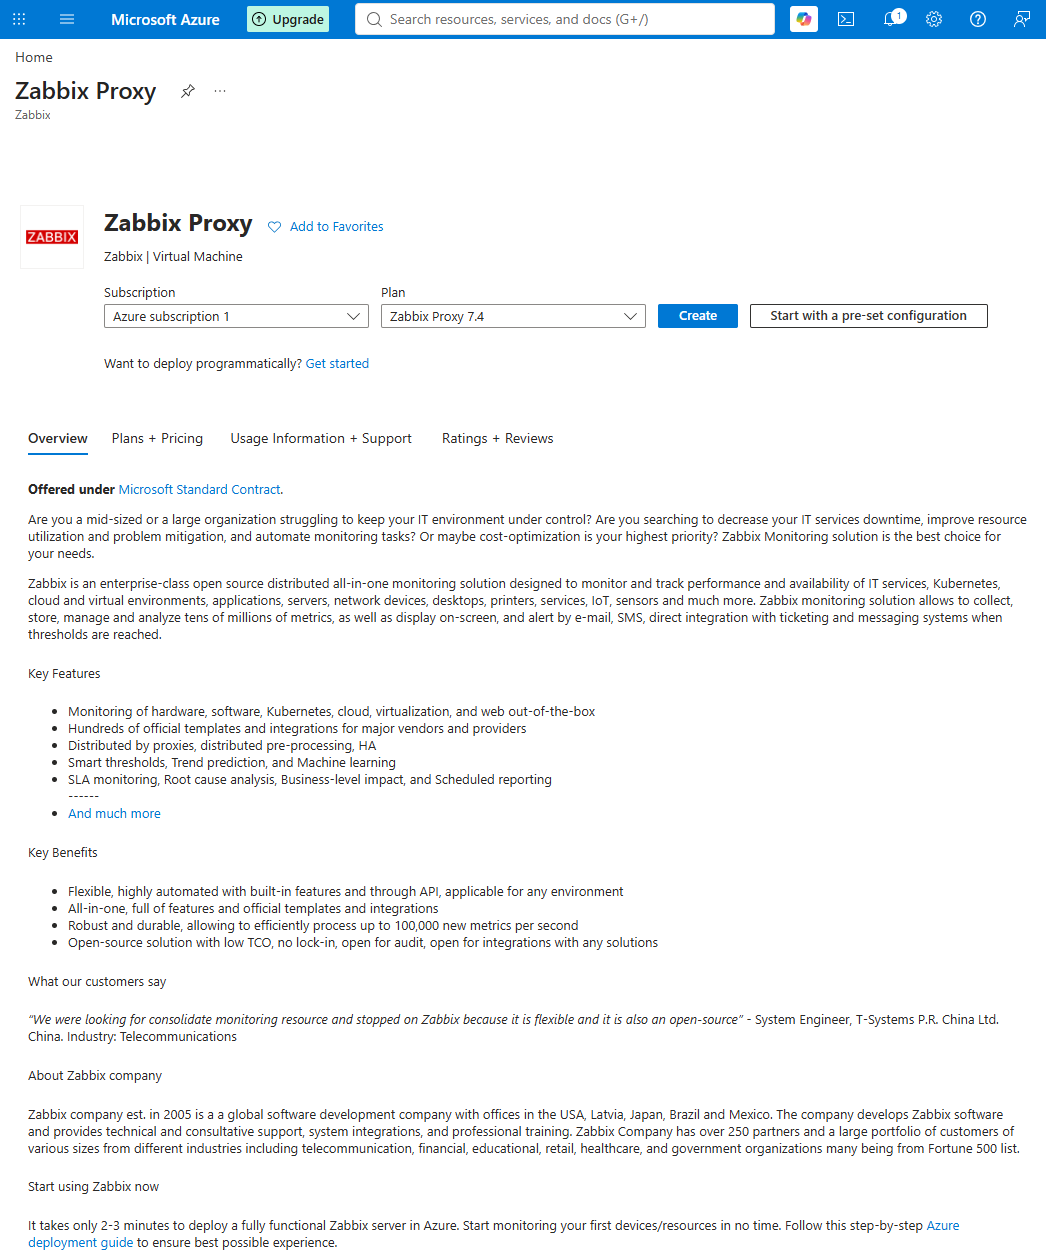
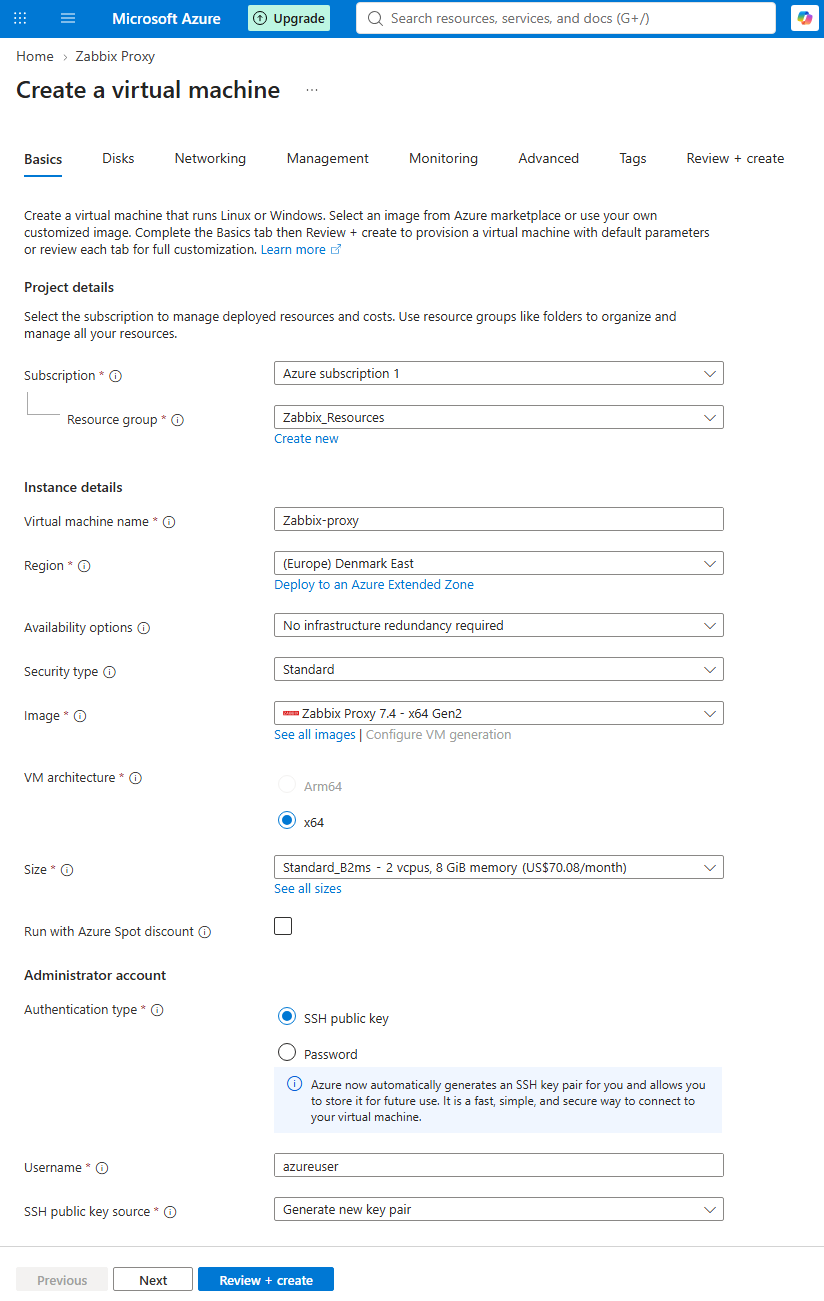
Fahren Sie mit der detaillierten VM-Konfiguration fort: Wählen Sie die VM-Größe, das Administratorkonto, den Datenträger, das Netzwerk, die Verwaltung und weitere Einstellungen aus. Diese Einstellungen können je nach Ihren Infrastrukturanforderungen variieren.
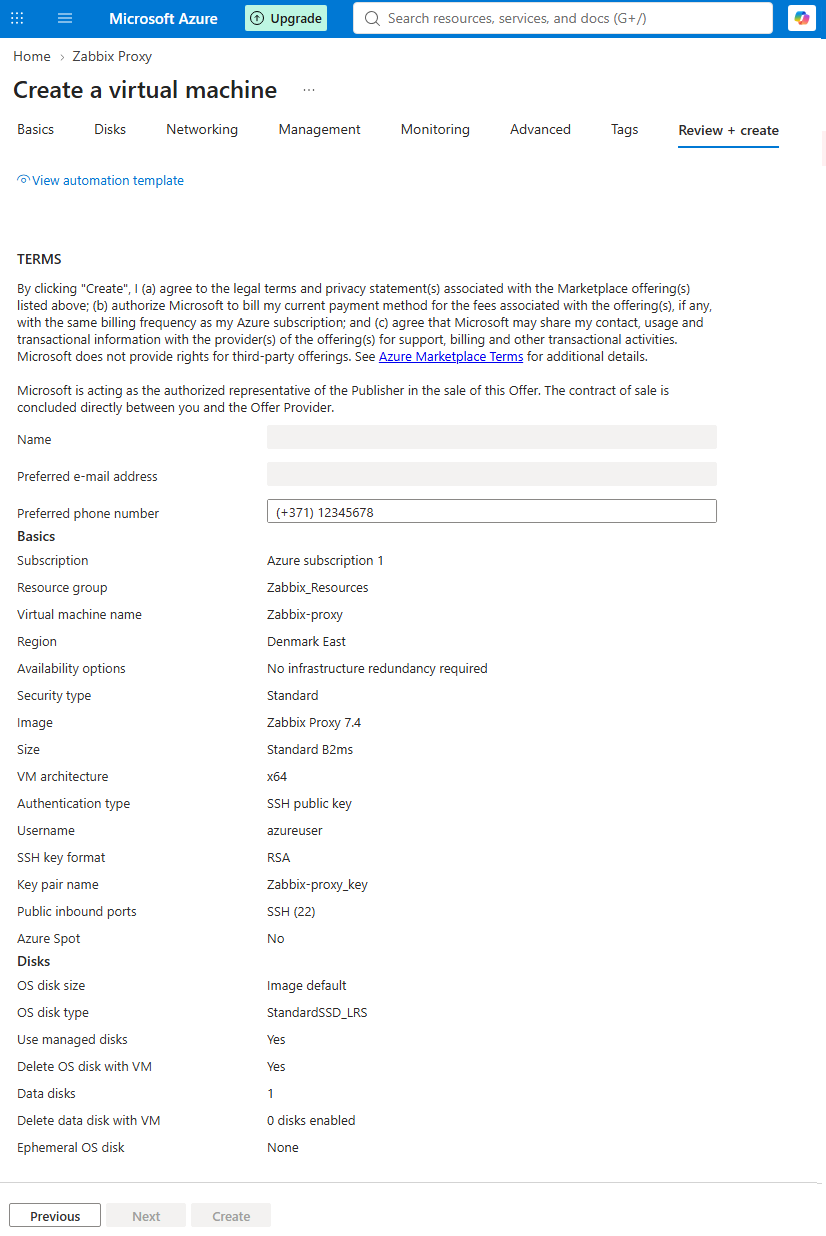
Sie können die folgende Konfiguration als Beispiel verwenden:
Registerkarte „Basics“:
- Subscription: Azure subscription 1
- Resource group: Zabbix_Resources
- Virtual machine name: Zabbix-proxy
- Availability options: No infrastructure redundancy required
- Security type: Standard
- Image: Zabbix Proxy 7.4 - x64 Gen2
- Size: Standard_B2ms - 2 vcpus, 8 GiB memory
- Authentication type: SSH public key
- Username: azureuser
- SSH public key source: Generate new key pair
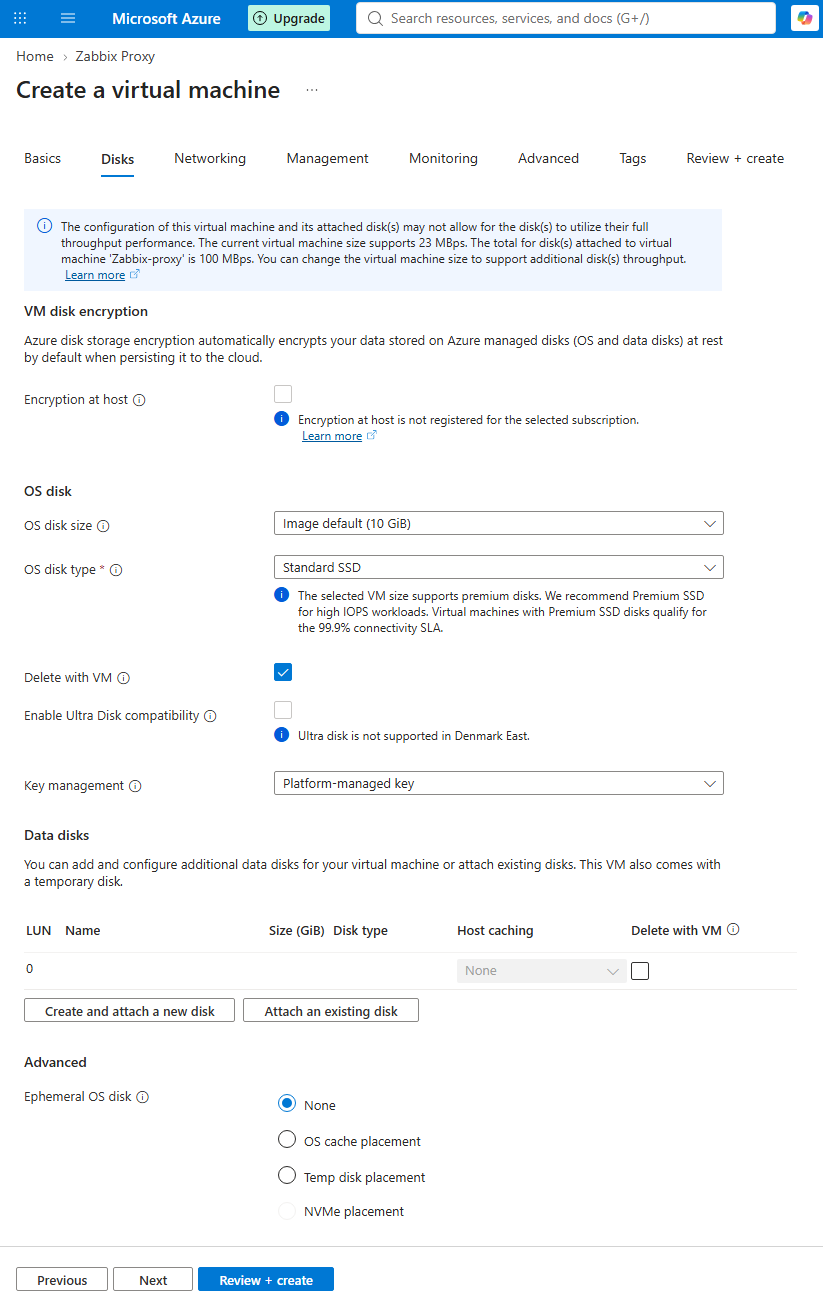
Registerkarte „Disks“:
- Encryption at host: unchecked
- OS disk type: Standard SSD
- Delete with VM: checked
- Enable Ultra Disk compatibility: unchecked
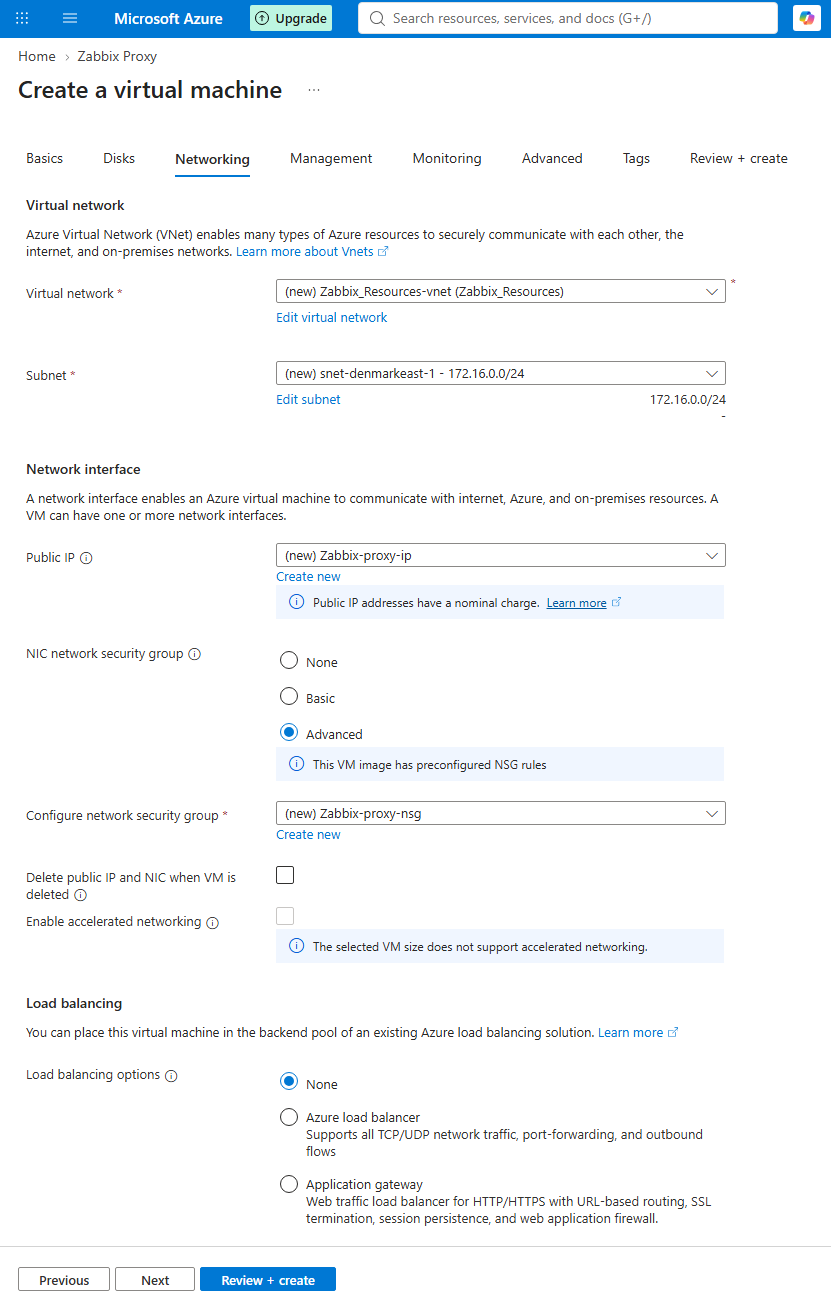
Registerkarte „Networking“:
- Virtual network: Zabbix_Resources-vnet
- Public IP: Zabbix-proxy-ip
- NIC network security group: Advanced
- Configure network security group: Zabbix-proxy-nsg
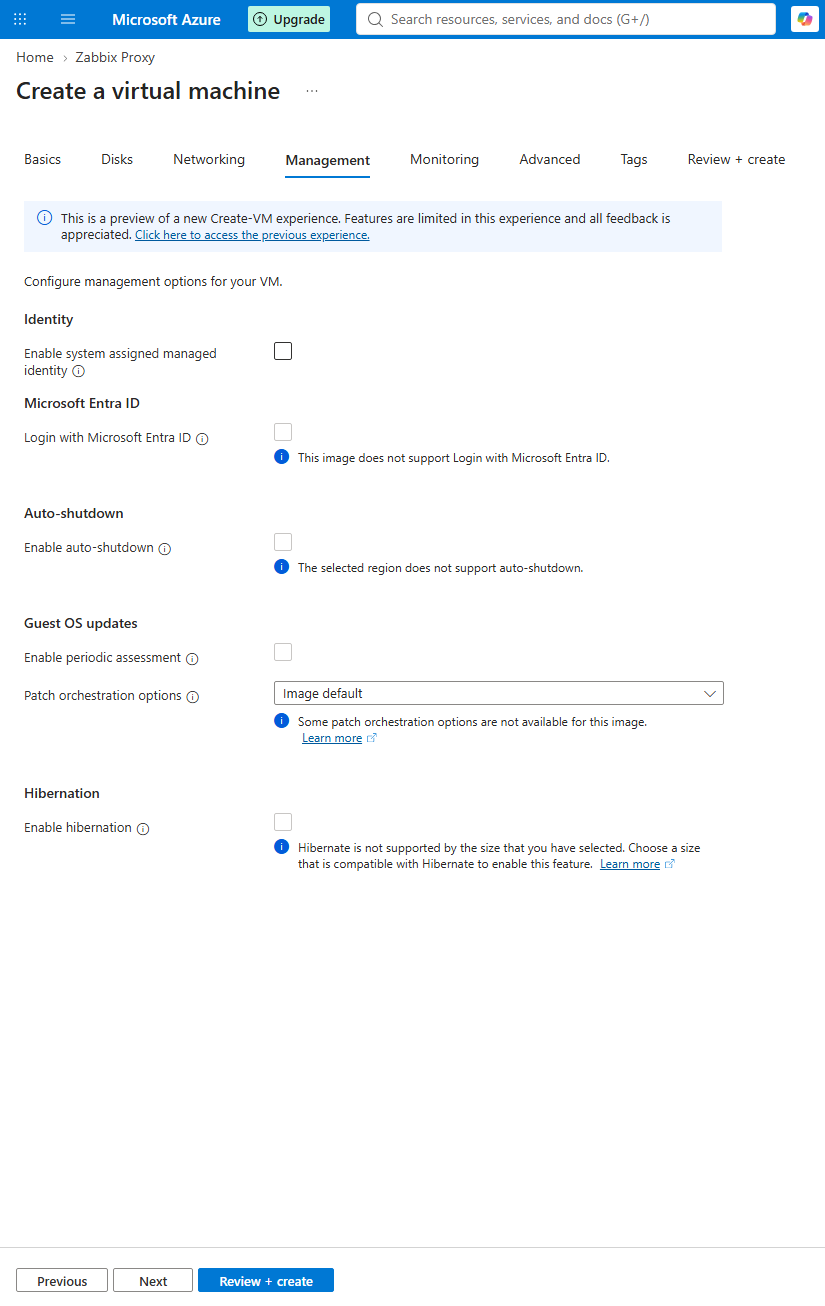
Registerkarte „Management“: Die Parameter können auf den Standardwerten belassen werden.
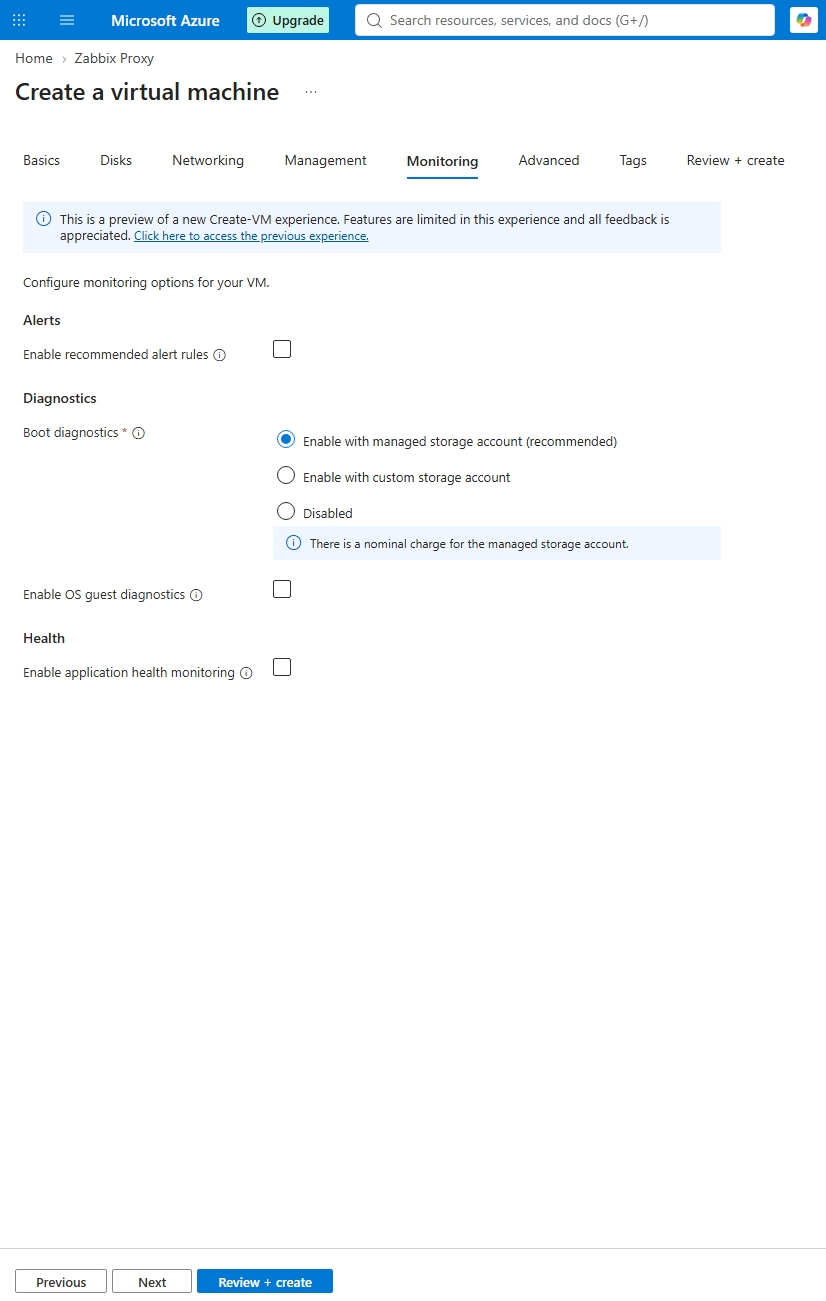
Registerkarte „Monitoring“: Die Parameter können auf den Standardwerten belassen werden.
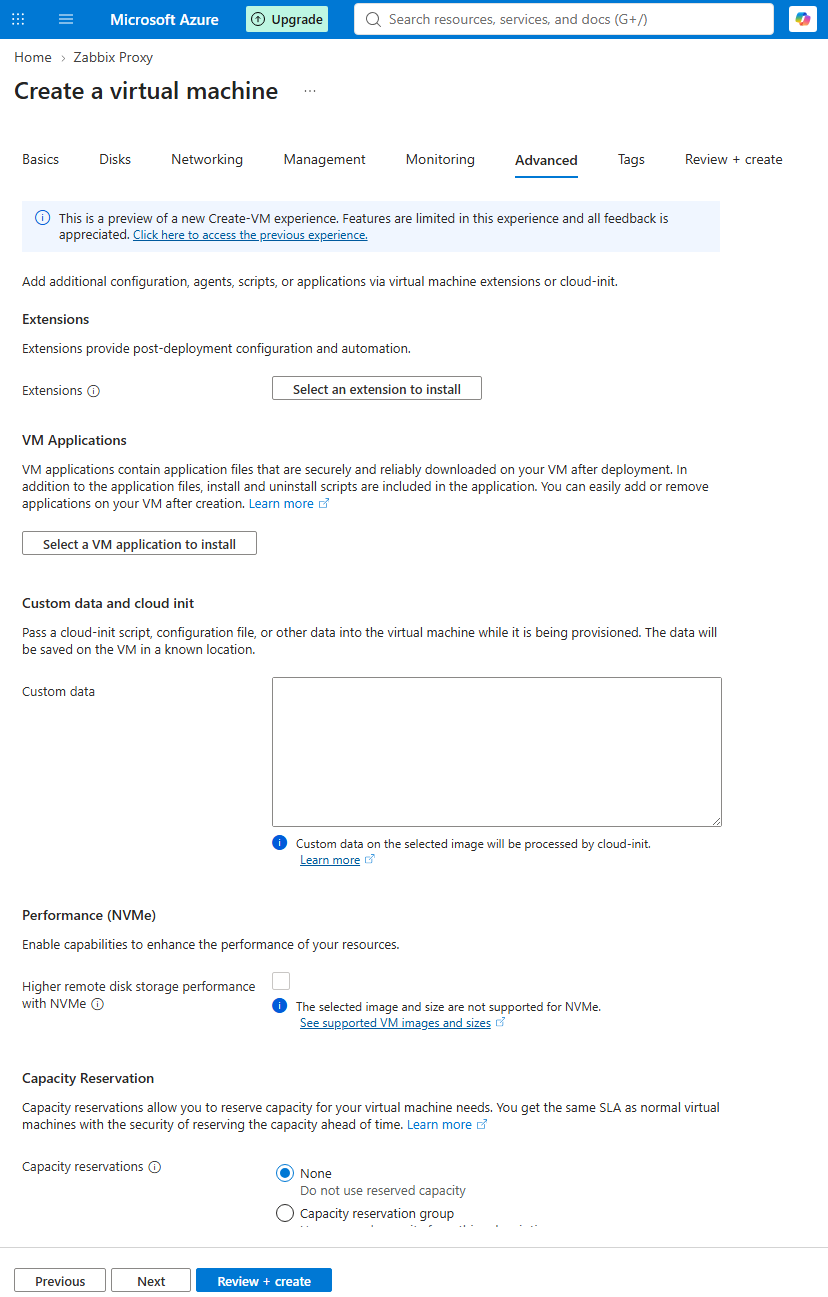
Registerkarte „Advanced“: Die Parameter können auf den Standardwerten belassen werden.
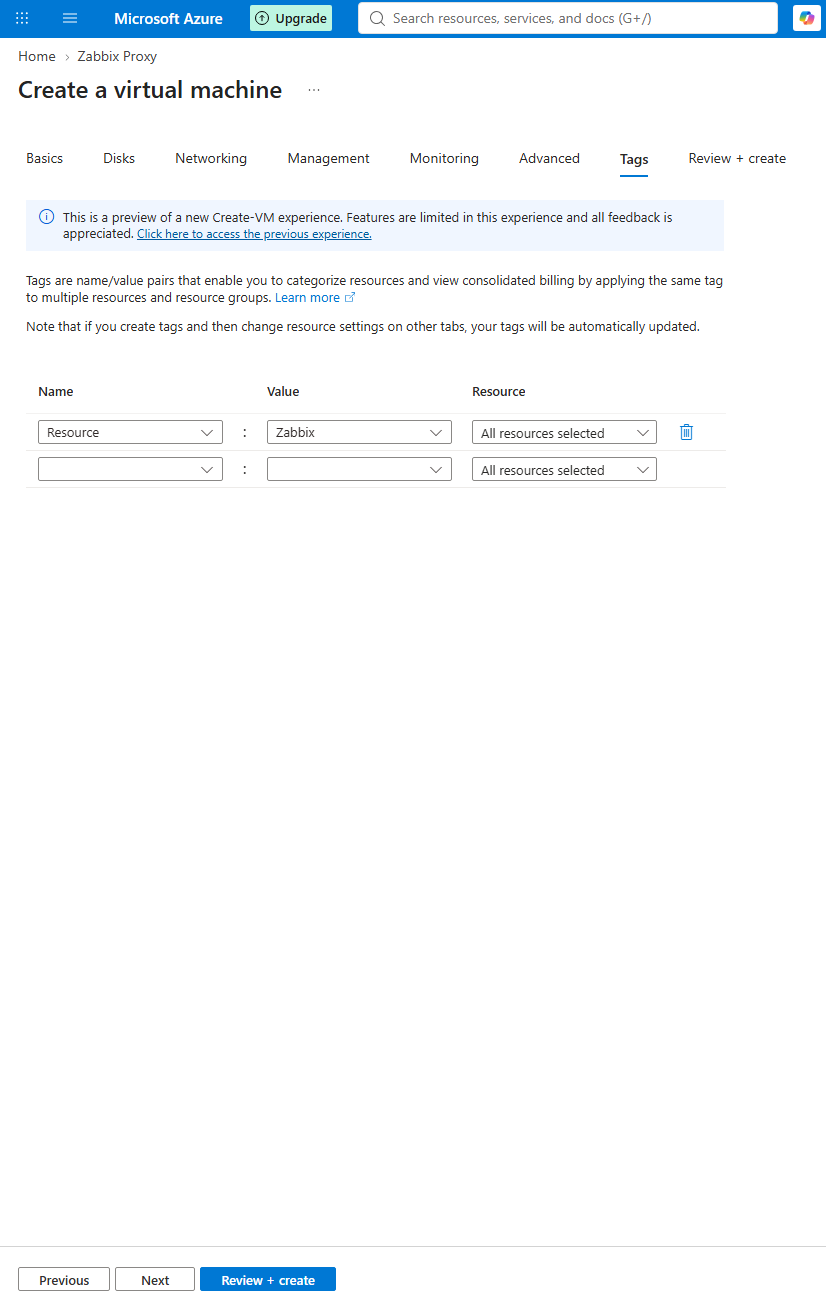
Registerkarte „Tags“:
- Name: Resource
- Value: Zabbix
- Resource: All resource selected
Bestätigen Sie die VM-Details und erstellen Sie die VM.
Sie werden zur Statusseite der VM-Bereitstellung weitergeleitet. Warten Sie, bis die Bereitstellung abgeschlossen ist.
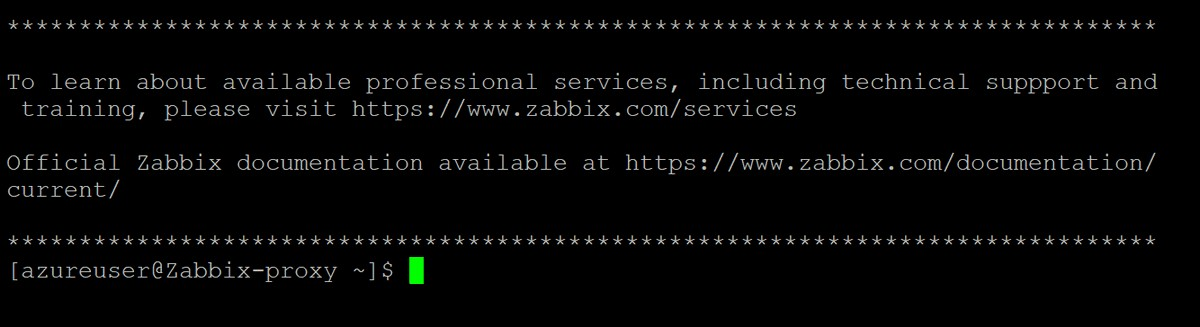
Öffnen Sie nach Abschluss der Bereitstellung die Ressource und notieren Sie sich ihre öffentliche IP-Adresse. Stellen Sie über SSH und mit den während der VM-Bereitstellung erstellten Administratoranmeldedaten eine Verbindung zum Zabbix Proxy her, um den Proxy zu konfigurieren.
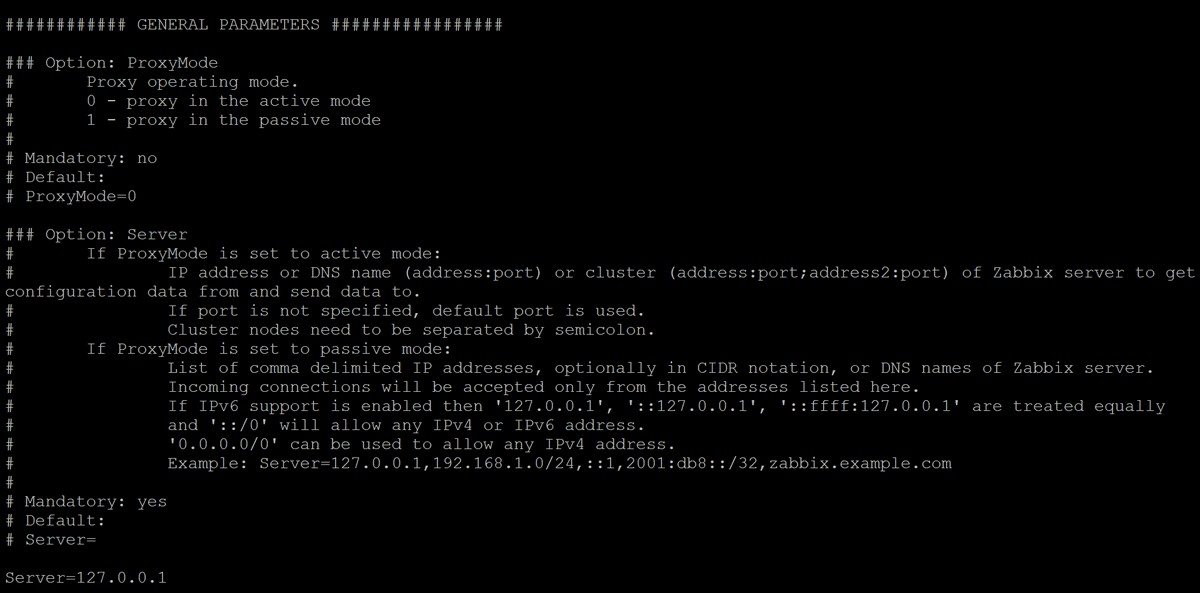
Die Konfigurationsdatei des Zabbix Proxy befindet sich in /etc/zabbix/zabbix_proxy.conf.
Die anfängliche Proxy-Konfiguration besteht darin, die Parameter ProxyMode, Server und Hostname in der Konfigurationsdatei des Zabbix Proxy zu ändern.
Der Proxy-Modus kann durch Bearbeiten des Parameters ProxyMode geändert werden.
Setzen Sie ProxyMode=0 für den aktiven Modus oder ProxyMode=1 für den passiven Modus.
Der Parameter Server sollte die IP-Adresse des Zabbix Server enthalten.
Der Parameter Hostname sollte den Hostnamen des Zabbix Proxy enthalten.
Der hier definierte Hostname muss mit dem während der Proxy-Konfiguration im Zabbix Frontend angegebenen Proxy-Namen übereinstimmen.

Öffnen Sie das Zabbix Frontend und navigieren Sie zu Administration > Proxies. Klicken Sie auf die Schaltfläche Create proxy.
Geben Sie denselben Proxy-Namen wie den Wert des Parameters Hostname in der Proxy-Konfigurationsdatei ein.
Wählen Sie den Proxy-Modus aus und geben Sie die IP-Adresse des Proxy an (optional für aktive Proxys).
Klicken Sie auf die Schaltfläche Create proxy, um einen Proxy zu erstellen.
Speicherort der Proxy-Datenbank
Die SQLite-Datenbank des Proxy befindet sich unter /tmp/zabbix_proxy.sqlite3 und wird durch den Parameter DBName in der Konfigurationsdatei des Zabbix Proxy angegeben.