
3 Azure deployment guide for Zabbix server
Overview
This page describes how to deploy Zabbix server using Azure.
Several Zabbix versions are available for deployment on the platform. Make sure to read the documentation for the same Zabbix version that you have deployed. Documentation for different Zabbix versions can be selected from the version dropdown menu.
Deploying the appliance
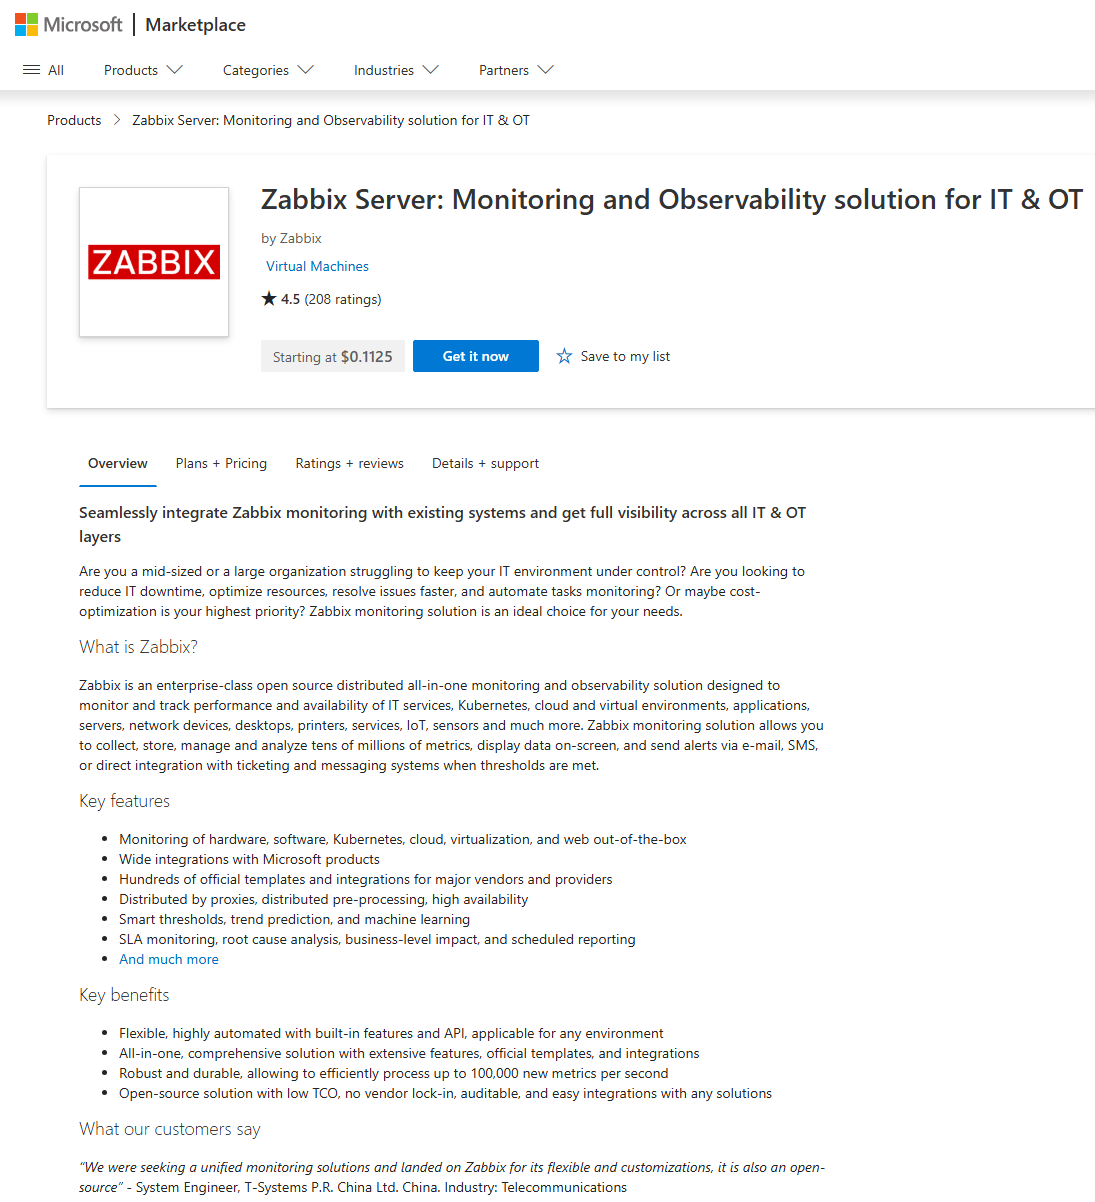
To deploy Zabbix appliance, first, navigate to Zabbix Azure Marketplace page. Review the overview, then click Get it now.
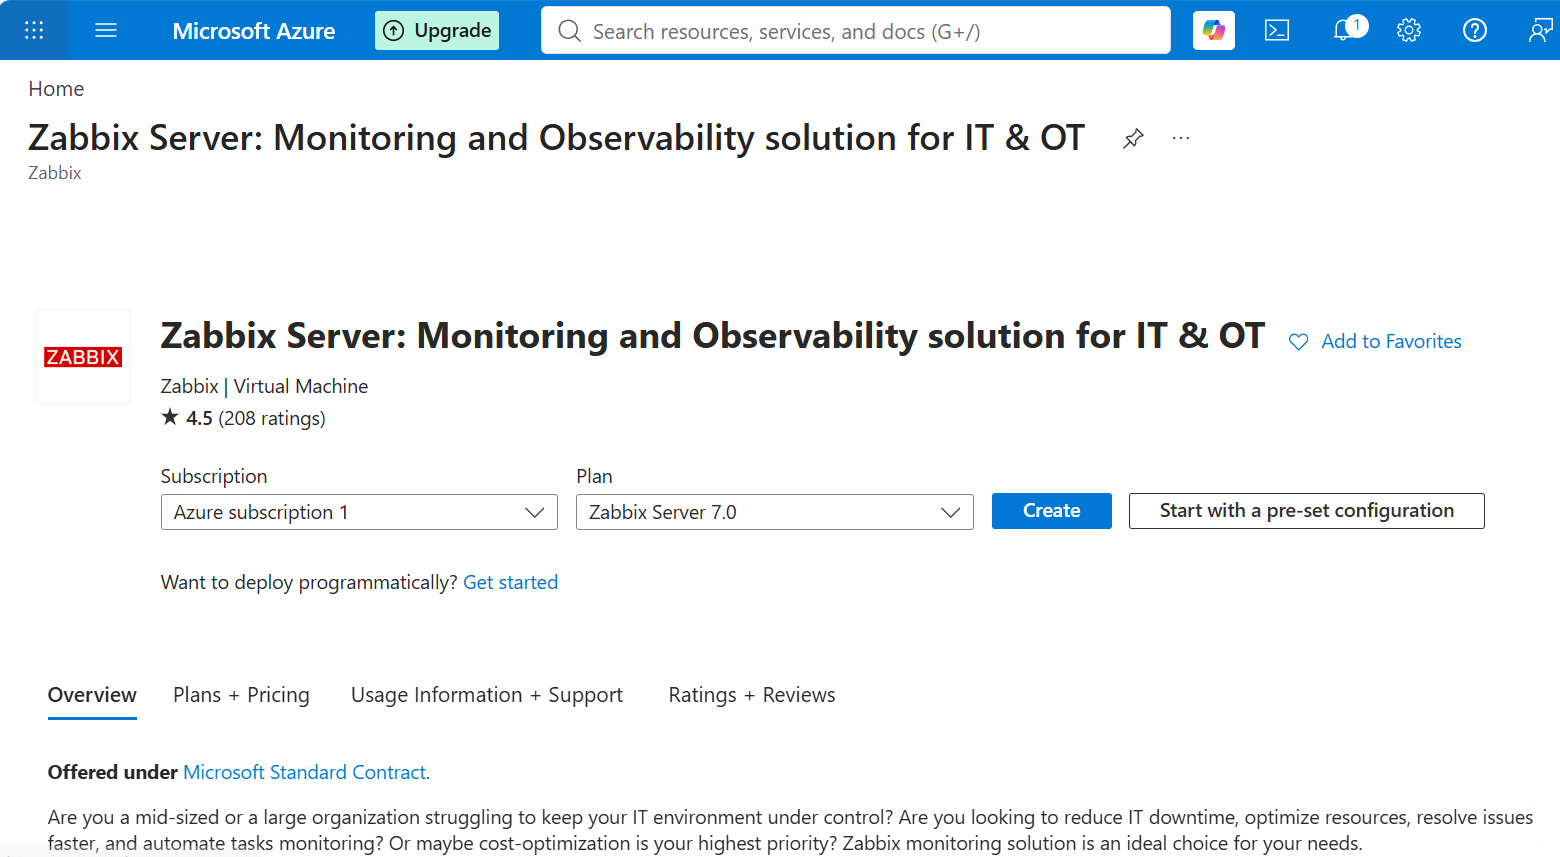
Review the deployment overview, pricing plans, and other details. Next, click either Create or Start with a pre-set configuration to deploy your Zabbix appliance.
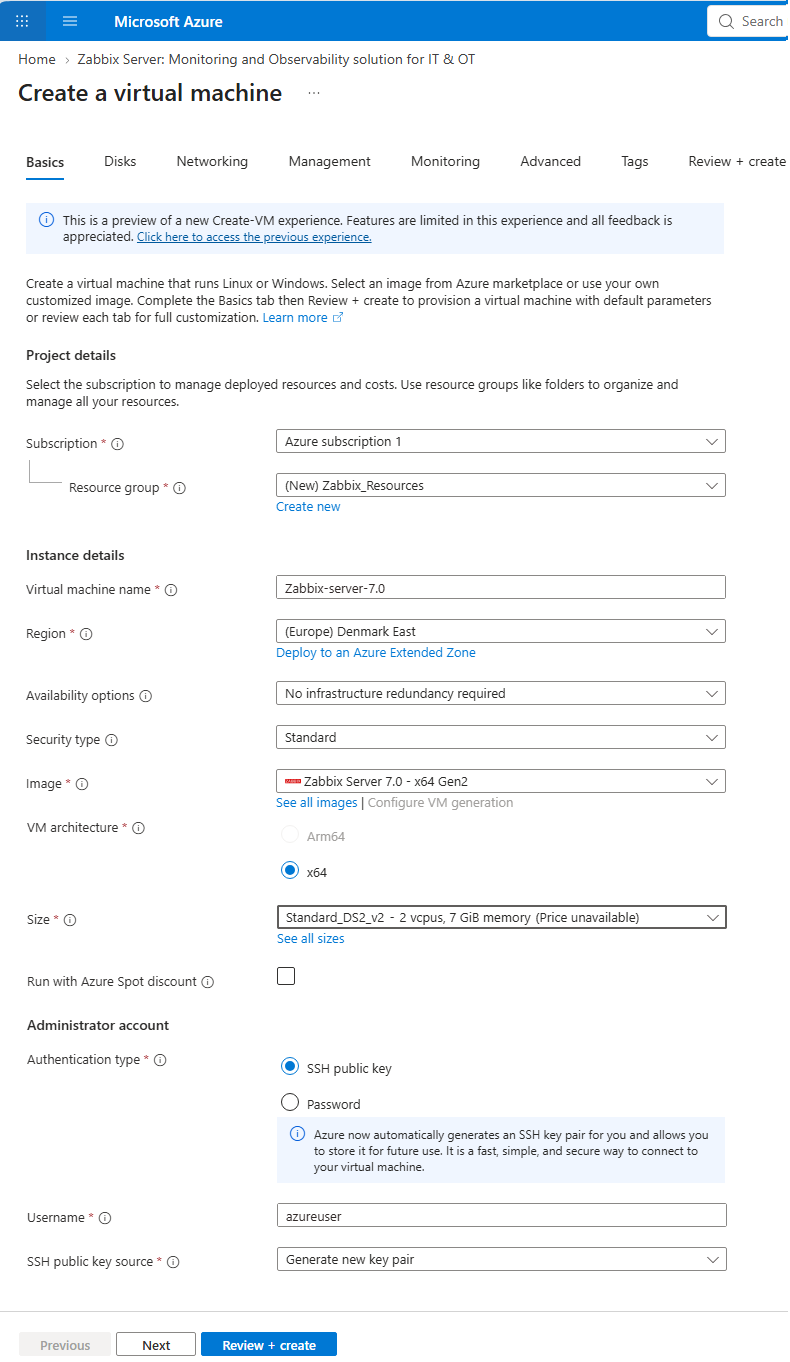
Configure the VM by selecting the VM size, creating an administrator account, and defining disk, network, management, and other settings. These settings may vary depending on your infrastructure requirements.
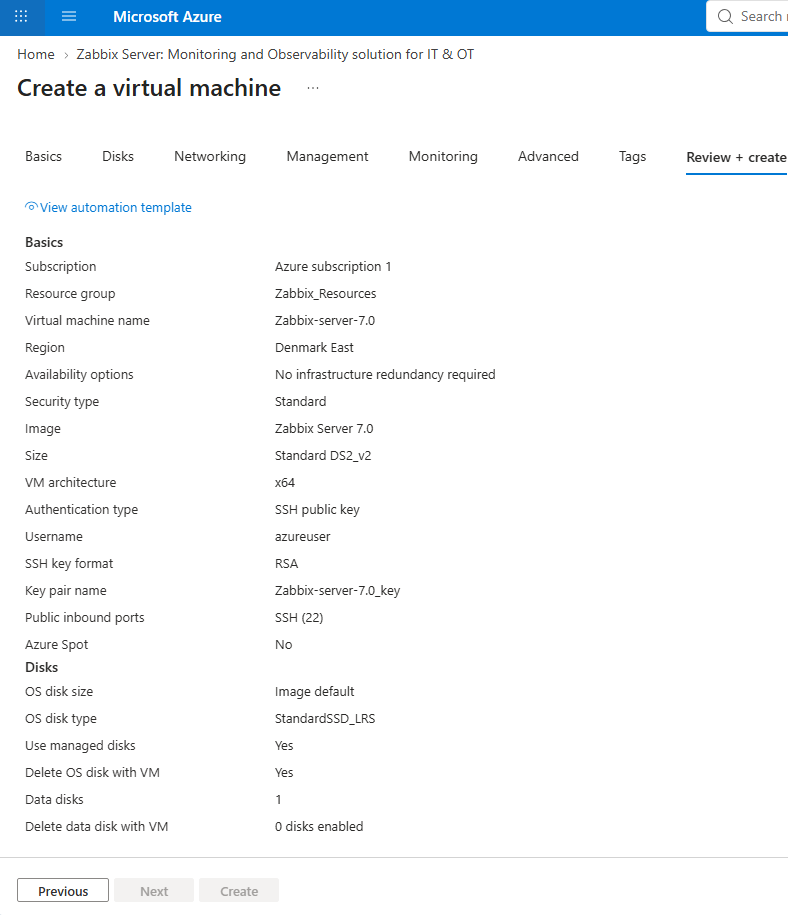
You can use the following configuration as an example:
Basics tab:
- Subscription: Azure subscription 1
- Resource group: Zabbix_Resources
- Virtual machine name: Zabbix-server--7.0
- Availability options: No infrastructure redundancy required
- Security type: Standard
- Image: Zabbix Server 7.0 - x64 Gen2
- Size: Standard_DS2_V2 - 2 vcpus, 7 GiB memory
- Authentication type: SSH public key
- Username: azureuser
- SSH public key source: Generate new key pair
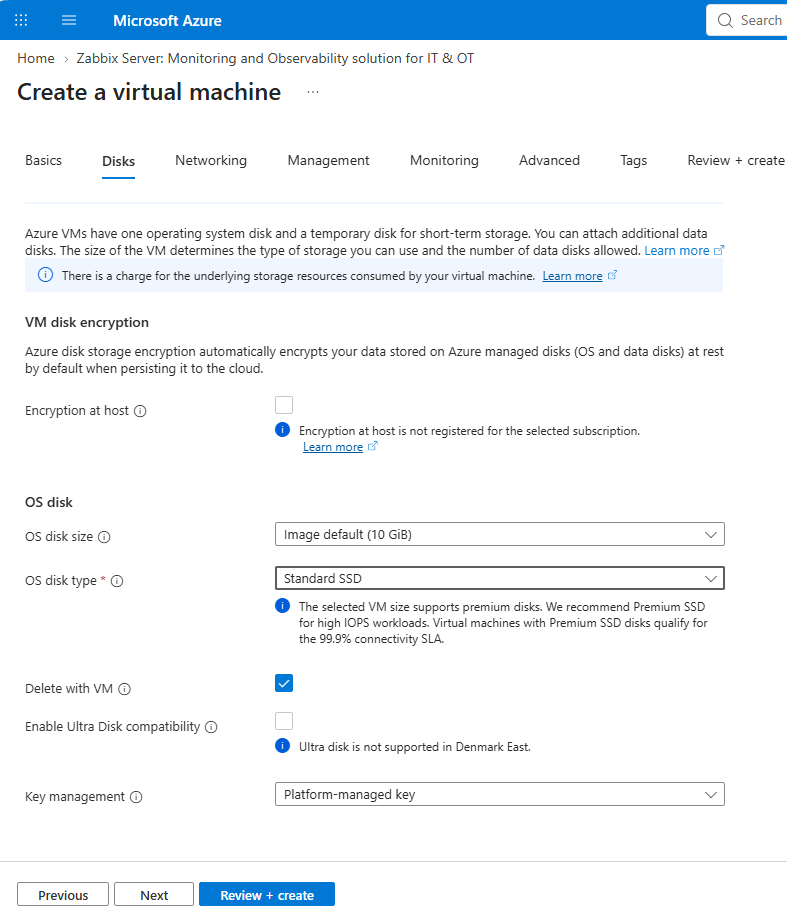
Disks tab:
- Encryption at host: unchecked
- OS disk type: Standard SSD
- Delete with VM: checked
- Enable Ultra Disk compatibility: unchecked
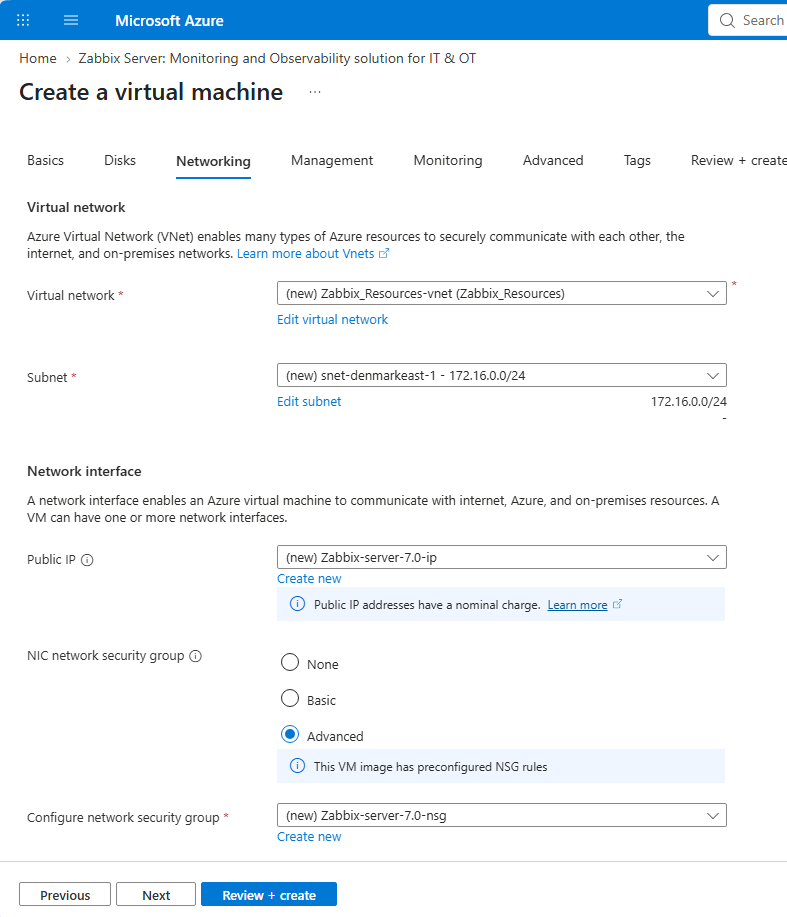
Networking tab:
- Virtual network: Zabbix_Resources-vnet
- Public IP: Zabbix-server-7.0-ip
- NIC network security group: Advanced
- Configure network security group: Zabbix-server-7.0-nsg
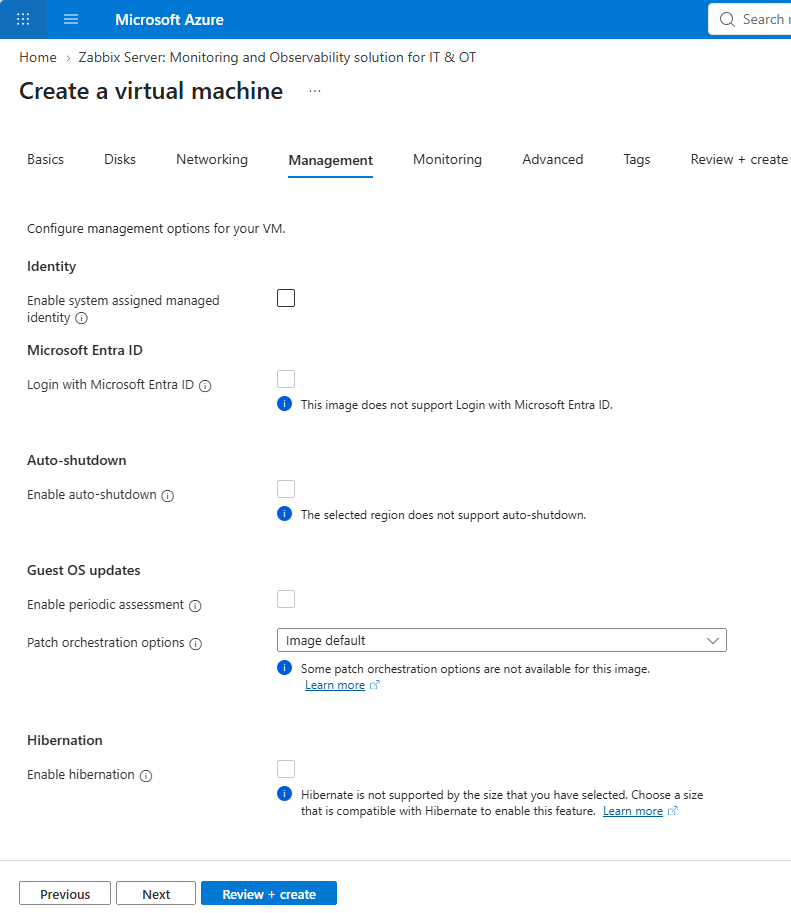
Management tab: parameters can be left by default.
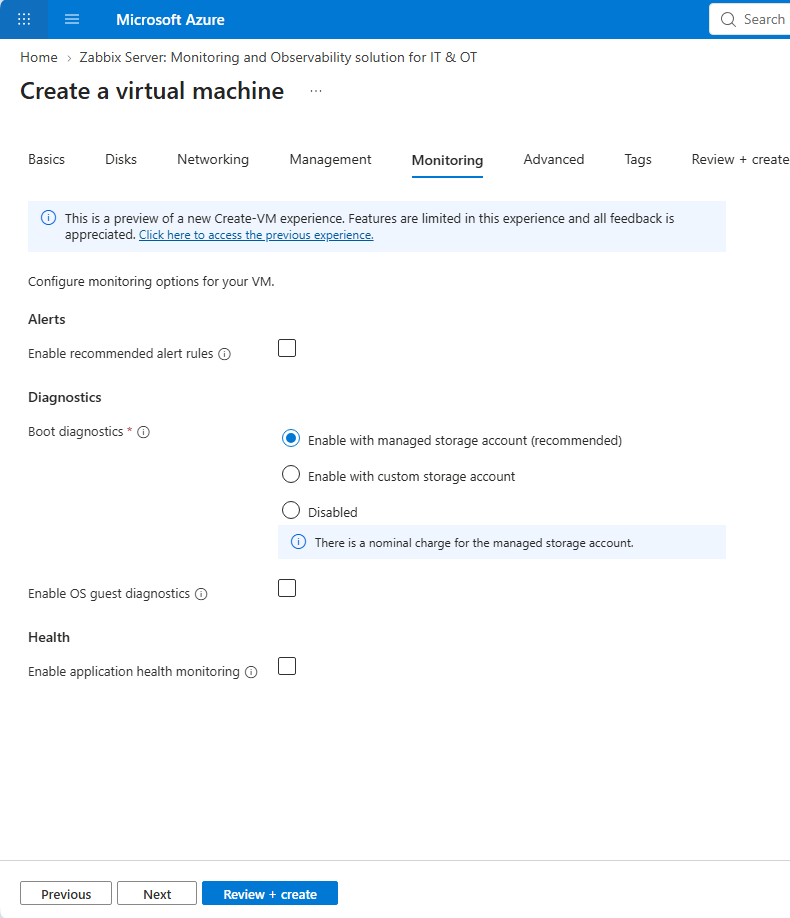
Monitoring tab: parameters can be left by default.
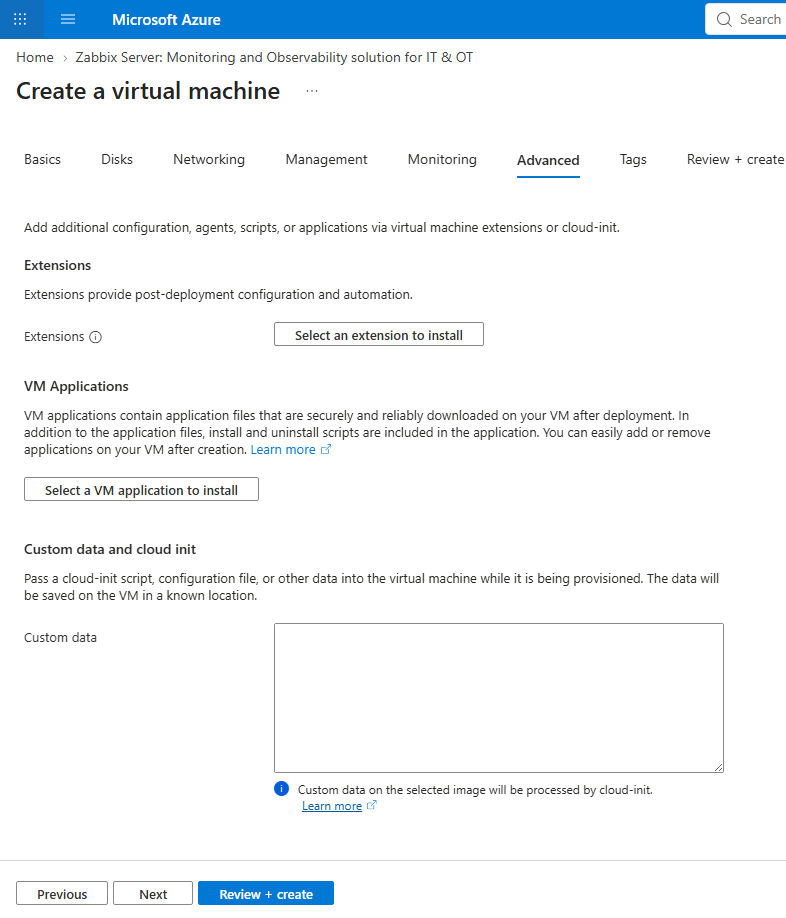
Advanced tab: parameters can be left by default.
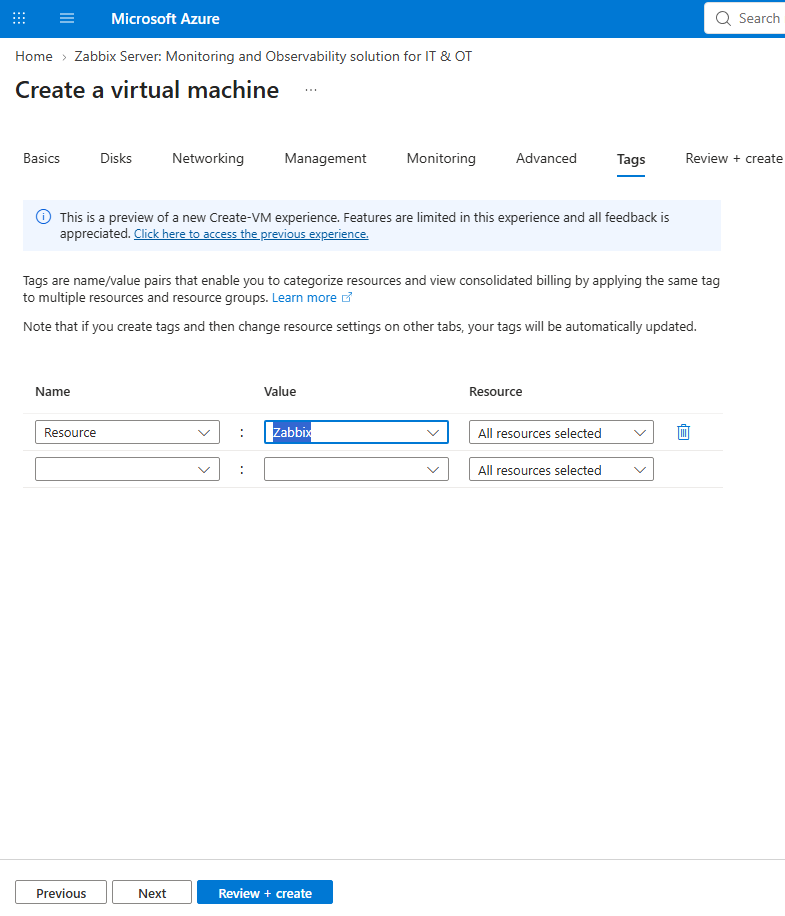
Tags tab:
- Name: Resource
- Value: Zabbix
- Resource: All resource selected
Confirm the VM details and create the VM.
You will be redirected to the VM deployment status page. Wait until the deployment is complete.
Once the deployment is complete, open the resource and note its public IP address. You will now have to connect to Zabbix server using SSH (or another available method) to obtain Zabbix frontend login credentials.
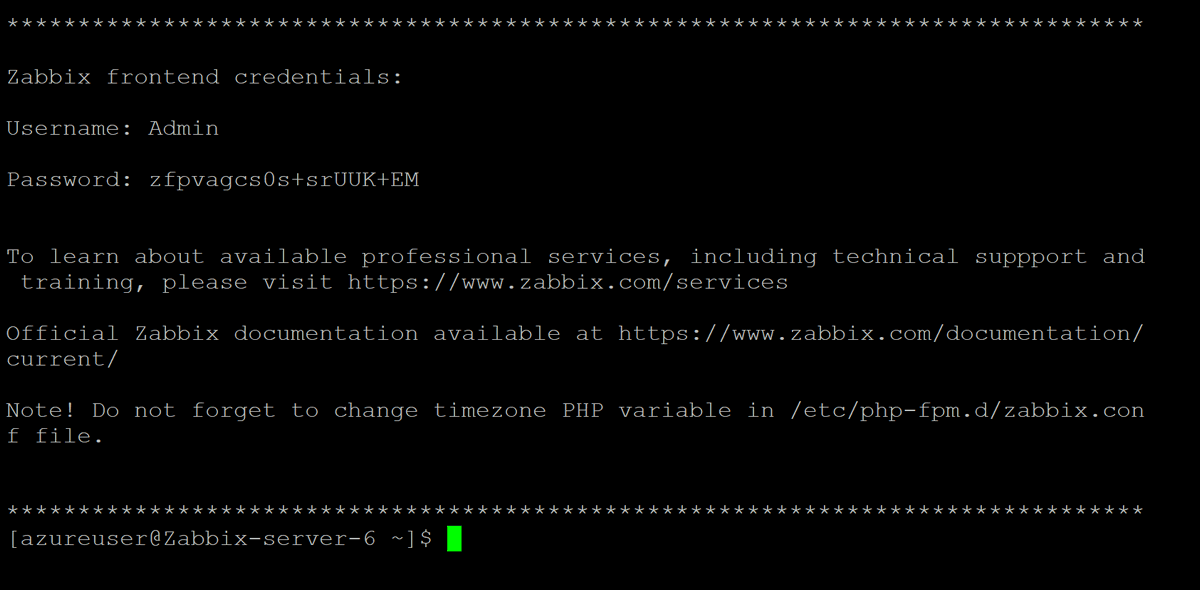
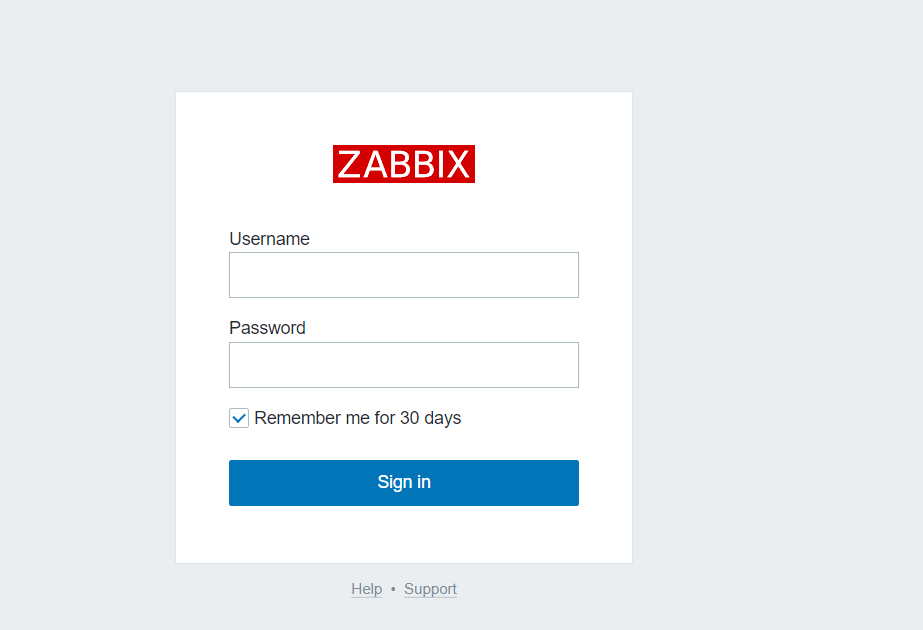
Access Zabbix frontend by opening the public IP address of Zabbix appliance in a web browser. To log in, use the username and password obtained in the previous step.
Accessing the Database
You can access Zabbix database using the root user without entering a password.
The credentials are stored in the /root/.my.cnf configuration file.