
Deploy Zabbix in the cloud
To start Zabbix in the cloud, follow this process:
- Log in or sign up at cloud.zabbix.com.
- Create a cloud node.
- Start using Zabbix in the cloud.
Log in or sign up
You can log in at cloud.zabbix.com with an existing Google, GitHub, or Microsoft account.
Alternatively, go to the sign up page to register.
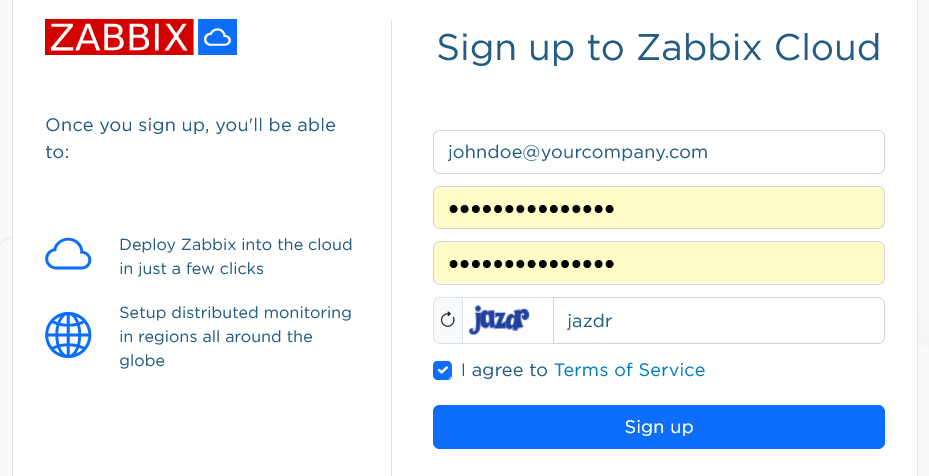
After signing up, you will receive a confirmation of your new account in the email.
Go to cloud.zabbix.com to log in. You will be asked for a one-time password when logging in. This password will be sent to you in the email.
Create cloud node
A cloud node is a Zabbix instance deployed in Zabbix Cloud. It can be deployed as a server node or proxy node.
When logged in, you will see that a Private organization already exists for your account by default. You can rename the default organization later.
Click Create New Node. A three-step node configuration form will open.
In the first step you will select basic information.
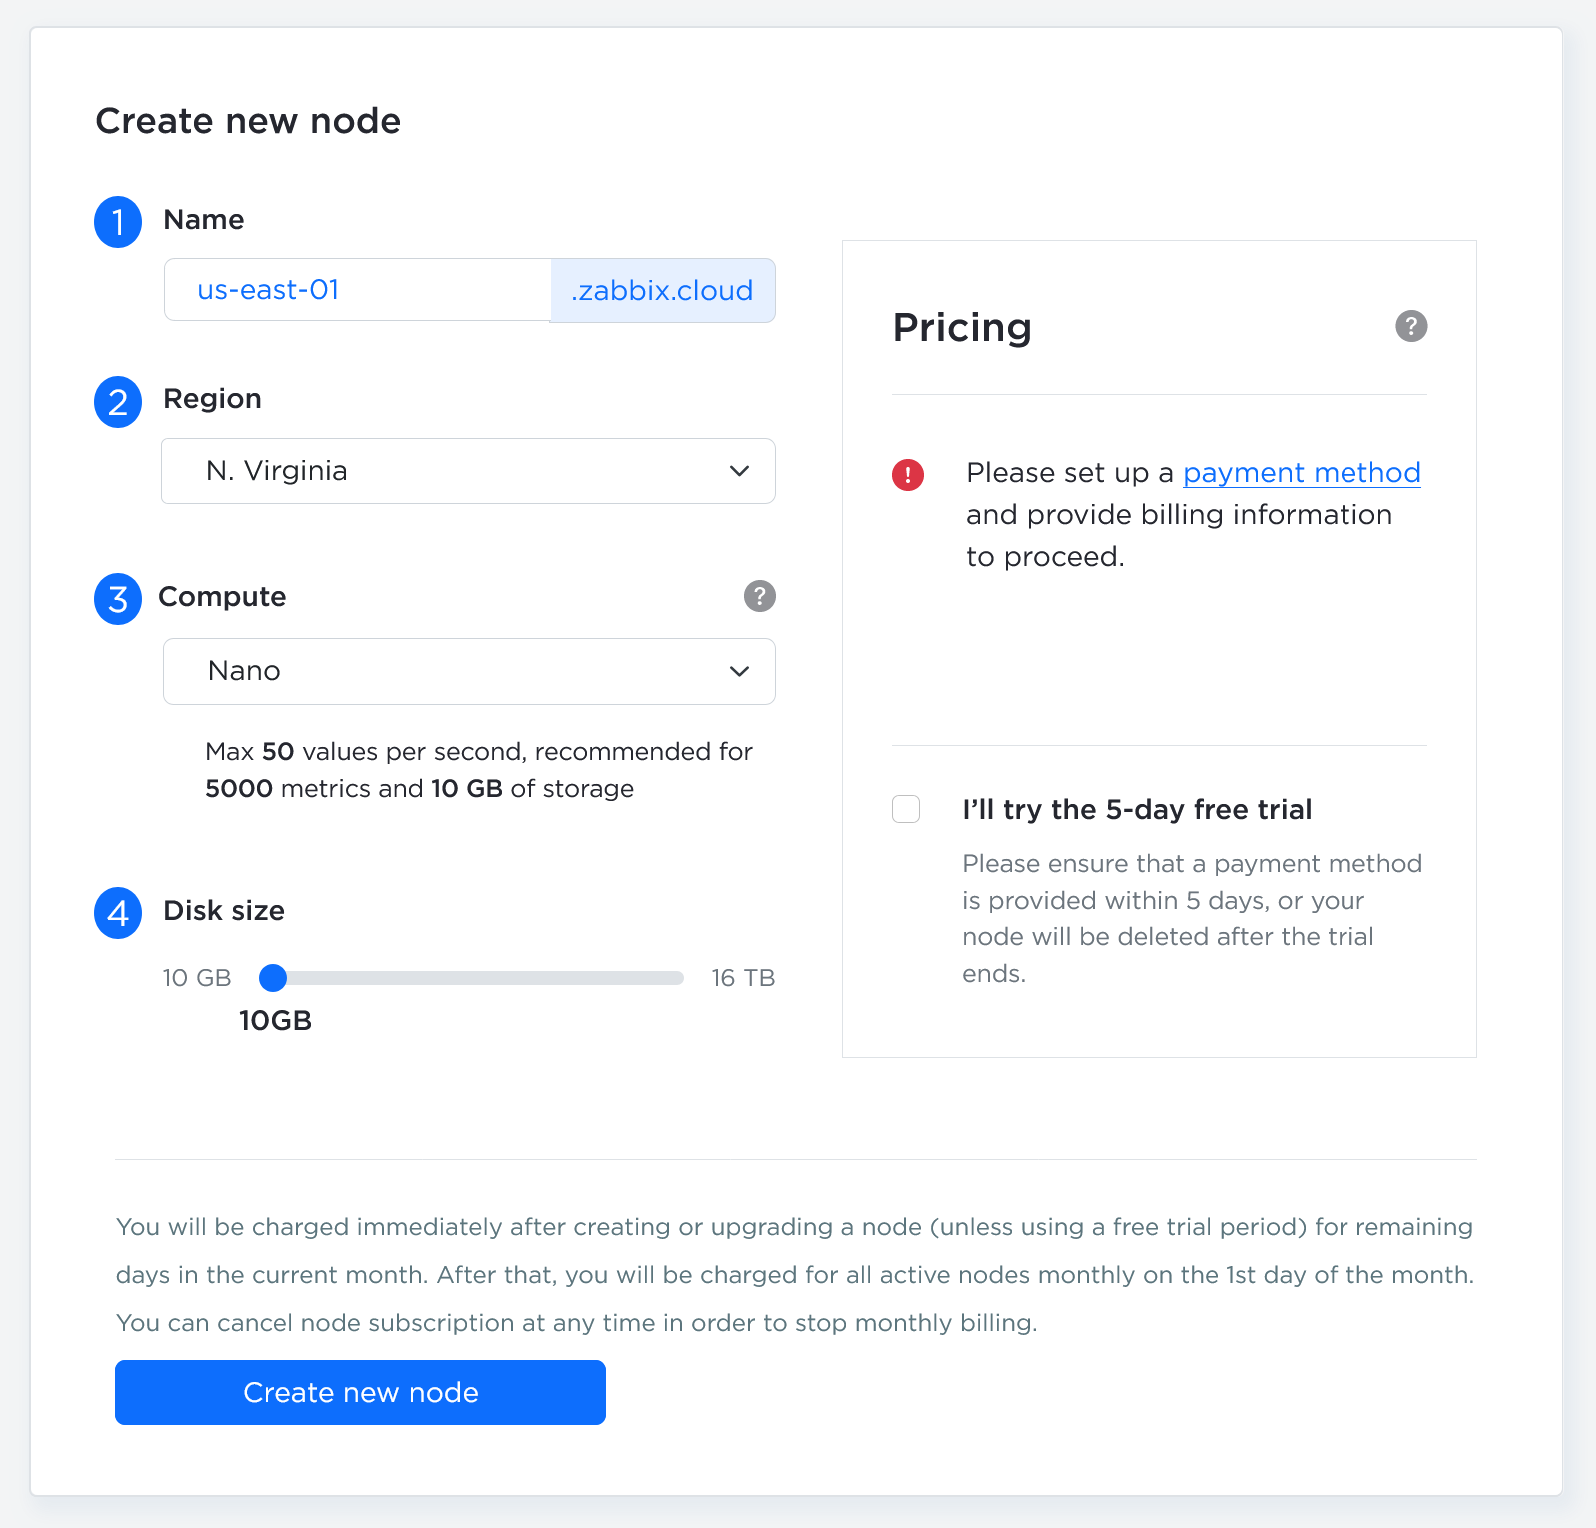
| Parameter | Description |
|---|---|
| Server/Proxy | Select whether to deploy a Zabbix server instance or a Zabbix proxy instance. |
| Node name | The node name forms a unique subdomain in the format <your-name>.zabbix.cloud, which is used to access the node's services. |
| Compute | Select the computing power for the node. To determine what level of resources you need, see pricing details. You can always upgrade later if you need more power. A billing method will be required before creating a non-trial node. Add billing information via the Billing menu. A 5-day free trial is available for trying a Nano tier node. You will not be charged during the trial period, but once it ends, your node will be removed if not converted to a paid node. |
| Disk size | The slider defaults to a recommended minimum based on tier. Increase it if you store large volumes of history or trends. Be aware that larger disks incur higher monthly costs and that you cannot shrink a disk yourself—you'd need to contact support to reduce it. |
| Region | Select the region where the node will be deployed. |
| Select timezone | Select the timezone of the Zabbix server. This timezone is used by the Zabbix server and is independent of the maintenance and user profile timezones. |
After completing the configuration, click Next.
In the second step you will select the node settings.
The configuration options in the second step depend on whether you are creating a server or proxy node.
Configure a server node
During server node creation, the following parameters are available:
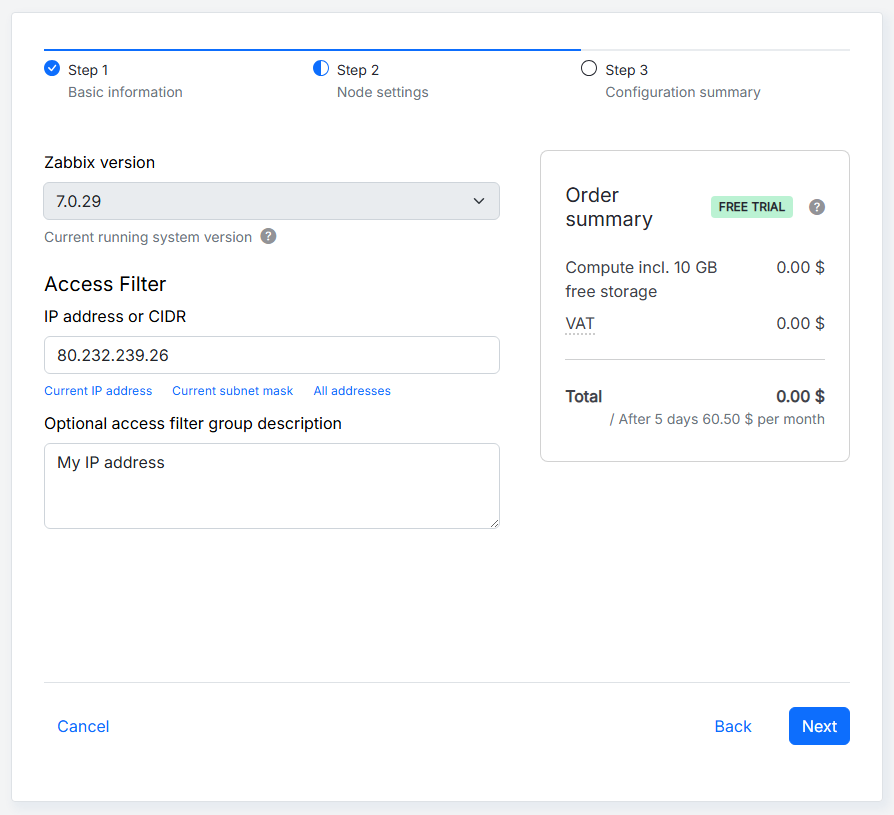
| Parameter | Description |
|---|---|
| Zabbix version | Select the Zabbix version. Zabbix Cloud supports the latest LTS version and automatically applies minor version updates. |
| IP address or CIDR | Specify the initial access filter for the node. Enter the IP address or CIDR manually, or complete the field automatically by selecting the relevant option. For server nodes, this filter applies to connections to the server, API, and frontend. The filter can be changed later in the Access filters tab. |
| Optional access filter group description | Add an optional description for the access filter group, which can contain multiple IP addresses or CIDRs. |
During node creation, the IP address or CIDR field is prefilled with the IP address used to access Zabbix Cloud. You can change this value to specify a different initial access filter. After the node is created, you can add, edit, or delete access filters from the Access filters tab.
The third step displays a configuration summary for the node.
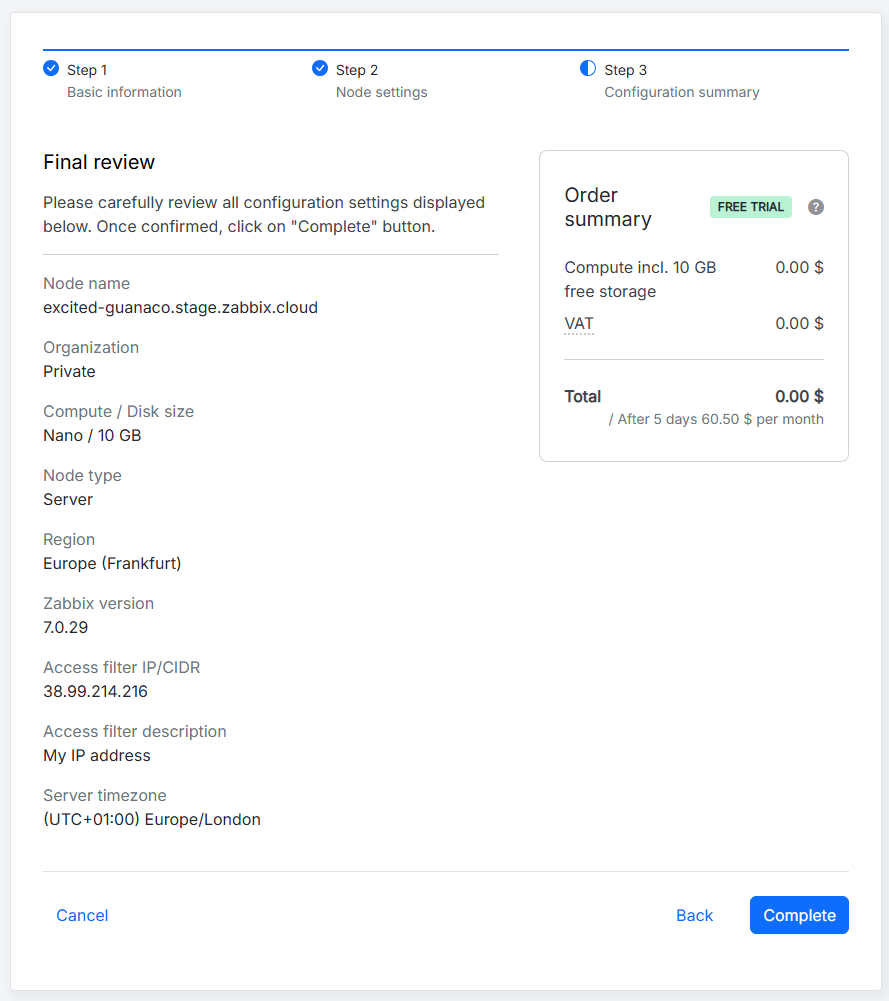
After reviewing configuration settings, and confirming everything is correct, click Complete for a trial node or Proceed to payment for a paid node. Otherwise, return to a previous step by clicking the Back button, or Cancel to start from beginning.
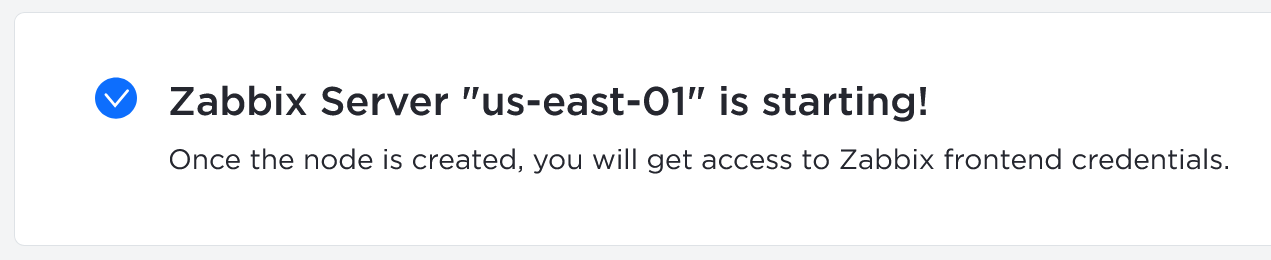
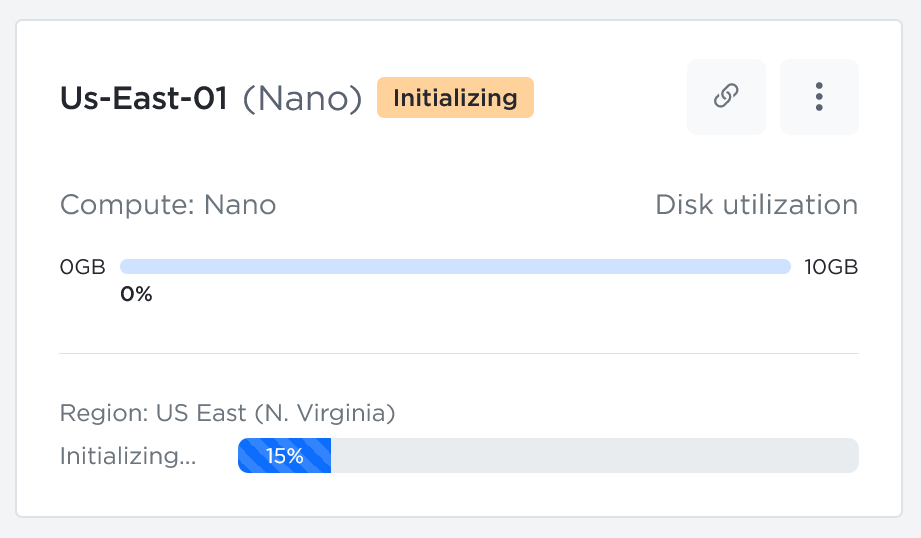
As the node is being initialized, a corresponding message is displayed and the node already appears under Organizations.
Configure a proxy node
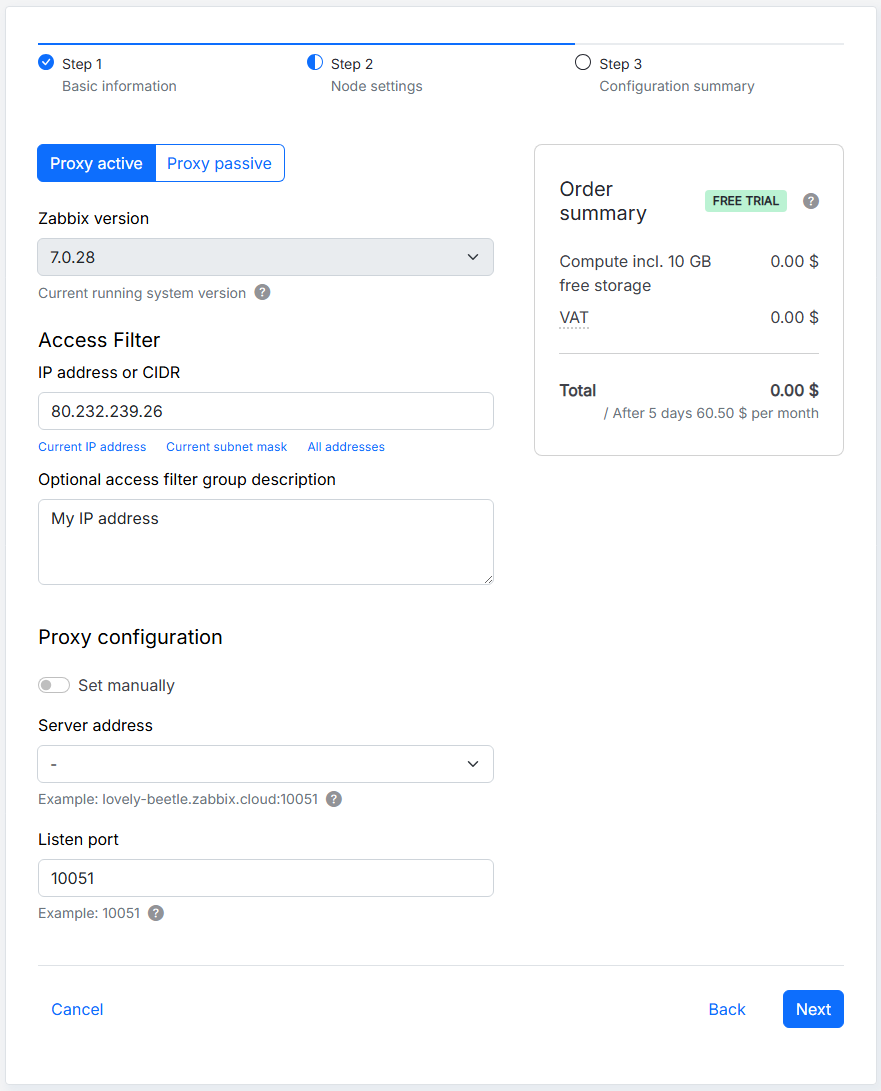
During the proxy node creation the following parameters are available:
| Parameter | Description |
|---|---|
| Proxy active/Proxy passive | Select the proxy mode. In active mode, the proxy initiates connections to Zabbix server; in passive mode, Zabbix server initiates connections to the proxy. |
| Zabbix version | Select the Zabbix version. Zabbix Cloud supports the latest LTS version and automatically applies minor version updates. |
| IP address or CIDR | Specify the initial inbound IP access filter for the proxy. Enter the IP address or CIDR manually, or complete the field automatically by selecting the relevant option. The filter defines which network requests are allowed to reach the proxy and can be changed later in the Access filters tab. |
| Optional access filter group description | Add an optional description for the access filter group, which can contain multiple IP addresses or CIDRs. |
| Set manually | Select how to specify the Zabbix server. When disabled, select a server node from the list of server nodes available to you. When enabled, specify server addresses manually. |
| Server address | Specify the Zabbix server address. When Set manually is disabled, select a server node from the list. When enabled, specify up to 10 server addresses. For an active proxy, specify the IP address or DNS name of the Zabbix server. For a passive proxy, specify the IP address, DNS name, or CIDR of the Zabbix server. Access filters are configured separately and are not updated automatically when a server address is specified. |
| Listen port | Specify the port on which the proxy listens for incoming connections. The default port is 10051. The listen port cannot be changed after node creation. |
In the third step you will see the configuration summary for the node.
After reviewing the configuration settings and confirming that everything is correct, click Complete for a trial node or Proceed to payment for a paid node. Otherwise return to previous steps by clicking the Back button, or Cancel to start from beginning.
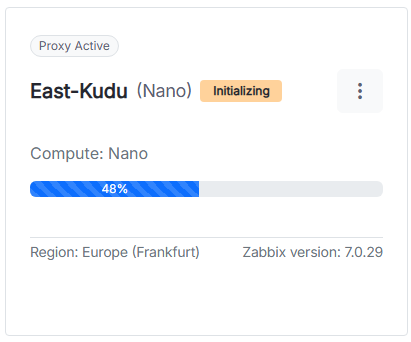
As the node is being initialized, a corresponding message is displayed and the node already appears under Organizations.

To configure a Zabbix Cloud proxy, see Set up a Zabbix Cloud proxy.
Start using Zabbix
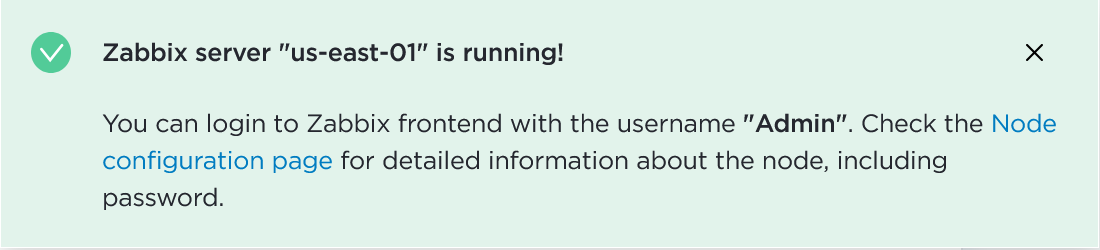
When the server node status changes from Initializing to Running, you can log in to the Zabbix frontend.
To access the initial frontend password, click the created node.
You will be taken to node settings (overview, access filters, encryption, backups, etc.). In Connection info, locate Node password field and select Reset password for Admin from the dropdown. After the password is reset, click the same dropdown and select Copy.
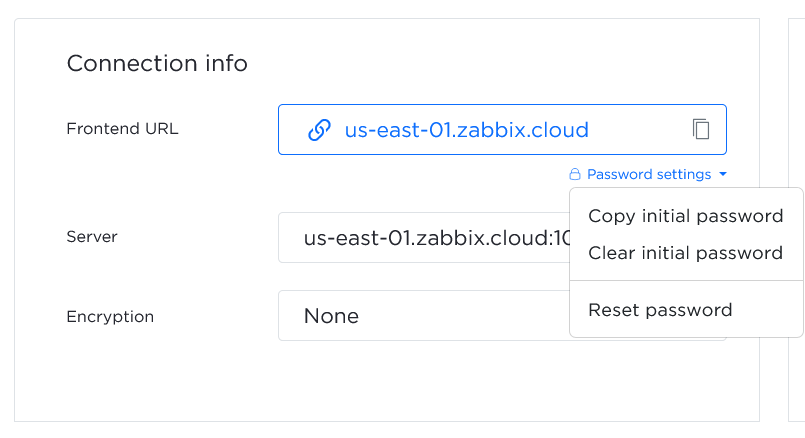
Click the frontend URL to open Zabbix frontend (excited-guanaco.zabbix.cloud).
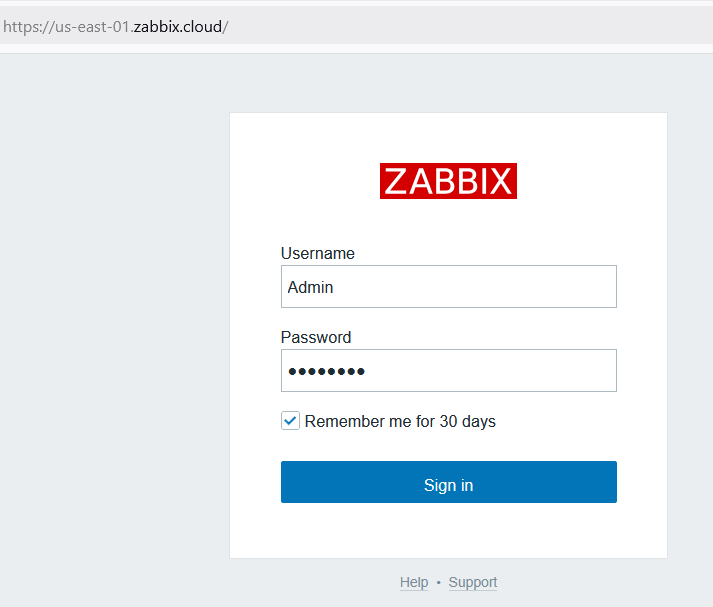
Log in using the following credentials:
- Username -
Admin - Password - provide the copied password
To start monitoring, you need to define access filters - IP address or addresses that are allowed to connect to the Zabbix Cloud server. At least one must be defined.
Organization management
An organization is a container for one or more nodes. Organizations also help you structure your resources and delegate responsibilities, such as:
- Node management
- Billing
When you log in to Zabbix Cloud, the All organizations page is displayed. By default, a private organization is created for your account.
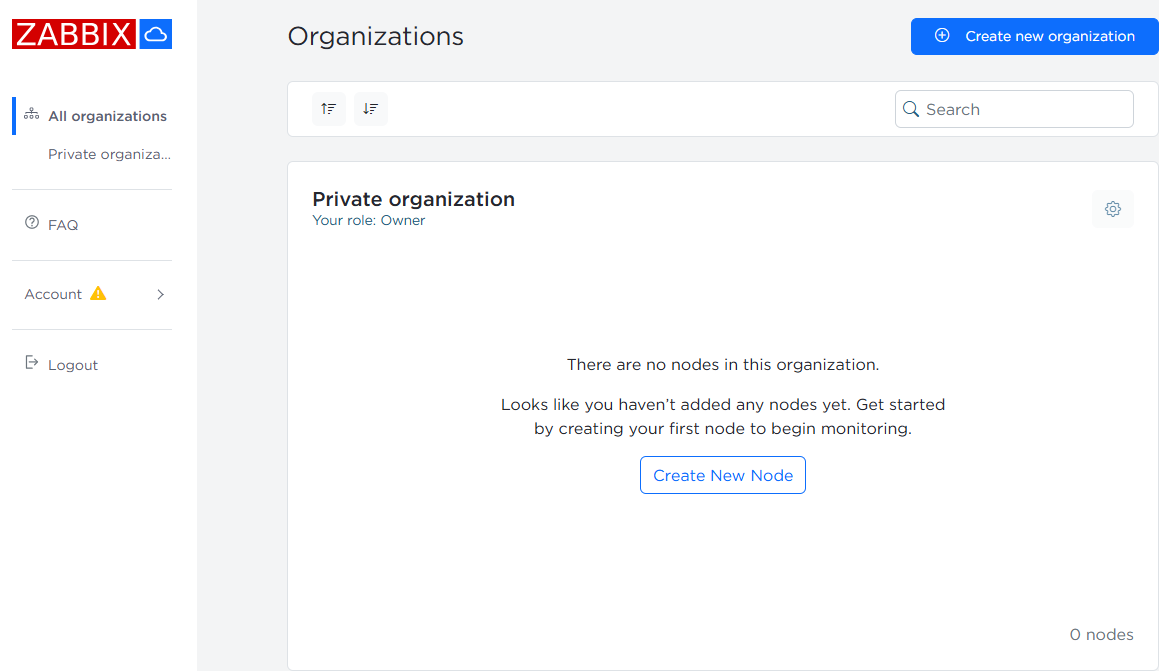
As the owner of this organization, you can manage users, admins, nodes, and the organization name.
Click the  settings button to access management options.
Account management
Changing the account email address
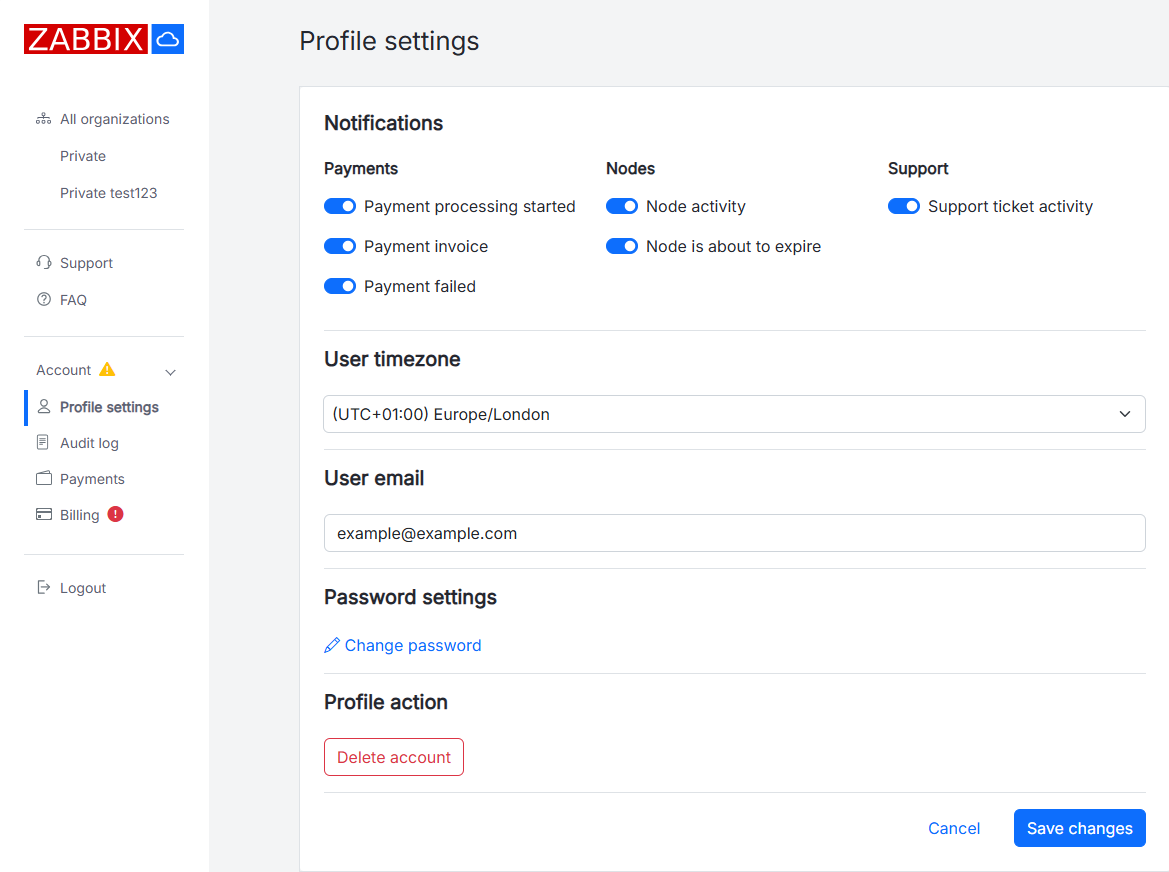
To change the account email address, navigate to Account > Profile settings.
In the User email field, enter the new email address and click Save changes.
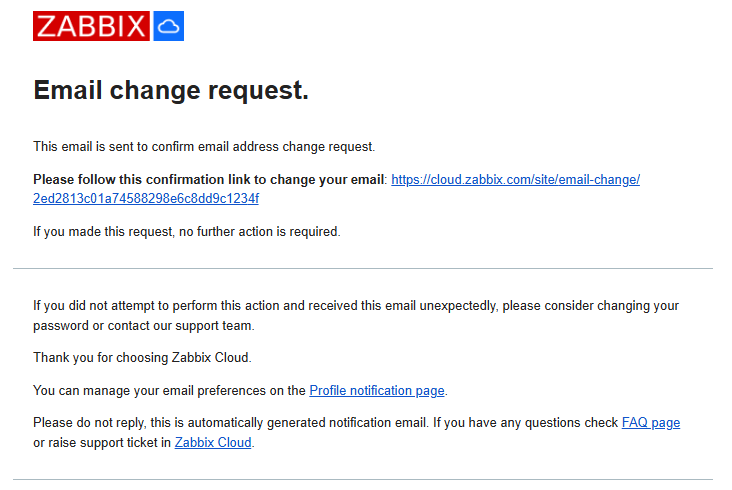
A confirmation message is sent to the new email address. Follow the link in the message to confirm the email address change.
The confirmation link opens the Profile settings page with a confirmation message and the updated email address in the User email field.
An email notification about the email address change is also sent to the previous email address.