
Adding users
Introduction
The following examples describe how to add users to your organization and nodes.
Copying, clearing, and resetting frontend password can be only performed by the owner.
Adding users to organizations
Similar to users in Zabbix, you can create users in Zabbix Cloud and assign them roles to control what they can do within an organization and its nodes.
To add users to your organization:
1. Open the All organizations page.
2. Click the ![]() settings button of the particular organization to enter its management menu.
settings button of the particular organization to enter its management menu.
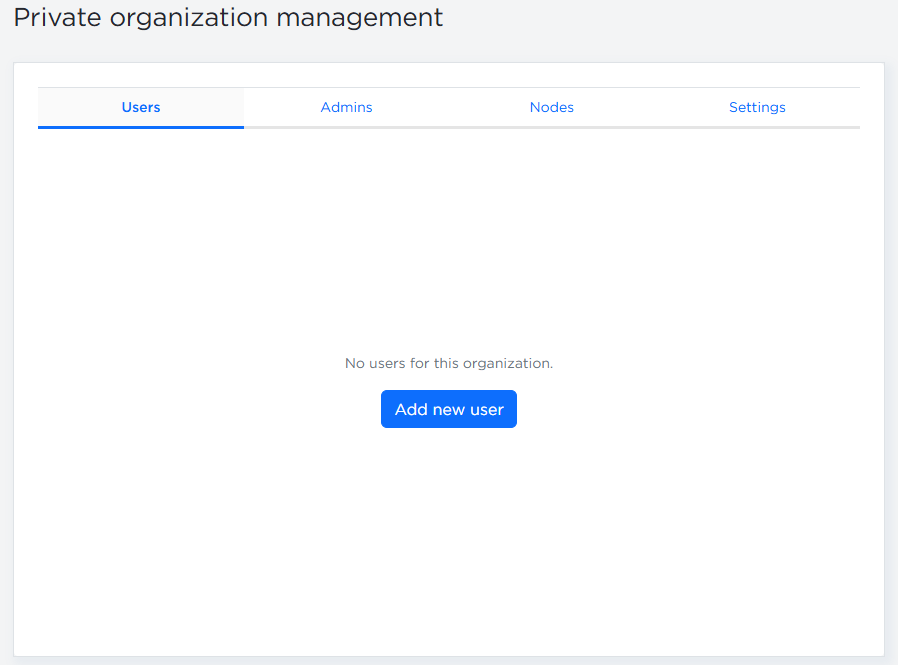
3. In the Users or Admins tab, click Add new user.
4. Enter the user's email and select a role: Administrator or User.
Note that selecting the User role adds the user to the organization, but does not grant access to any nodes.
Each role grants a different level of access:
-
User - can access nodes they're assigned to and can perform configuration tasks that do not generate charges, for example:
- Manage access filters
- Configure encryption
- Set history/trend retention periods
- Schedule maintenance
-
Administrator - has all User permissions and can also perform actions that may generate charges, for example:
- Create and restore backups
- Upgrade or downgrade node resources (compute tier and disk size)
- Cancel subscriptions
-
Owner - has full control over the organization. In addition to all Administrator permissions, the Owner can:
- Create and destroy nodes
- Add or remove Users and Administrators
- Rename or delete the organization
- Manage billing details
The Owner's payment method is charged for all services. If bank confirmation is required, the Owner must authorize the transaction, even if it was initiated by an Administrator.
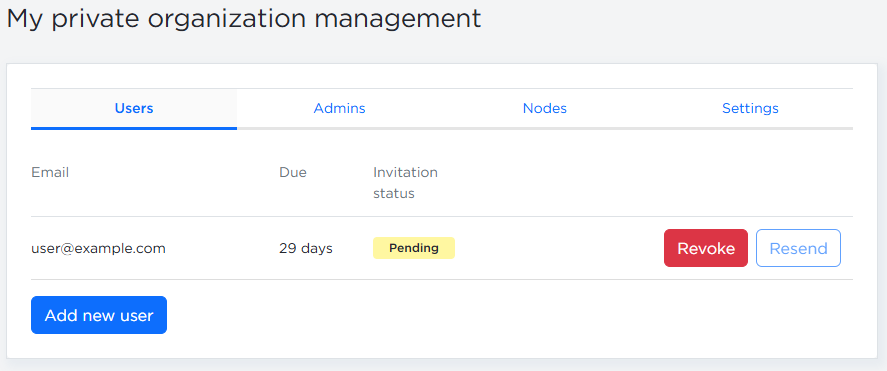
The invited user will be added with a Pending status. You can revoke the invite or resend it (resending is available once every 10 minutes—the button will be disabled if this limit is reached).
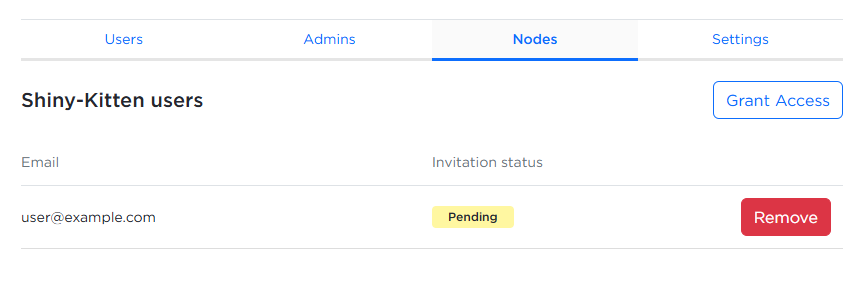
Adding users to nodes
To add the user to the node:
- Go to the Nodes tab.
- Click Grant Access.
- Select a user added to the organization from the dropdown.
- Click Grant access.
Alternatively, you can grant access from the Node configuration window:
- Click the
 settings button.
 - Select Add user.
- Choose a user and click Grant access.
Invited users must accept the invitation by creating a Zabbix Cloud account using the same email address where the invitation was sent. If the user already has a Zabbix Cloud account under that email, they must sign in and confirm the invitation. Invitations are tied to a specific email address and cannot be accepted from a different account.