Host Wizard
Overview
The Host Wizard is a guided, step-by-step interface for setting up your monitoring target (device, application, service, etc.) in Zabbix. It walks you through the following steps:
- Selecting a template
- Creating or selecting a host
- Installing Zabbix agent or agent 2
- Adding a host interface
- Applying additional configuration to your monitoring target or the Zabbix host (if required by the template)
To access the Host Wizard in Zabbix frontend, do the following:
- Go to: Data collection > Hosts
- Click Host Wizard in the upper-right corner of the screen
- Follow the instructions in the wizard
You can also edit an existing host by clicking its name (or the three dots icon next to it) in various frontend sections to access the Host Wizard from the host menu. Note that some steps are skipped when editing an existing host if it already includes the configuration required by the selected template.
Alternatively, you can use the classic approach to creating and configuring a host.
Welcome to the Host Wizard
When you start the Host Wizard, a welcome screen is displayed:
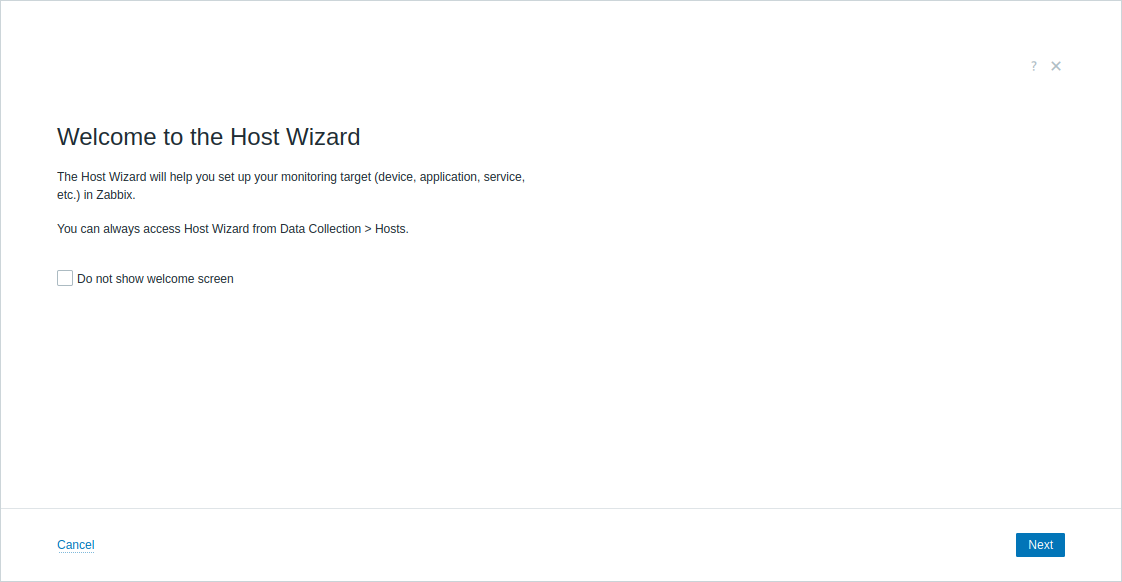
To skip this screen in future sessions, you can mark the Do not show welcome screen checkbox and click Next.
If you start configuring settings in the next Host Wizard steps and try to close the wizard by clicking the close icon or pressing ESC, a confirmation screen will appear:
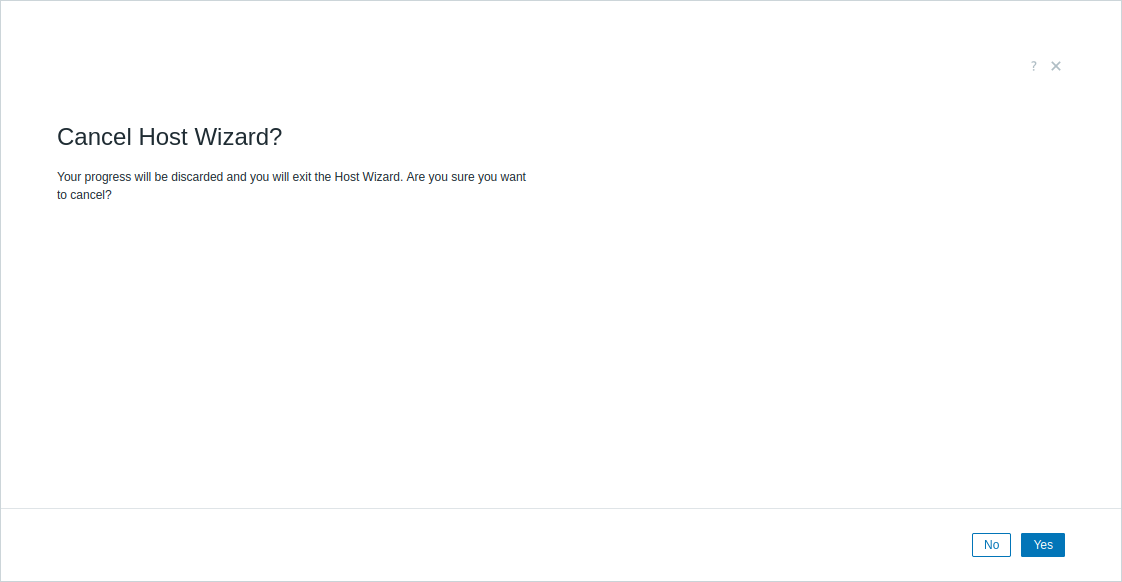
Clicking Yes will exit the Host Wizard without saving your progress. Clicking No, ESC, or the close icon will return to the last step.
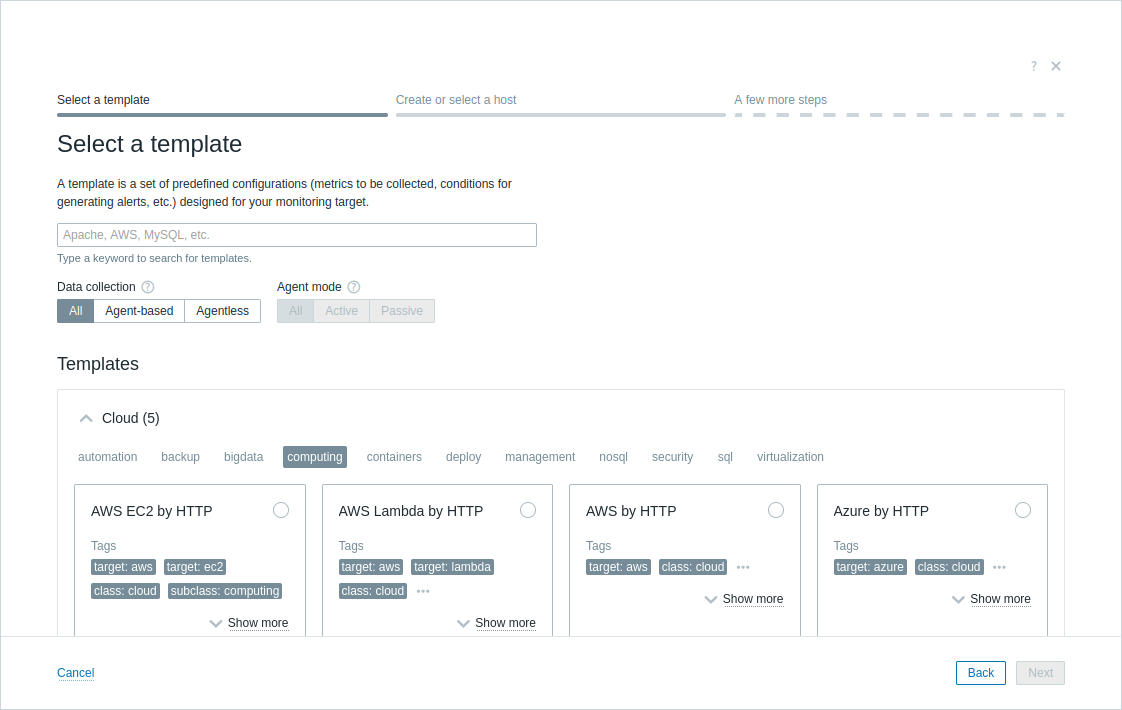
Select a template
The first step of setting up your monitoring target is to select a template—a set of predefined configurations (metrics to be collected, conditions for generating alerts, etc.) designed for your monitoring target.
Zabbix out-of-the-box templates offer a variety of predefined monitoring configurations for operating systems, applications, databases, network devices, services, and more.
In this step, you can:
- Browse templates by class (Cloud, Database, Network, etc.) and subclass (e.g., automation, backup), which are based on template tags.
- Search templates by keywords in template name or template tag names and values.
- Filter templates by data collection method (agent-based or agentless; agent-based templates include at least one Zabbix agent item).
- Filter templates by agent mode (active or passive; active templates include at least one Zabbix agent (active) item, while passive templates include at least one passive item; for details, see Passive and active agent checks).
- When using the Host Wizard to configure an existing host, you can also filter templates already linked to the host.
When selecting a template, you may see the following message: Some templates (n) are incompatible with the Host Wizard. See how to update them. Custom templates are not supported. This indicates that some out-of-the-box templates are not yet compatible with the Host Wizard and need to be upgraded; see template upgrade instructions.
The template you select will determine the next steps in the Host Wizard. For example, if you select the MySQL by Zabbix agent template, which uses Zabbix agent for data collection, the wizard will guide you through the agent installation process.
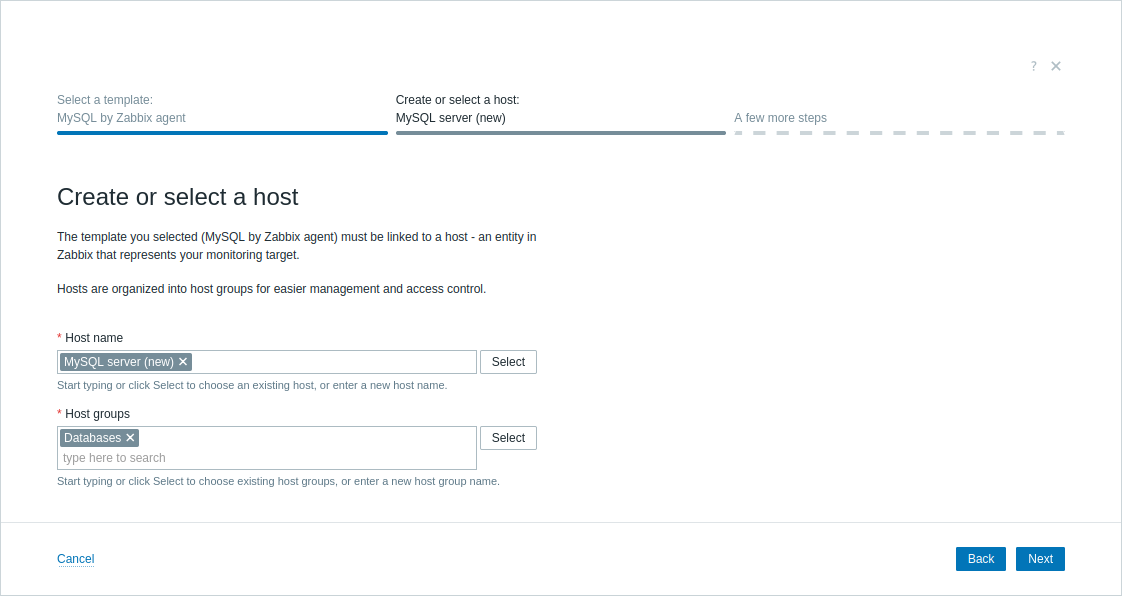
Create or select a host
A template must be linked to a host—an entity in Zabbix that represents your monitoring target. When linked, the host receives all template entities, such as items (metrics to be collected) and triggers (conditions for generating alerts), that are required for monitoring.
Each host must also belong to at least one host group, which is used for organizing hosts and assigning user permissions to them.
In this step, you can:
- Create a new host and host group by entering names for both.
- Create a new host by entering its name, and select an existing host group, to which the new host will be assigned.
- Select an existing host; you can also assign this host to additional host groups without removing it from any current groups.
Selecting an existing host does not remove or overwrite its current configuration unless stated explicitly in later steps. Discovered hosts cannot be selected.
For example, you could create a new host named MySQL server to represent the locally installed MySQL server that you want to monitor. The previously selected MySQL by Zabbix agent template will be linked to this host. Additionally, you could select the existing Databases host group (or create a new one, e.g., MySQL servers) to organize the host with other database-related hosts and later simplify permission management.
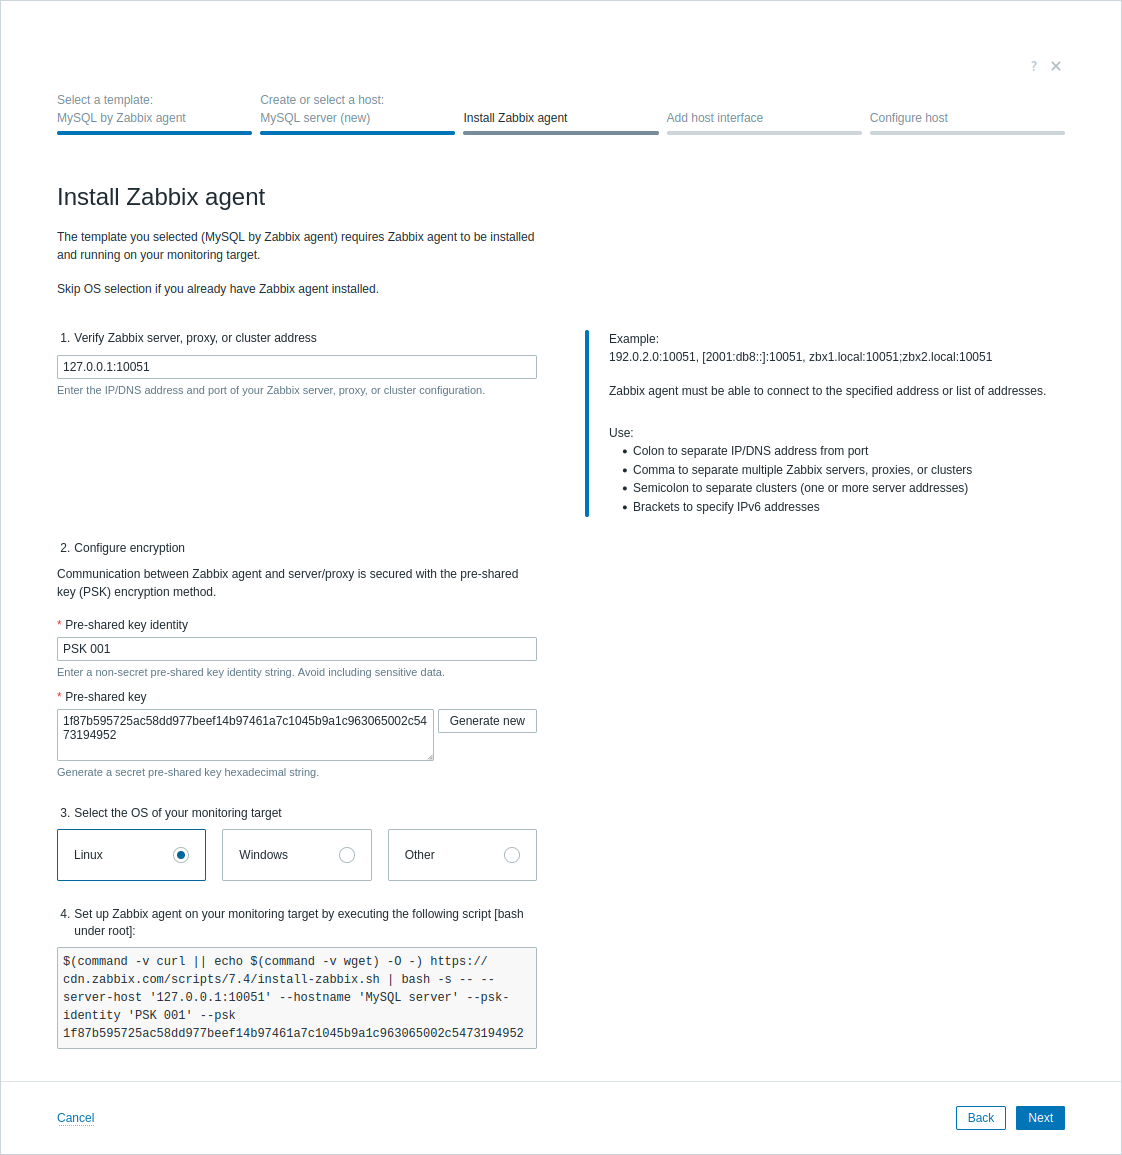
Install Zabbix agent
Agent-based templates (such as MySQL by Zabbix agent) require installing Zabbix agent or agent 2—a process deployed on your monitoring target to actively monitor local resources and applications (if required by the template).
In this step:
- Verify Zabbix server, proxy, or cluster address (e.g., 192.0.2.1:10051). This value will be used to configure the Server and ServerActive parameter for Zabbix agent.
- Enter a new, unique, and non-secret pre-shared key identity (e.g., PSK 001 or mysql-agent-psk1), and generate the pre-shared key. These values will be used to configure pre-shared key (PSK) encryption for the Zabbix host (e.g., MySQL server) and Zabbix agent.
When editing an existing host, the PSK configuration will overwrite all existing encryption settings on the host.
- Select the operating system of the machine that hosts your monitoring target.
- Install Zabbix agent on that system by running the provided script on it or by following the installation instructions.
For example, you could set Pre-shared key identity to PSK 001 and generate a new Pre-shared key. Then, you could select Linux as the operating system and run the provided script on that system. After installing Zabbix agent, return to the Host Wizard.
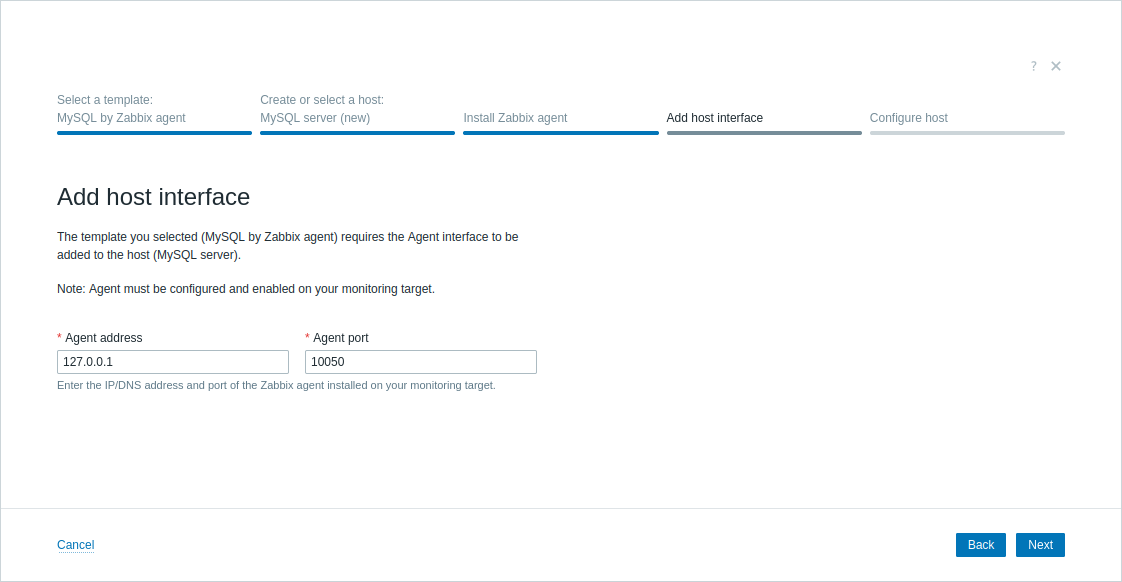
Add host interface
The host interface defines how Zabbix server connects to your monitoring target over the network. It defines connection parameters such as IP address, DNS name, port, and interface type (Agent, SNMP, JMX, or IPMI), depending on the data collection method required by the selected template.
In this step, enter the host interface details required by the selected template.
For example, you could use the default agent address (127.0.0.1) and port (10050) if Zabbix server, Zabbix agent, and the MySQL server are all running locally on the same machine.
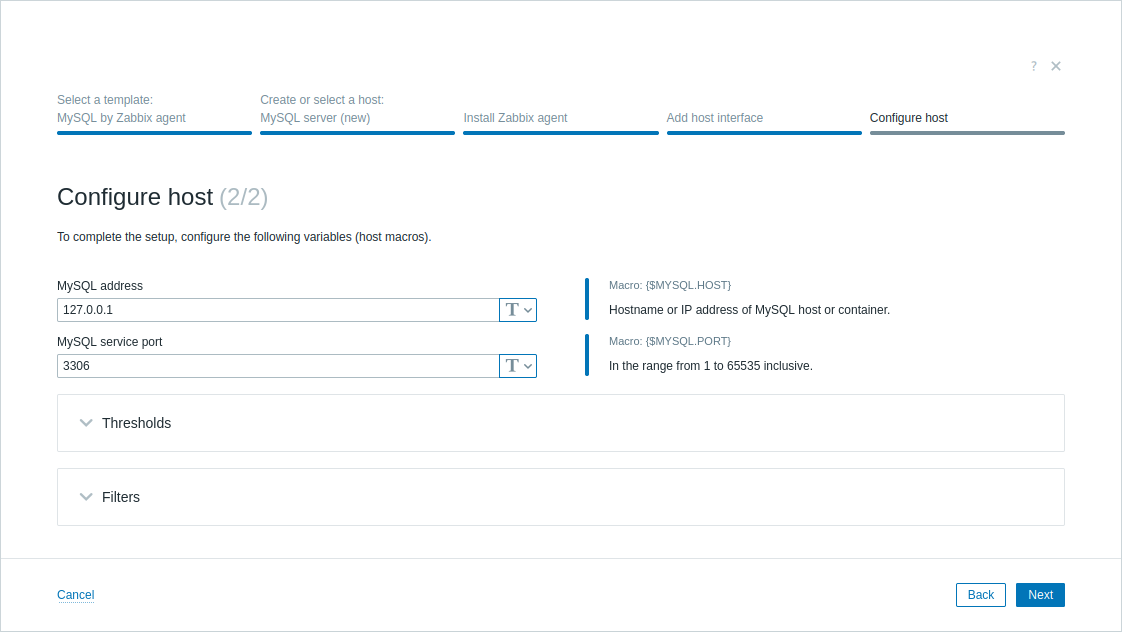
Configure host
Some templates require additional configuration before the host can be created. These may include:
- Manual configuration of your monitoring target (e.g., enabling specific services, creating service users, or granting permissions):
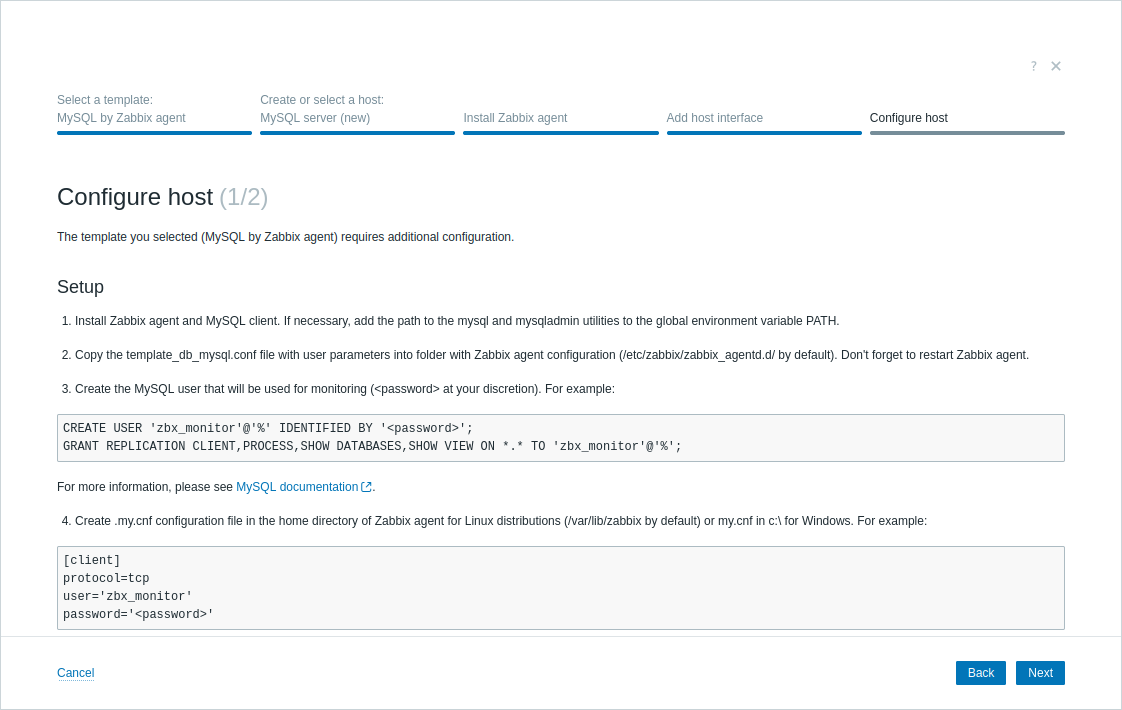
- Defining host macros—variables that control item behavior, connection settings, authentication credentials, and other parameters:
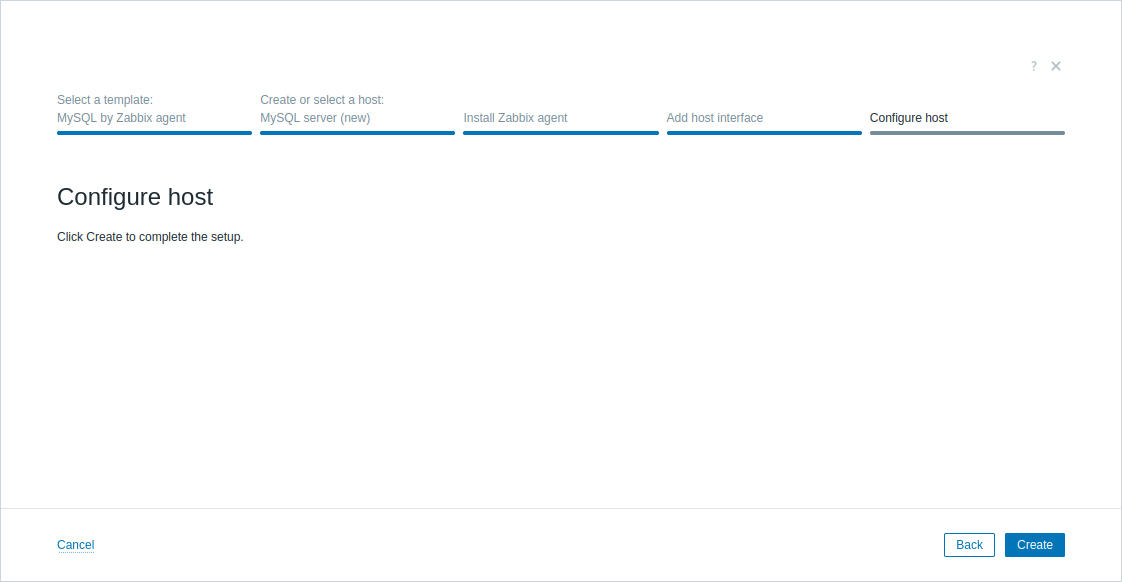
After completing all required configuration steps, click Create to add the host to Zabbix (or Update to update the configuration of an existing host):
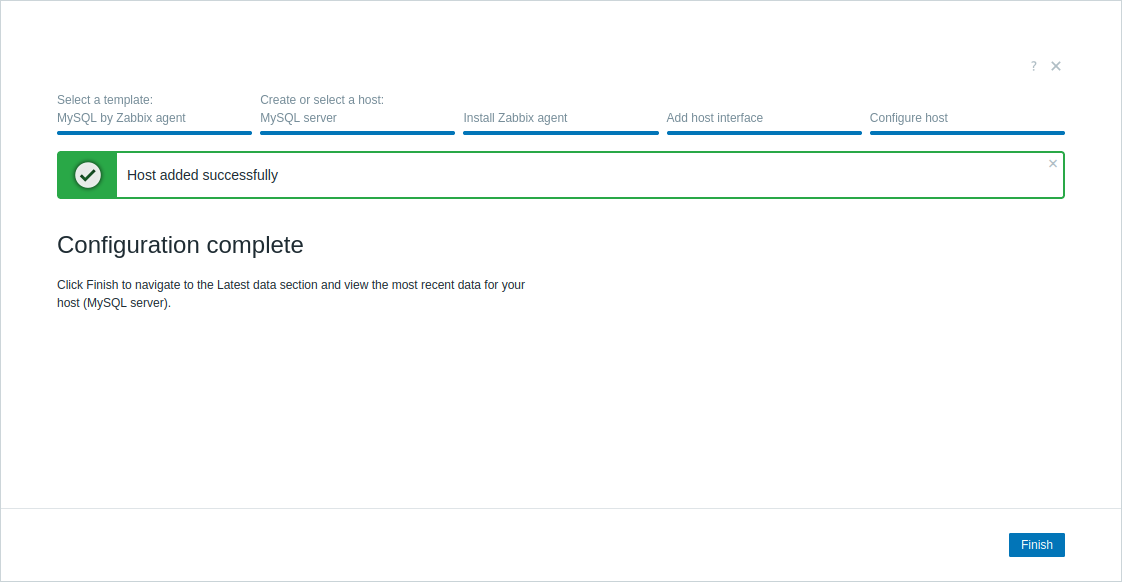
Configuration complete
At this point, Zabbix is already monitoring your target.
For new hosts, click Finish to navigate to the Latest data section and view the most recent data for your host. For existing hosts, click Finish to close the Host Wizard and return to the screen where it was opened.