
MySQL server monitoring
To start monitoring a MySQL server, follow this process:
- Create limited MySQL user.
- Apply MySQL monitoring template.
- Look at latest data.
To start monitoring a MySQL server you need to know its DSN, and the IP address of the Zabbix server.
A Zabbix agent will be used to monitor the MySQL server. Instructions for installing the agent will be provided in the process.
To use this guide you must have Zabbix server and the web interface installed. You must be logged in to Zabbix as the default Admin user.
Create limited MySQL user
It is recommended to create a MySQL user, limited in permissions only to those needed for monitoring MySQL.
mysql> CREATE USER 'zbx_monitor'@'%' IDENTIFIED BY '<password>';
mysql> GRANT REPLICATION CLIENT,PROCESS,SHOW DATABASES,SHOW VIEW ON *.* TO 'zbx_monitor'@'%';
Apply MySQL monitoring template
In Zabbix this template is ready to use. It contains pre-configured elements ready for data collection, visualisation and analysis.
To apply the template:
-
Start the Host Wizard in Data collection > Hosts.
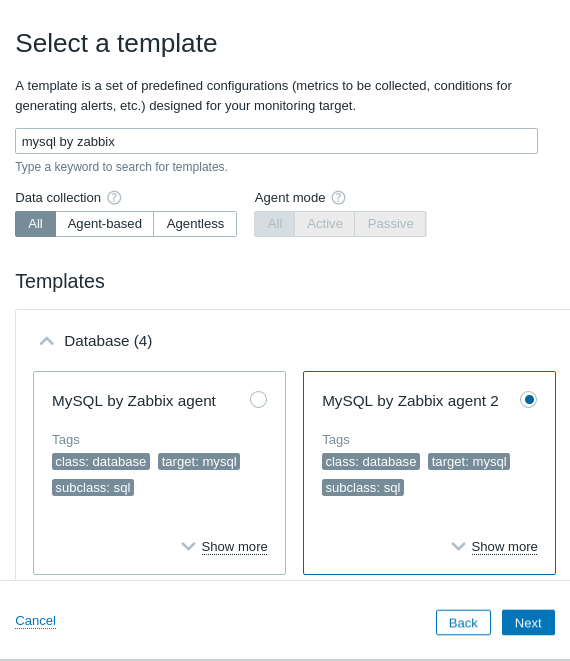
-
Select the MySQL by Zabbix agent 2 template.
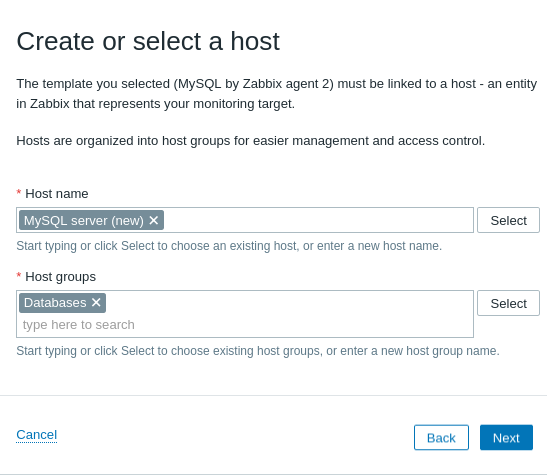
- Create a MySQL server host, add a group for it. This virtual host will contain all data related to the MySQL server monitoring.
- Configure and install agent 2 (Zabbix agent 2 provides MySQL monitoring out of the box).
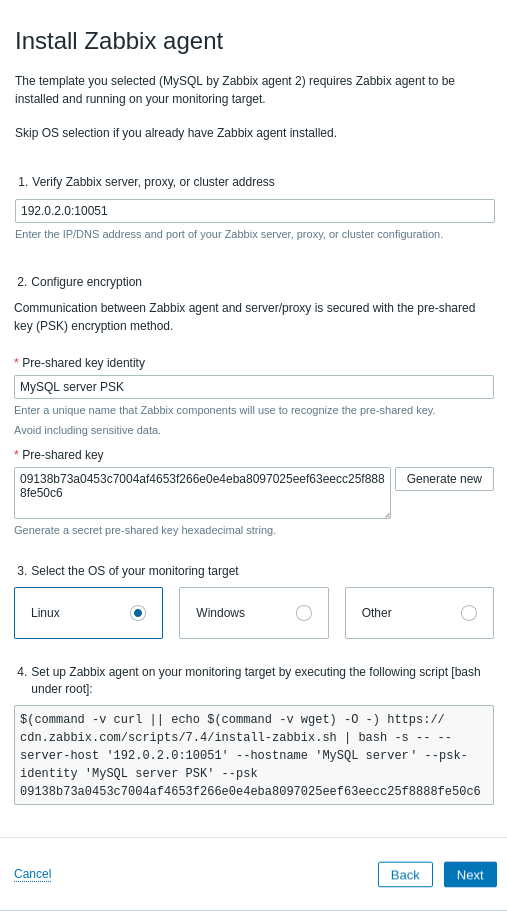
To install the agent, execute the command provided, on the machine hosting the MySQL server.
It will install the agent, and configure the agent's connection to Zabbix server with encryption.
If you already have agent 2 installed, you can skip this step (click Next).
However, you will be asked to provide the pre-shared key identity and the pre-shared key to connect to the agent.
- Enter the agent (Linux server) IP address and port.
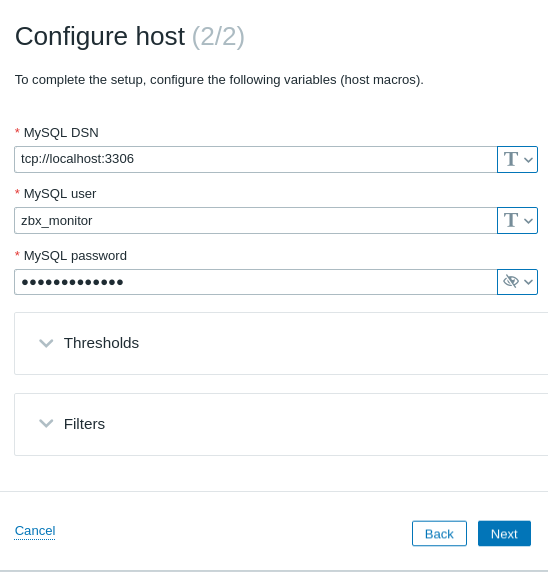
- Finish configuring the host.
Importantly, you will be asked to enter the MySQL server DSN, MySQL user and password.
Provide the
zbx_monitoruser with the password that you created.

You can leave other settings to their defaults.
- To complete the Host Wizard, click Create and Finish.
Look at latest data
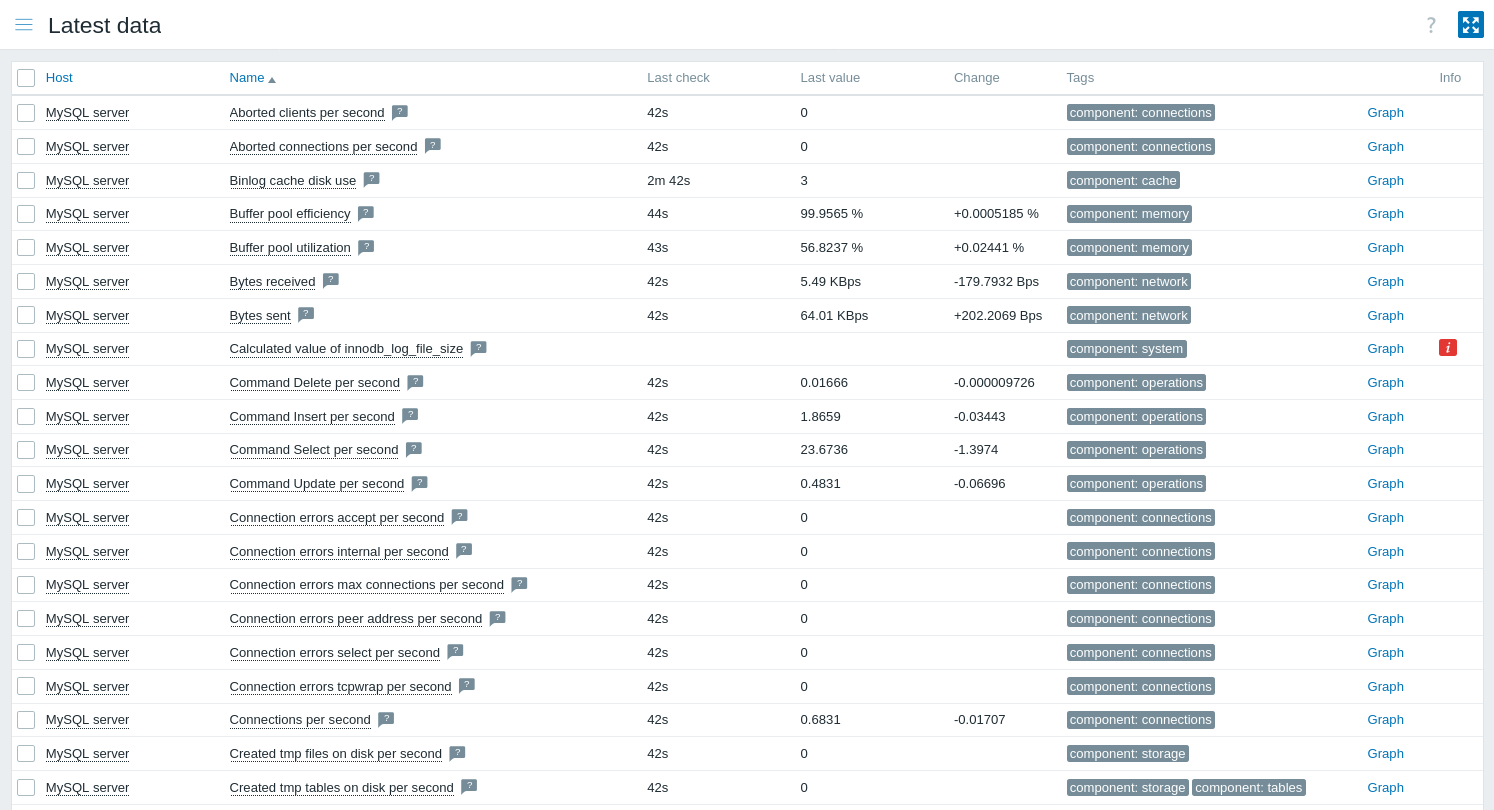
Congratulations, MySQL server monitoring has been started!
Zabbix provides visualisation options and delivers alerts if any problems arise. To configure alerts in the email, see Receiving problem notification.