
3 Receiving notification on unsupported items
Overview
Receiving notifications on unsupported items is a new functionality in Zabbix 2.2.
It is part of the new concept of internal events in Zabbix, allowing users to be notified on these occasions. Internal events reflect a change of state:
- when items go from 'normal' to 'unsupported' (and back)
- when triggers go from 'normal' to 'unknown' (and back)
- when low-level discovery rules go from 'normal' to 'unsupported' (and back)
This section presents a how-to for receiving notification when an item turns unsupported.
Configuration
Overall, the process of setting up the notification should feel familiar to those who have set up alerts in Zabbix before.
Step 1
Configure some media, such as e-mail, SMS or Jabber, to use for the notifications. Refer to the corresponding sections of the manual to perform this task.
For notifying on internal events the default severity ('Not classified') is used, so leave it checked when configuring user media if you want to receive notifications for internal events.
Step 2
Go to Configuration→Actions and select Internal as the event source. Click on Create action on the upper right to open an action configuration form.

Step 3
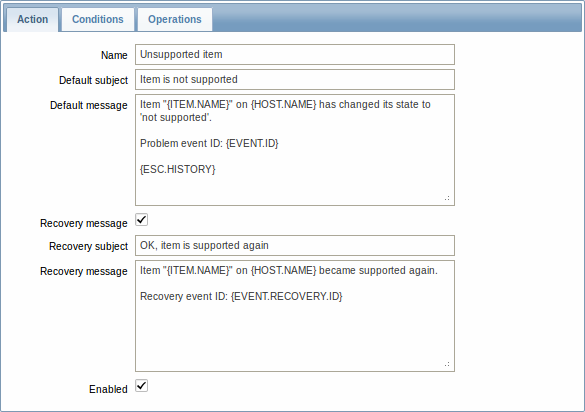
In the Action tab enter a name for the action and the subject/content of problem and recovery messages.
Step 4
In the Conditions tab select Event type in the New condition block and select Item in "not supported" state as the value.
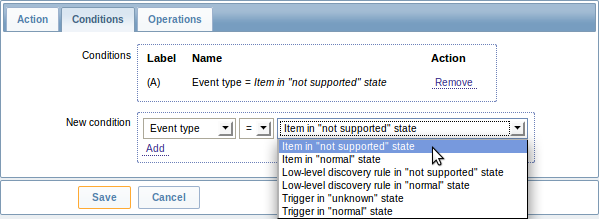
Don't forget to click on Add to actually list the condition in the Conditions block.
Step 5
In the Operations tab, click on New and select some recipients of the message (user groups/users) and the media types (or 'All') to use for delivery.
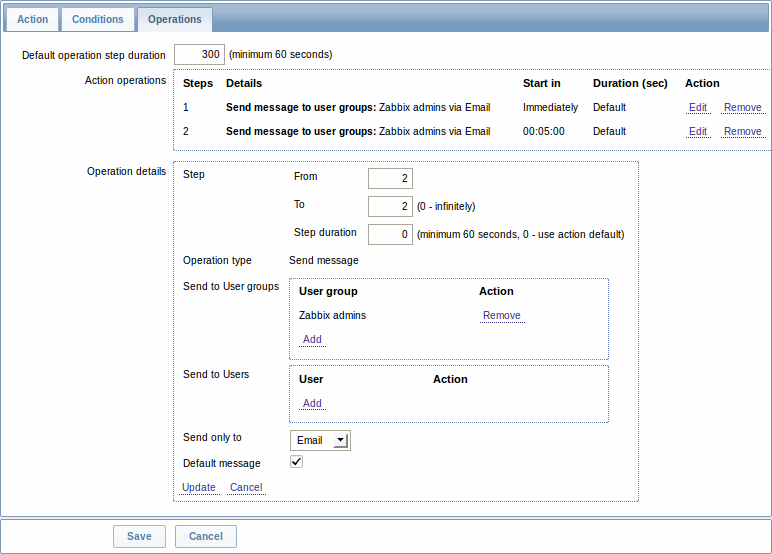
Click on Add to actually list the operation in the Action operations block.
If you wish to receive more than one notification, set the operation step duration (interval between messages sent) and add another operation.
When finished, click on the Save button underneath the form.
And that's it, you're done! Now you can look forward to receiving your first notification from Zabbix if some item turns unsupported.