
3 Configuration
Configuration of Nodes
Node configuration is performed in Administration → DM section.
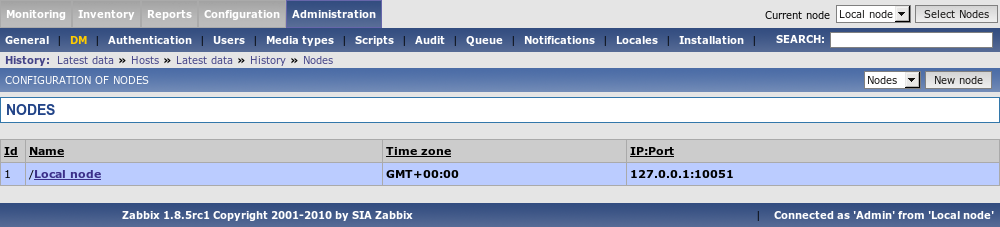
Parameters of a Node:
| Parameter | Description |
|---|---|
| Name | Unique node name. |
| Id | Unique Node ID. |
| Type | Local – Local node Remote – Remote node |
| Time zone | Time zone of the Node. Zabbix automatically converts time stamps to local timezone when transferring time related data across nodes. |
| IP | Node IP address. Zabbix trapper must be listening on this IP address. |
| Port | Node Port number. Zabbix trapper must be listening on this port number. Default is 10051. |
| Do not keep history older than (in days) | For non local historical data only. Zabbix won't keep history of the node longer than N days. |
| Do not keep trends older than (in days) | For non local trend data only. Zabbix won't keep trends of the node longer than N days. |
Simple configuration
Our simple configuration consists of a Central Node and a Child Node.
Central Node will have total control over configuration of Child Node. Child Node will report to central node events, history and trends.
Central Node will have NodeID=1, while Child Node's NodeID=2.
Central Node IP: 192.168.3.2
Child Node IP: 192.168.3.5
For Central Node
Step 1 Install Zabbix.
Follow standard installation instructions to create database, install Zabbix frontend and binaries.
Step 2 Setup NodeID in server configuration file.
In file zabbix_server.conf:
NodeID=1Step 3 Convert database data.
Zabbix server has to be executed to convert unique IDs for use by first node.
cd bin
./zabbix_server -n 1 -c /etc/zabbix/zabbix_server.conf
Converting tables .................................................................. done.

Conversion completed.
This should be executed only once. This option is not required to start Zabbix server! Running Zabbix server with the -n option does not start the server process.
Step 4 Configure Node parameters.
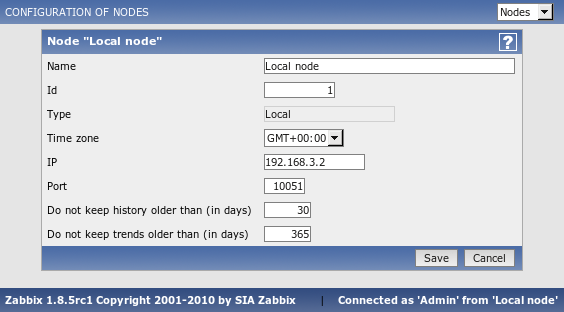
Step 5 Add child node.
Step 6 Start Master Node.
We should see NodeID in startup messages of server log file:
31754:20070629:150342 server #16 started [Node watcher. Node ID:1]For Child Node
Step 1 Install Zabbix.
Follow standard installation instructions to create database, install Zabbix frontend and binaries.
Step 2 Setup NodeID in server configuration file.
In file zabbix_server.conf:
NodeID=2Step 3 Convert database data.
Zabbix server has to covert all IDs to unique ones for the second node.
cd bin
./zabbix_server -n 2 -c /etc/zabbix/zabbix_server.conf
Converting tables .................................................................. done.

Conversion completed.
This should be executed only once. This option is not required to start Zabbix server!
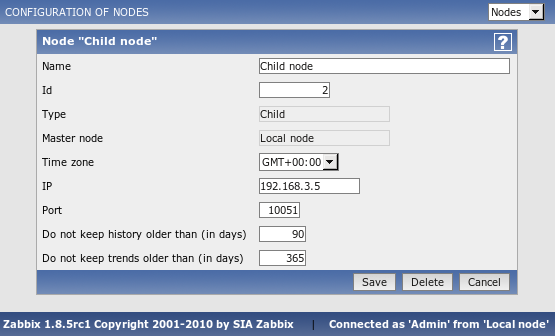
Step 4 Configure Node parameters.
Step 5 Add master node.

Step 6 Start Child Node.
We should see NodeID in startup messages of server log file:
27524:20070629:150622 server #9 started [Node watcher. Node ID:2]Does it work?
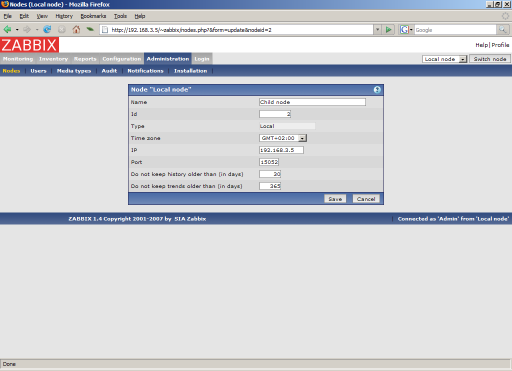
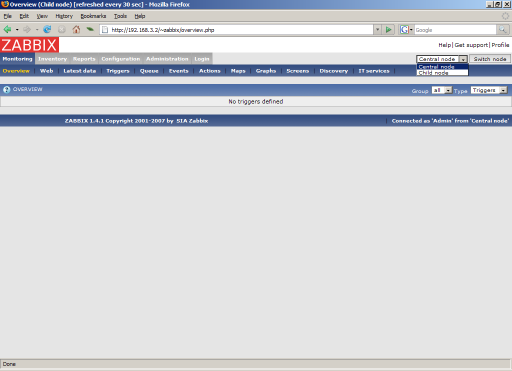
Selection of active nodes will appear automatically after nodes are defined:
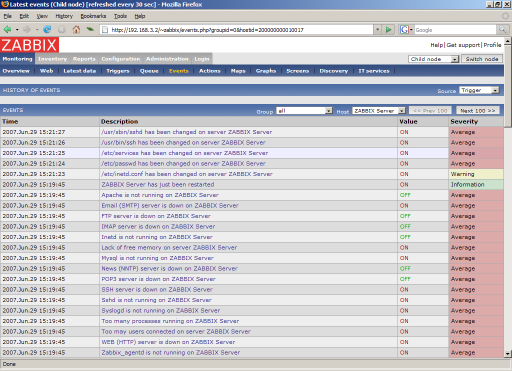
Add host for monitoring for Child Node node and see events coming to Master Node:
More complex setup
The setup consists of seven Nodes. Each Node may be configured either locally (using local WEB interface) or from one of its Master Nodes.
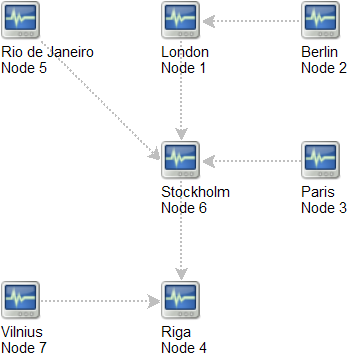
In this example, Riga (node 4) will collect events from all child nodes. It may also optionally collect historical information as well.