5 Real life scenario
Let's use Zabbix Web Monitoring to monitor the web interface of Zabbix. We want to know if it is available, provides the right content and how quickly it works. First we must log in with our user name and password.
Step 1
Add a new host application.
Go to Configuration → Hosts, then click on Applications next to the host you want to use for web monitoring. In the application section click on Create application.
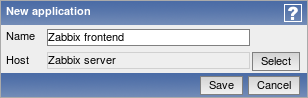
This step is not required if you already have a suitable application. You may also want to create a host if one does not exist.
Step 2
Add a new web scenario.
We will add a scenario to monitor the web interface of Zabbix. The scenario will execute a number of steps.
Go to Configuration → Web, select the host in the dropdown, then click on Create scenario.
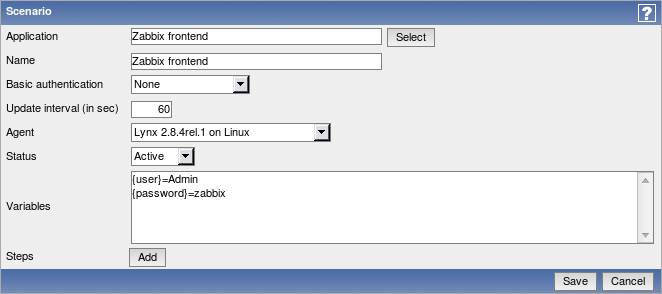
In the new scenario form, click on Select next to the Application field to choose the application we just created.
Note that we also create two macros, {user} and {password}.
Step 3
Define steps for the scenario.
Click on Add button in the Steps section to add individual steps.
Web scenario step 1
We start by checking that the first page responds correctly, returns with HTTP response code 200 and contains text "SIA Zabbix".
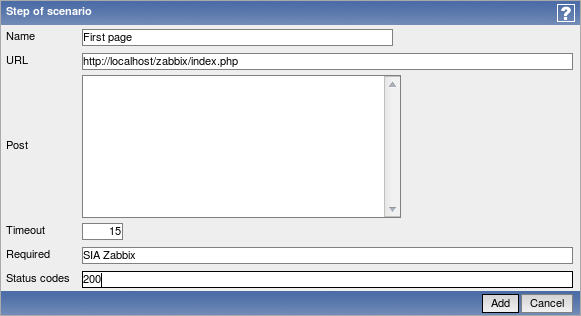
When done configuring the step, click Add.
Web scenario step 2
We continue by logging in to the Zabbix frontend, and we do so by reusing the macros (variables) we defined on the scenario level, {user} and {password}.
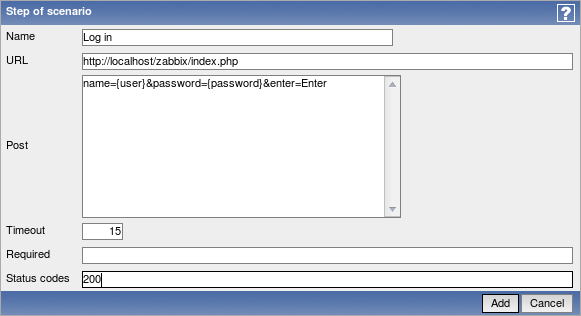
Note that Zabbix frontend uses JavaScript redirect when logging in, thus first we must log in, and only in further steps we may check for logged-in features. Additionally, the login step must use full URL to index.php file.
All the post variables must be on a single line and concatenated with & symbol. Example string for logging into Zabbix frontend:
name=Admin&password=zabbix&enter=EnterIf using the macros as in this example, login string becomes:
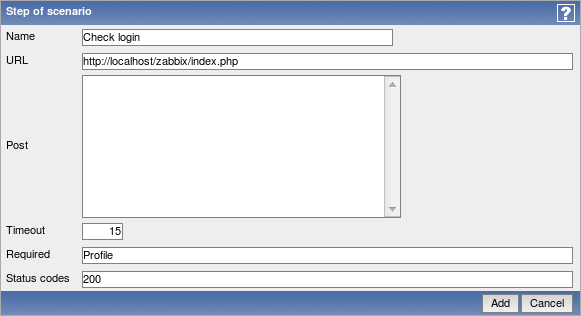
name={user}&password={password}&enter=EnterWeb scenario step 3
Being logged in, we should now verify the fact. To do so, we check for a string that is only visible when logged in - for example, Profile link appears in the upper right corner.
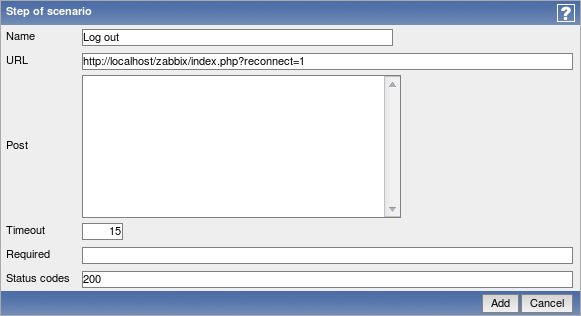
Web scenario step 4
Now that we have verified that frontend is accessible and we can log in and retrieve logged-in content, we should also log out - otherwise Zabbix database will become polluted with lots and lots of open session records.
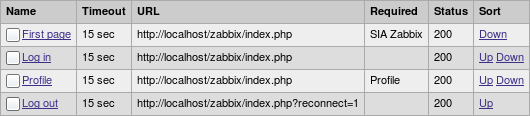
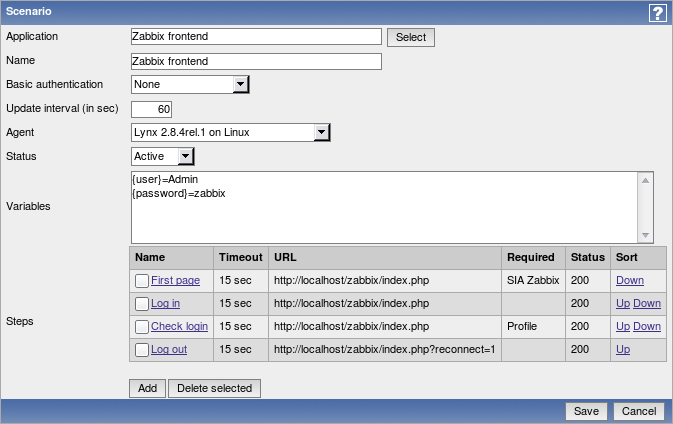
Complete configuration of steps
A complete configuration of web scenario steps should look like this:
Step 4
Save the finished web monitoring scenario.
The list of applications and linked scenarios will appear in Monitoring → Web:

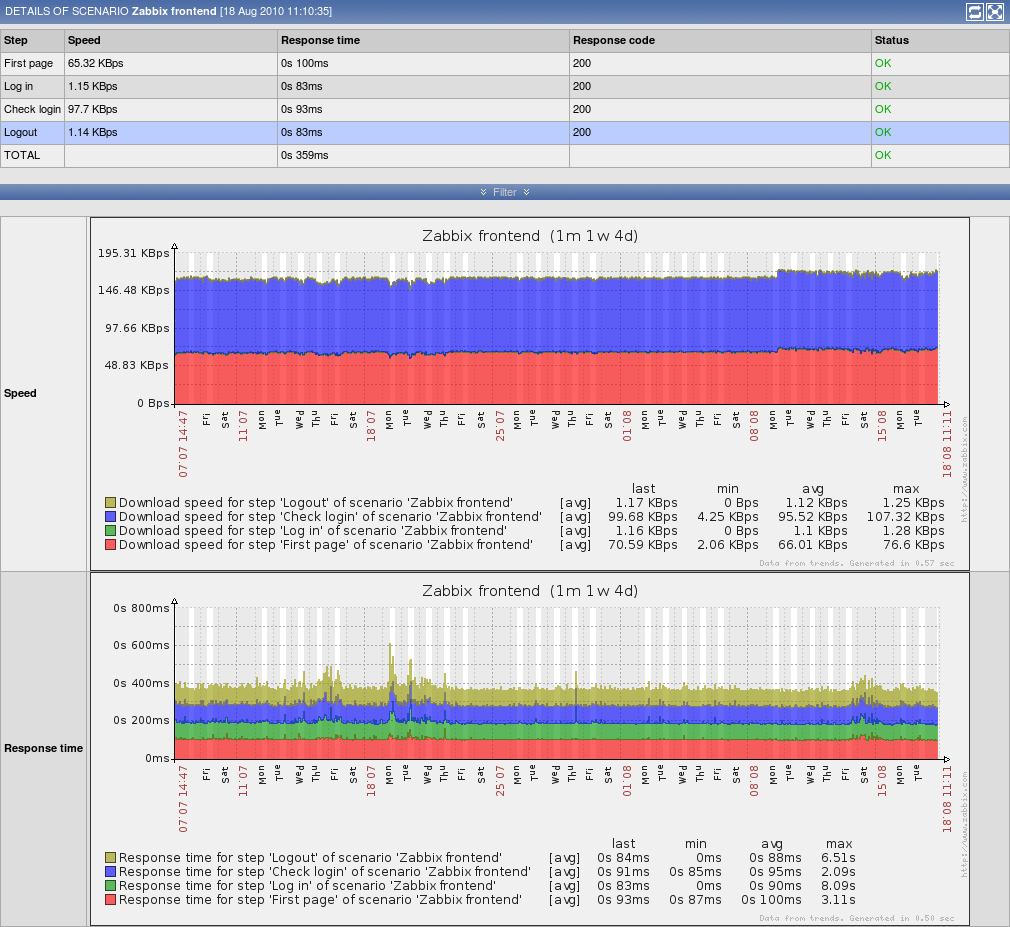
Click on the scenario name to see more detailed statistics: