
5 Set up notifications
We have a host or several hosts monitored. We can see simple and custom graphs, as well as data for individual items. We also have problem conditions, called triggers, set up, and they are changing from OK to PROBLEM state and back as situation changes. While we can look at the data to determine the current status, it is not feasible to do so all the time - which means we will want to set up notifications. To do this, open Configuration → Actions.
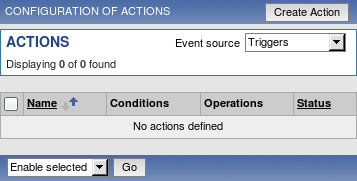
By default, there are no actions configured. To create one, click Create Action. In the upcoming form, enter a name for the action. In the most simple case, if we don't add any conditions, action will be used upon any trigger change from OK to PROBLEM and vice versa. We still should define what the action should do - and that is done in the Action operations block. Click on New in that block, which opens new operation configuration form. Here, choose Single user in the Send message to dropdown, then click on Select. In the upcoming popup, choose the user we created before.
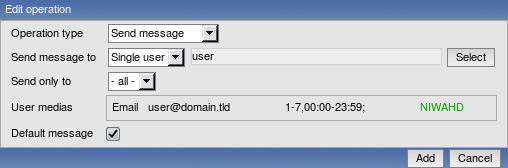
Notice how the e-mail address we specified for that user will be used here.
Macros (or variables) {TRIGGER.NAME} and {STATUS}, currently visible in the Default subject and Default message fields, will be replaced with trigger name and trigger status, respectively. Trigger status will be either PROBLEM or OK. Click Add in the Edit operation block.
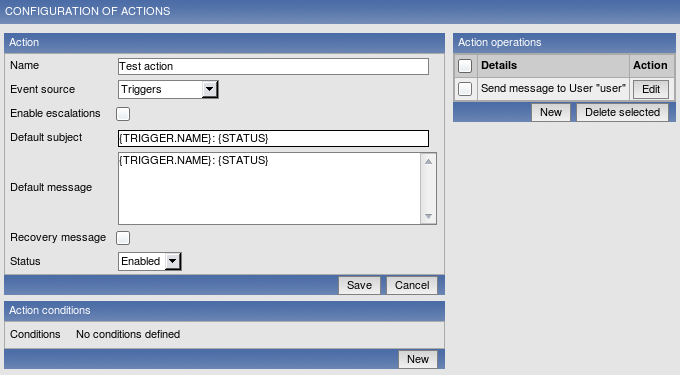
We are done with the simple action configuration, so click Save in the Action block.
Congratulations - we are done with the simple setup of monitoring some host and sending out notifications based on problem condition definitions.
If the notifications don't work, make sure user you created has at least read permissions on the host which generated the event, as discussed in the "Add user" step. Additionally, you can check out action log by going to Administration → Audit, and choosing Actions in the dropdown, located in the upper right corner.