
Guía de implementación de AWS para el proxy de Zabbix
Descripción general
Esta página describe cómo implementar un proxy de Zabbix mediante AWS.
Hay varias versiones de Zabbix disponibles para su implementación en la plataforma. Asegúrese de leer la documentación correspondiente a la misma versión de Zabbix que ha implementado. Puede seleccionar la documentación de diferentes versiones de Zabbix en el menú desplegable de versiones.
Implementación de Zabbix proxy
Se requiere una instancia operativa de Zabbix server para utilizar el componente Zabbix proxy.
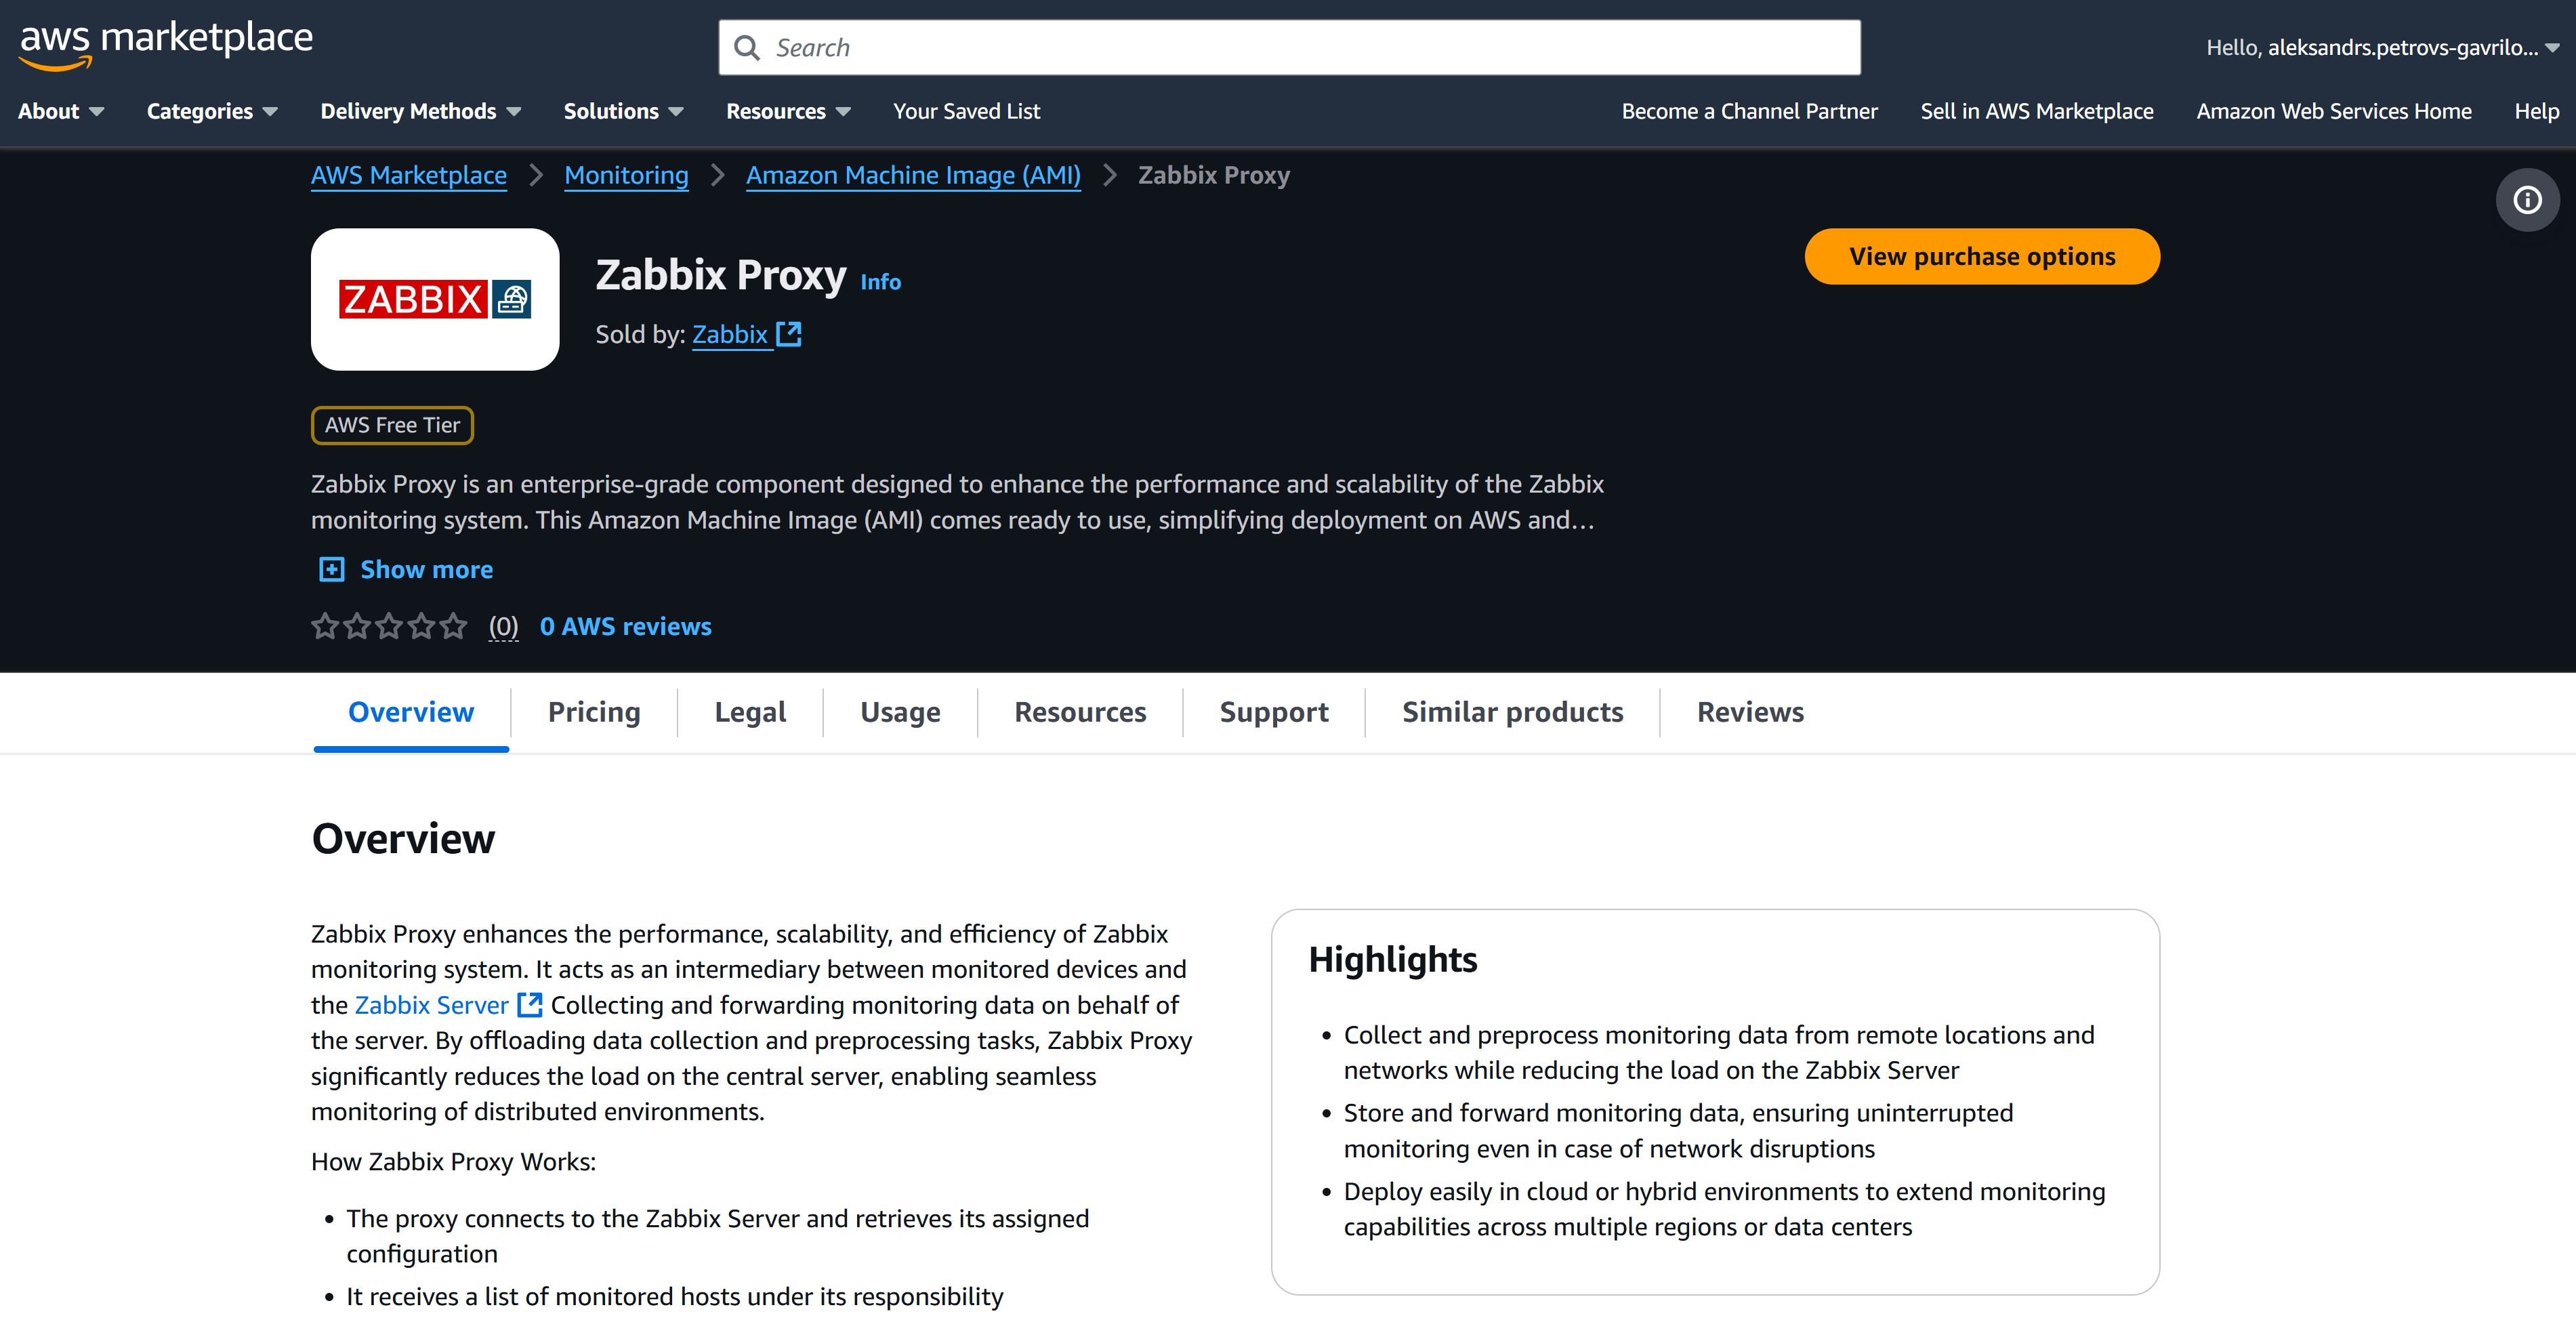
Para implementar Zabbix proxy, primero vaya a la página de Zabbix en AWS Marketplace. A continuación, haga clic en View purchase options para implementar la imagen y continuar a la página de suscripción.
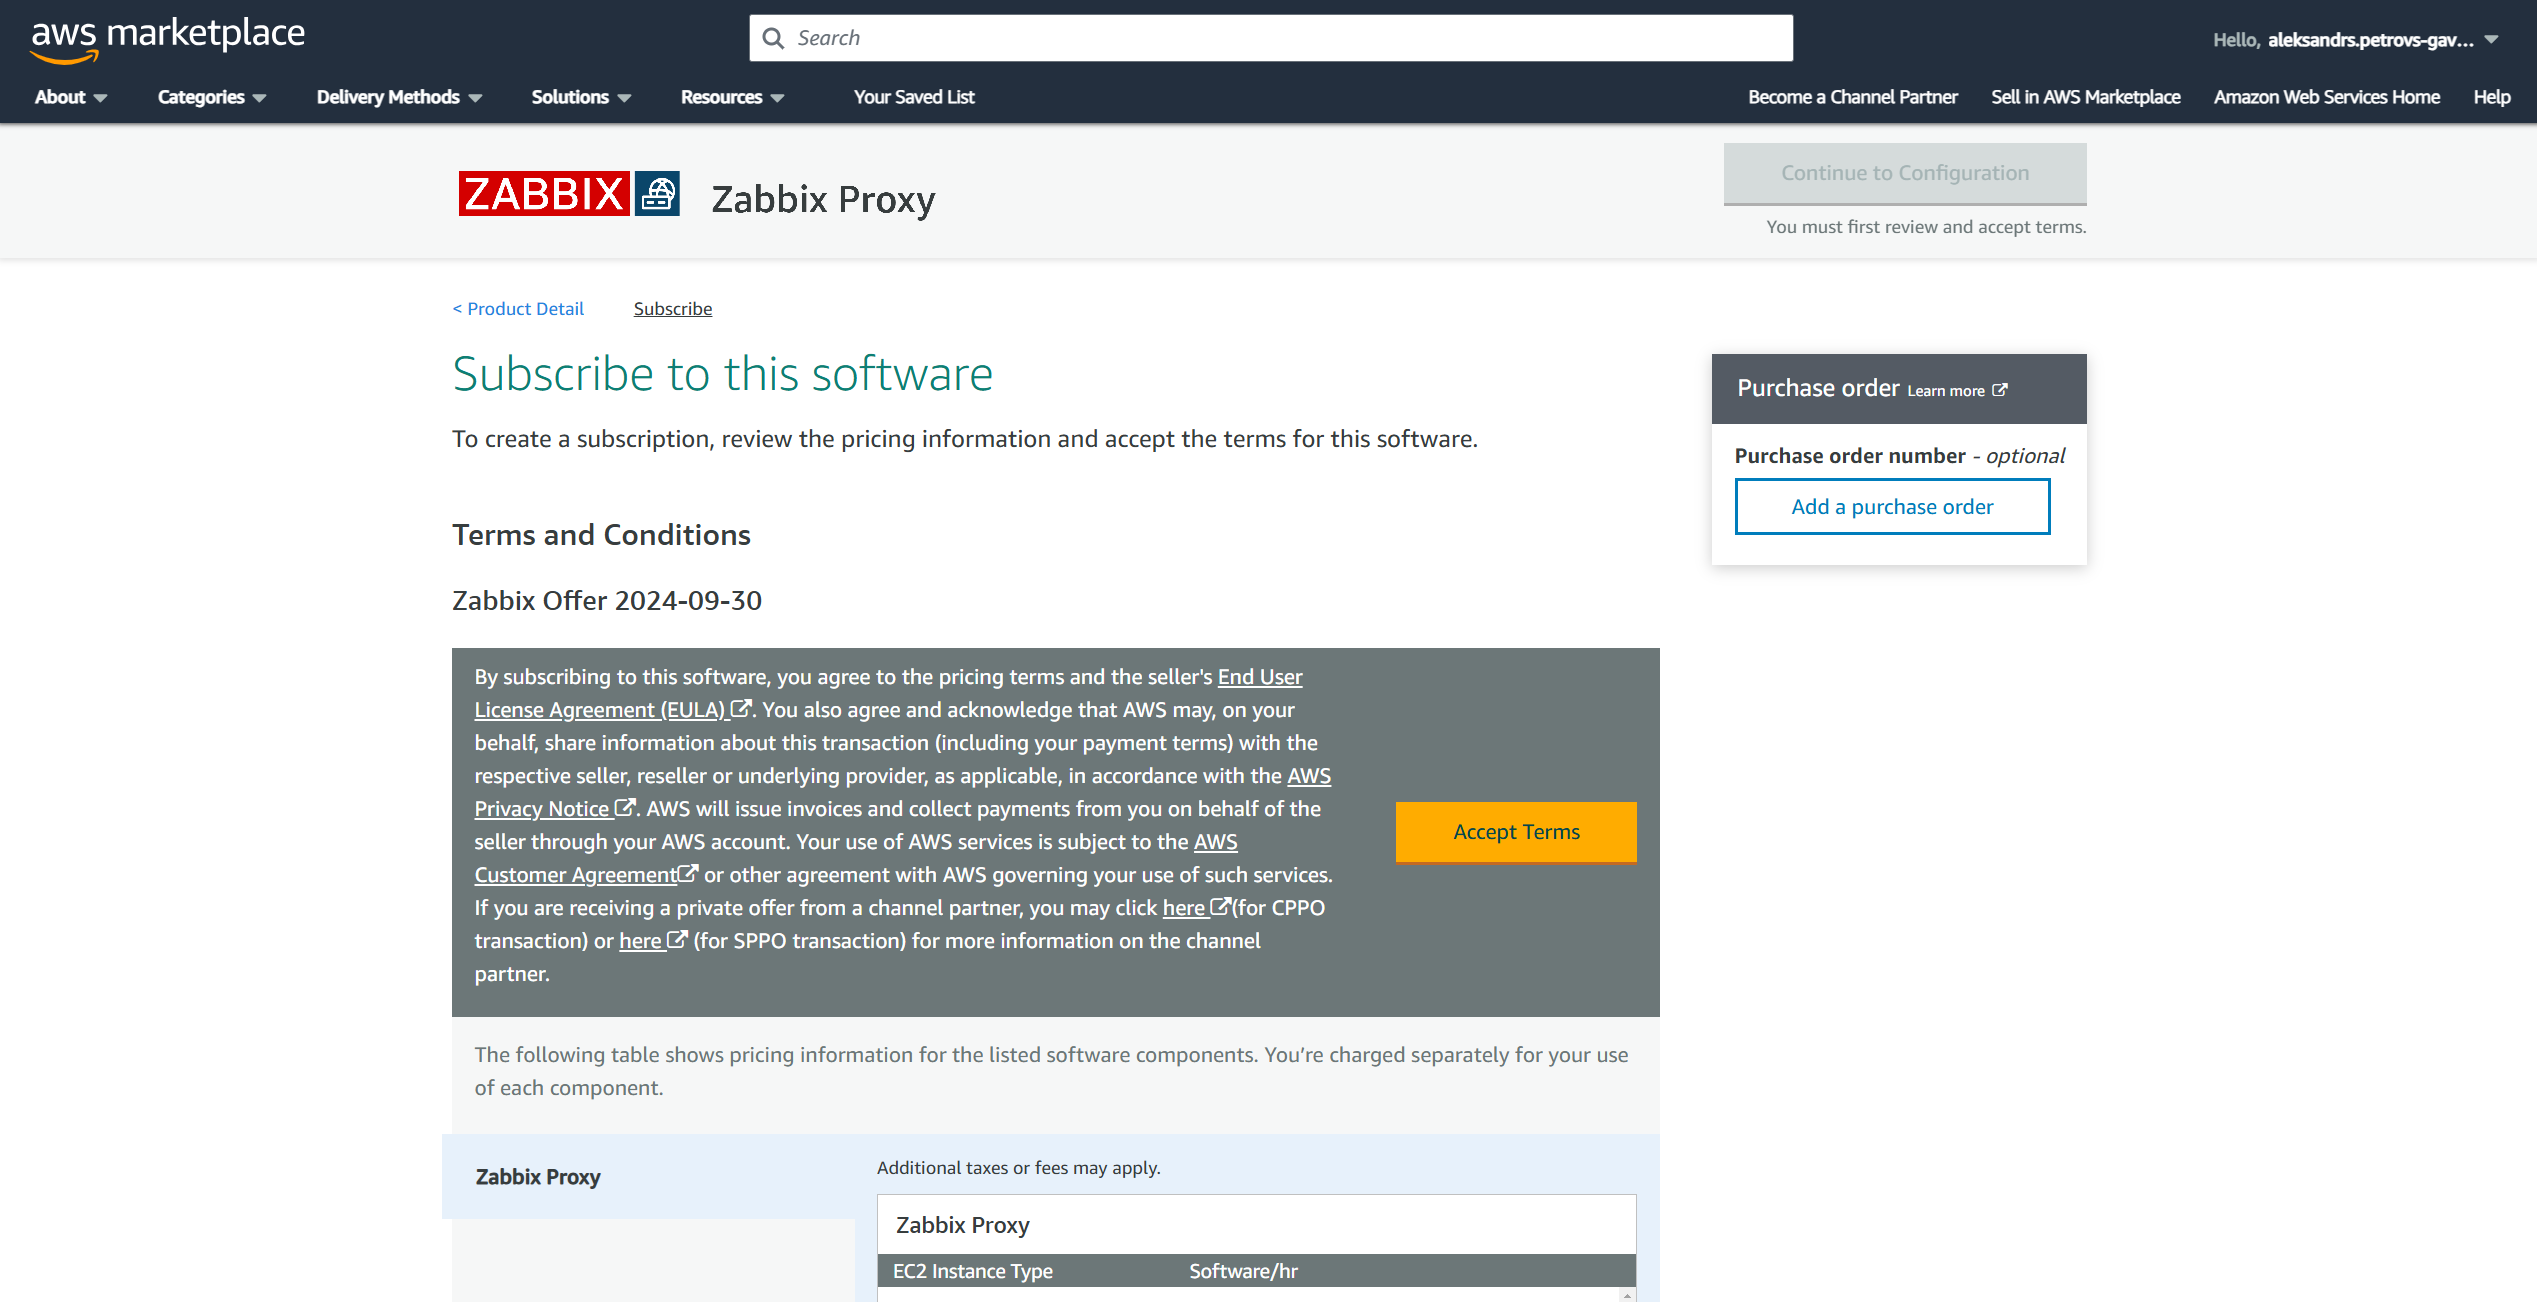
Haga clic en el botón Accept terms para aceptar los Terms and Conditions.
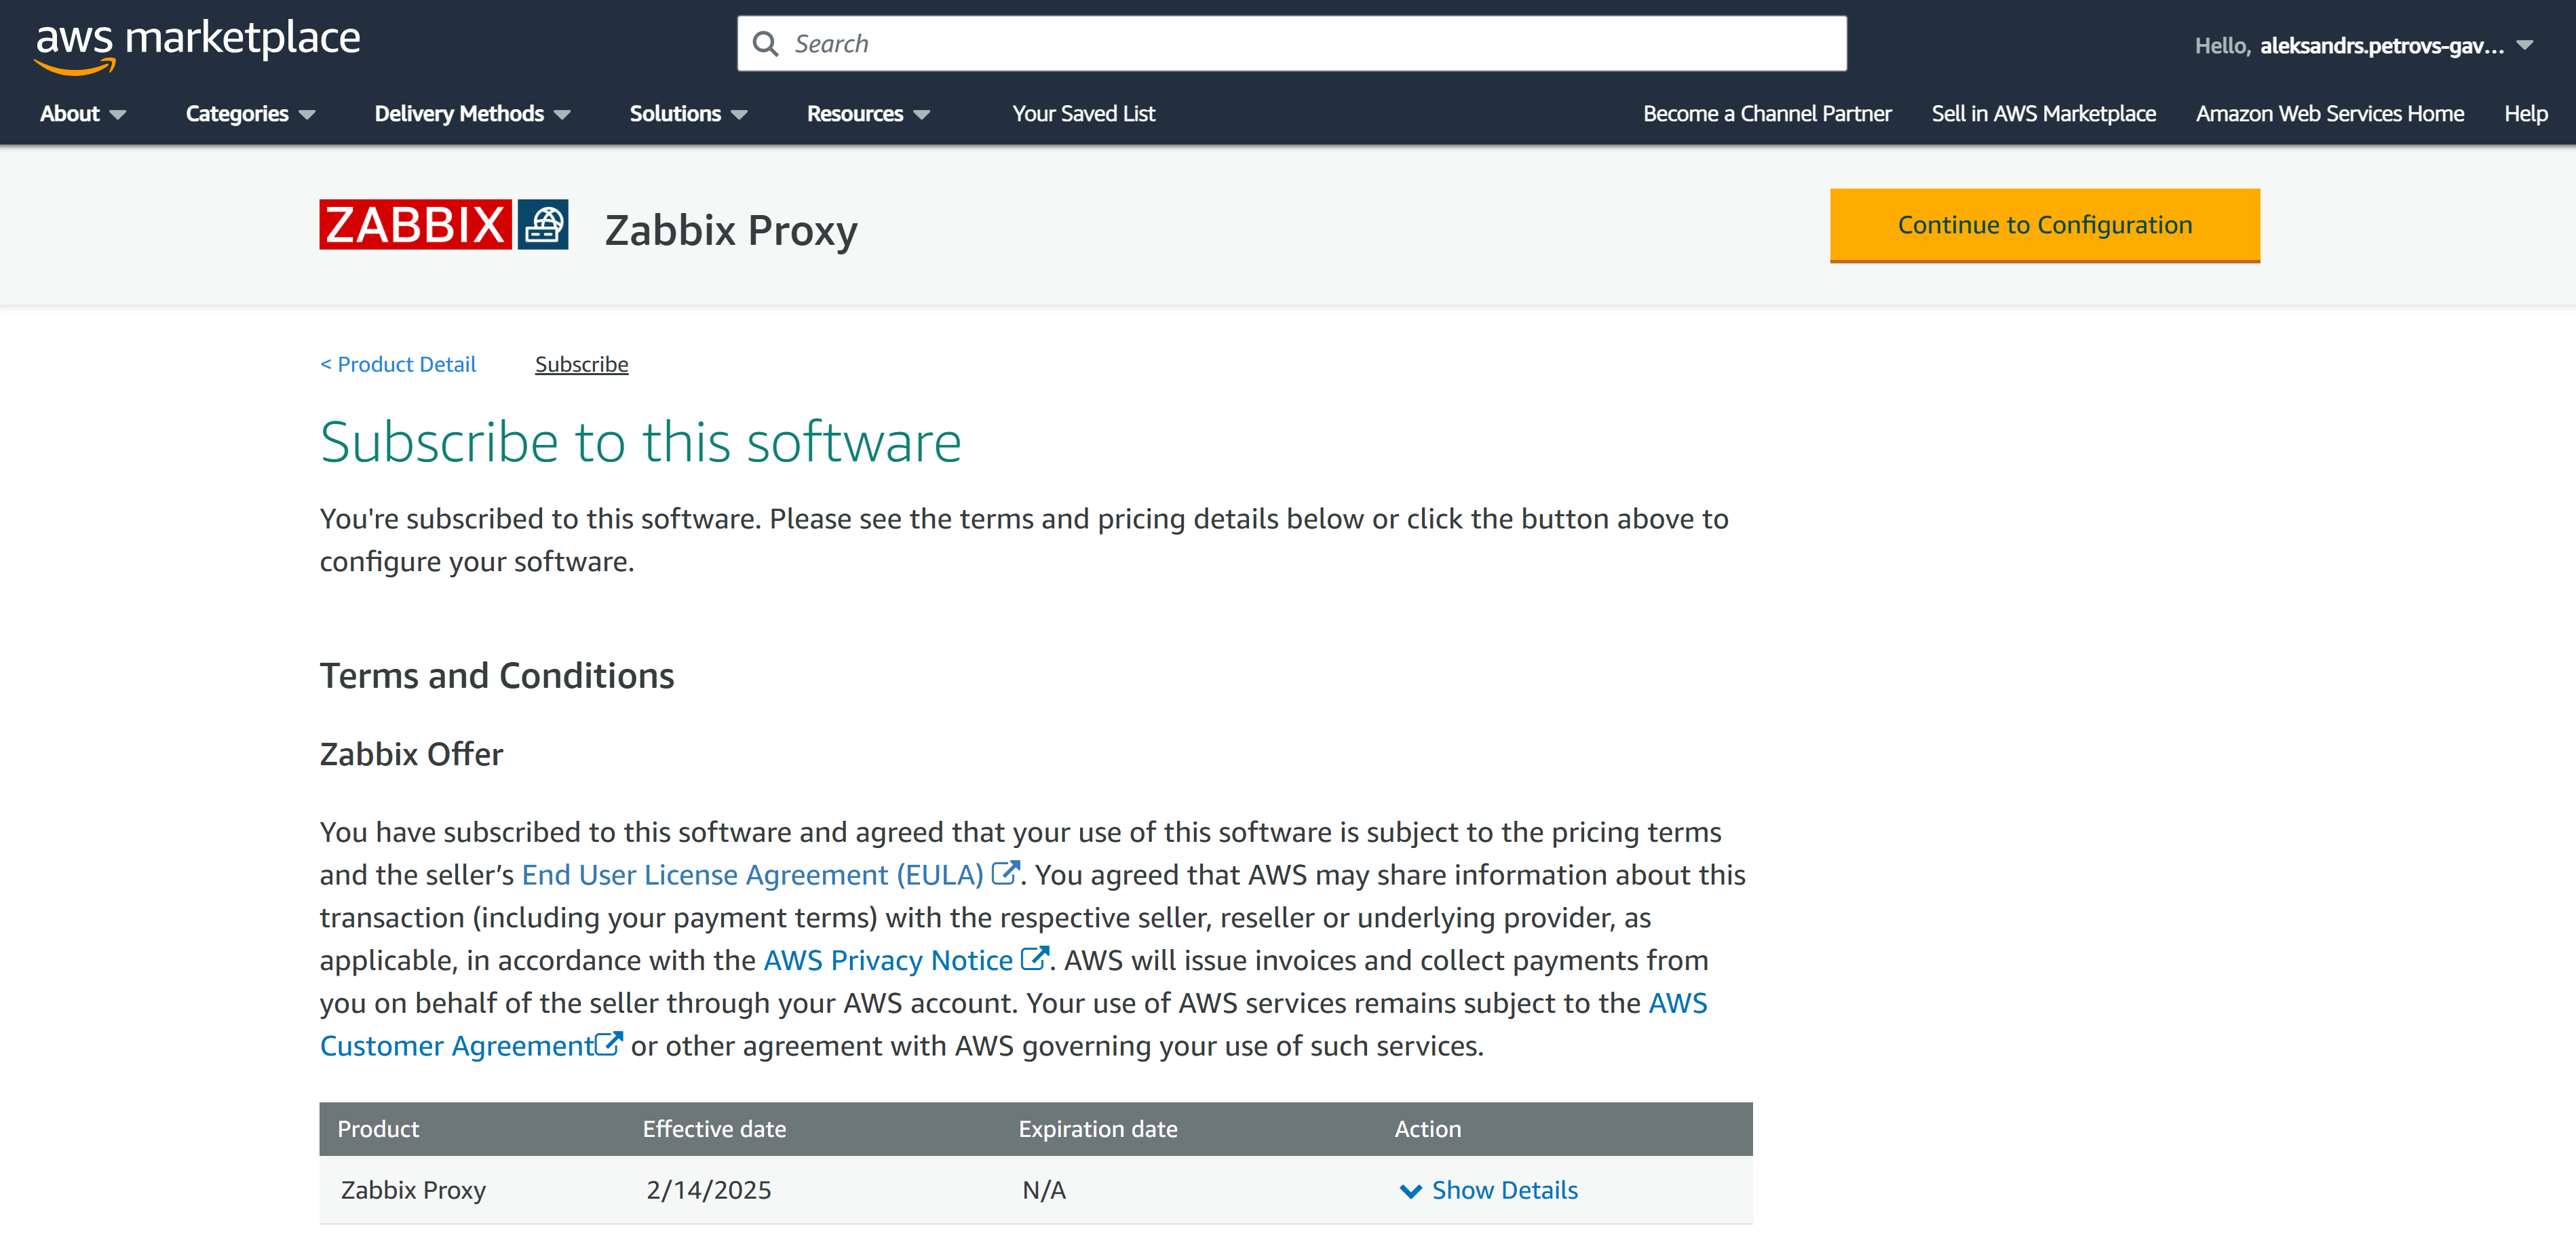
Haga clic en el botón Continue to Configuration para pasar a la sección de configuración de Zabbix proxy.
Seleccione la opción de Fulfilment, la versión de Zabbix y la Region que prefiera.
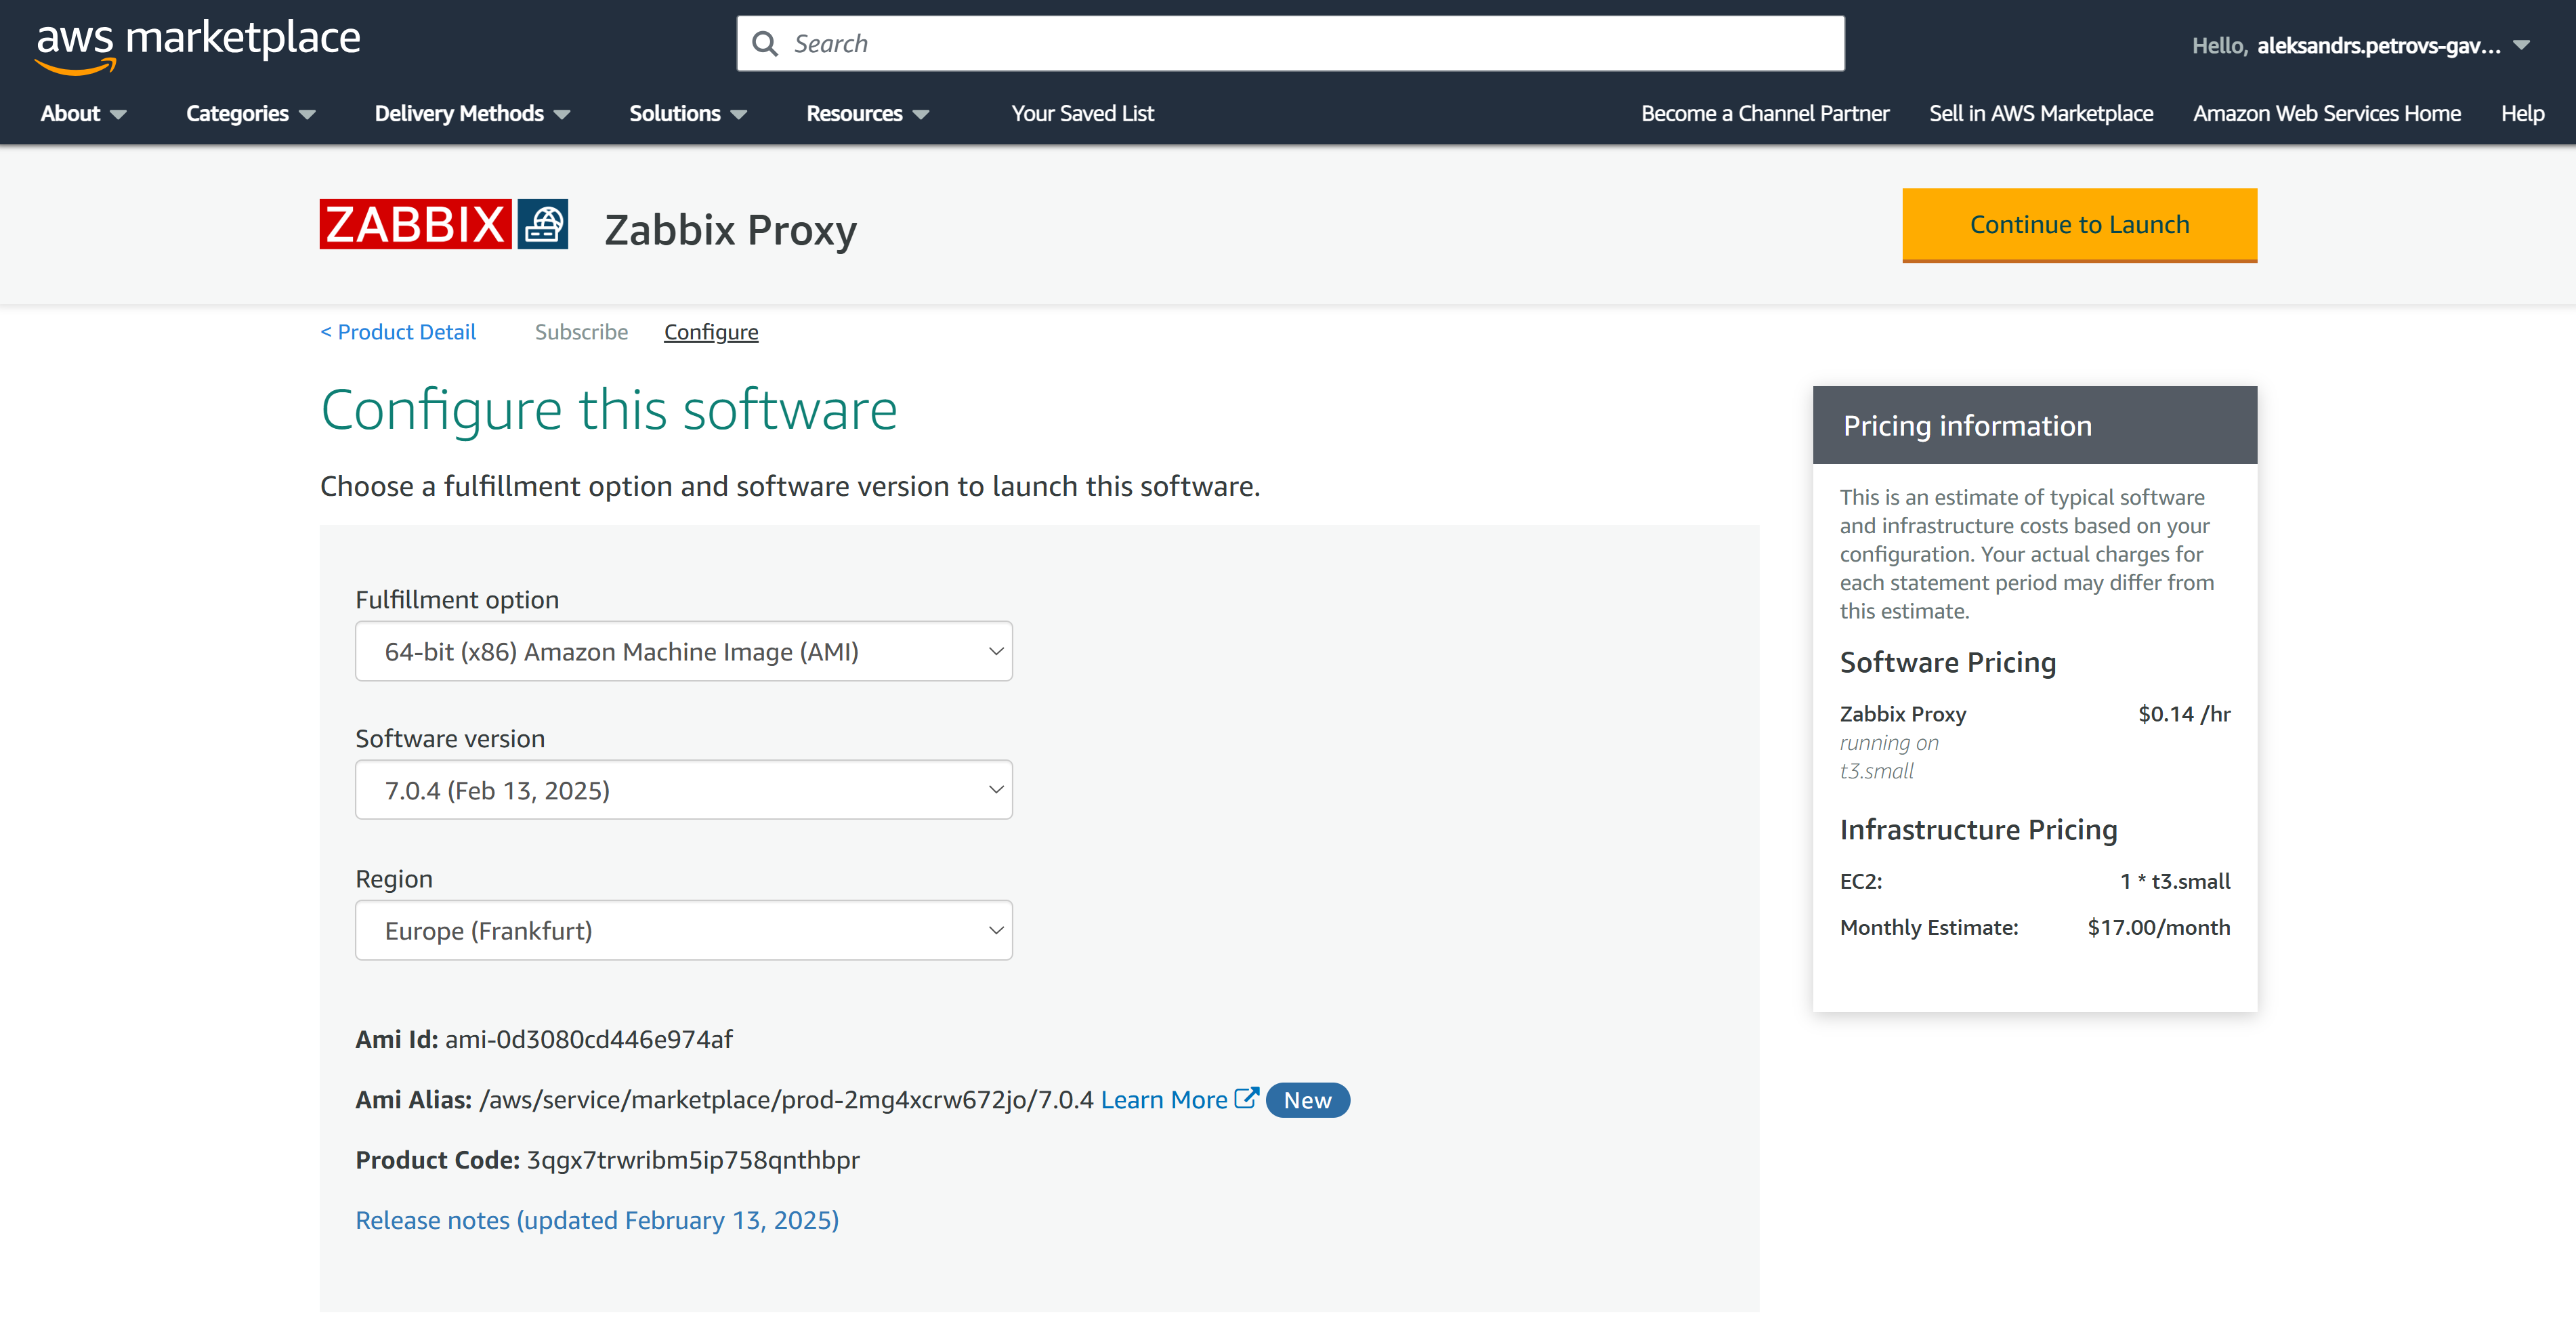
Haga clic en el botón Continue to Launch. En la página Launch, seleccione la opción Launch, el EC2 Instance Type, la VPC y la configuración de Subnet que prefiera.
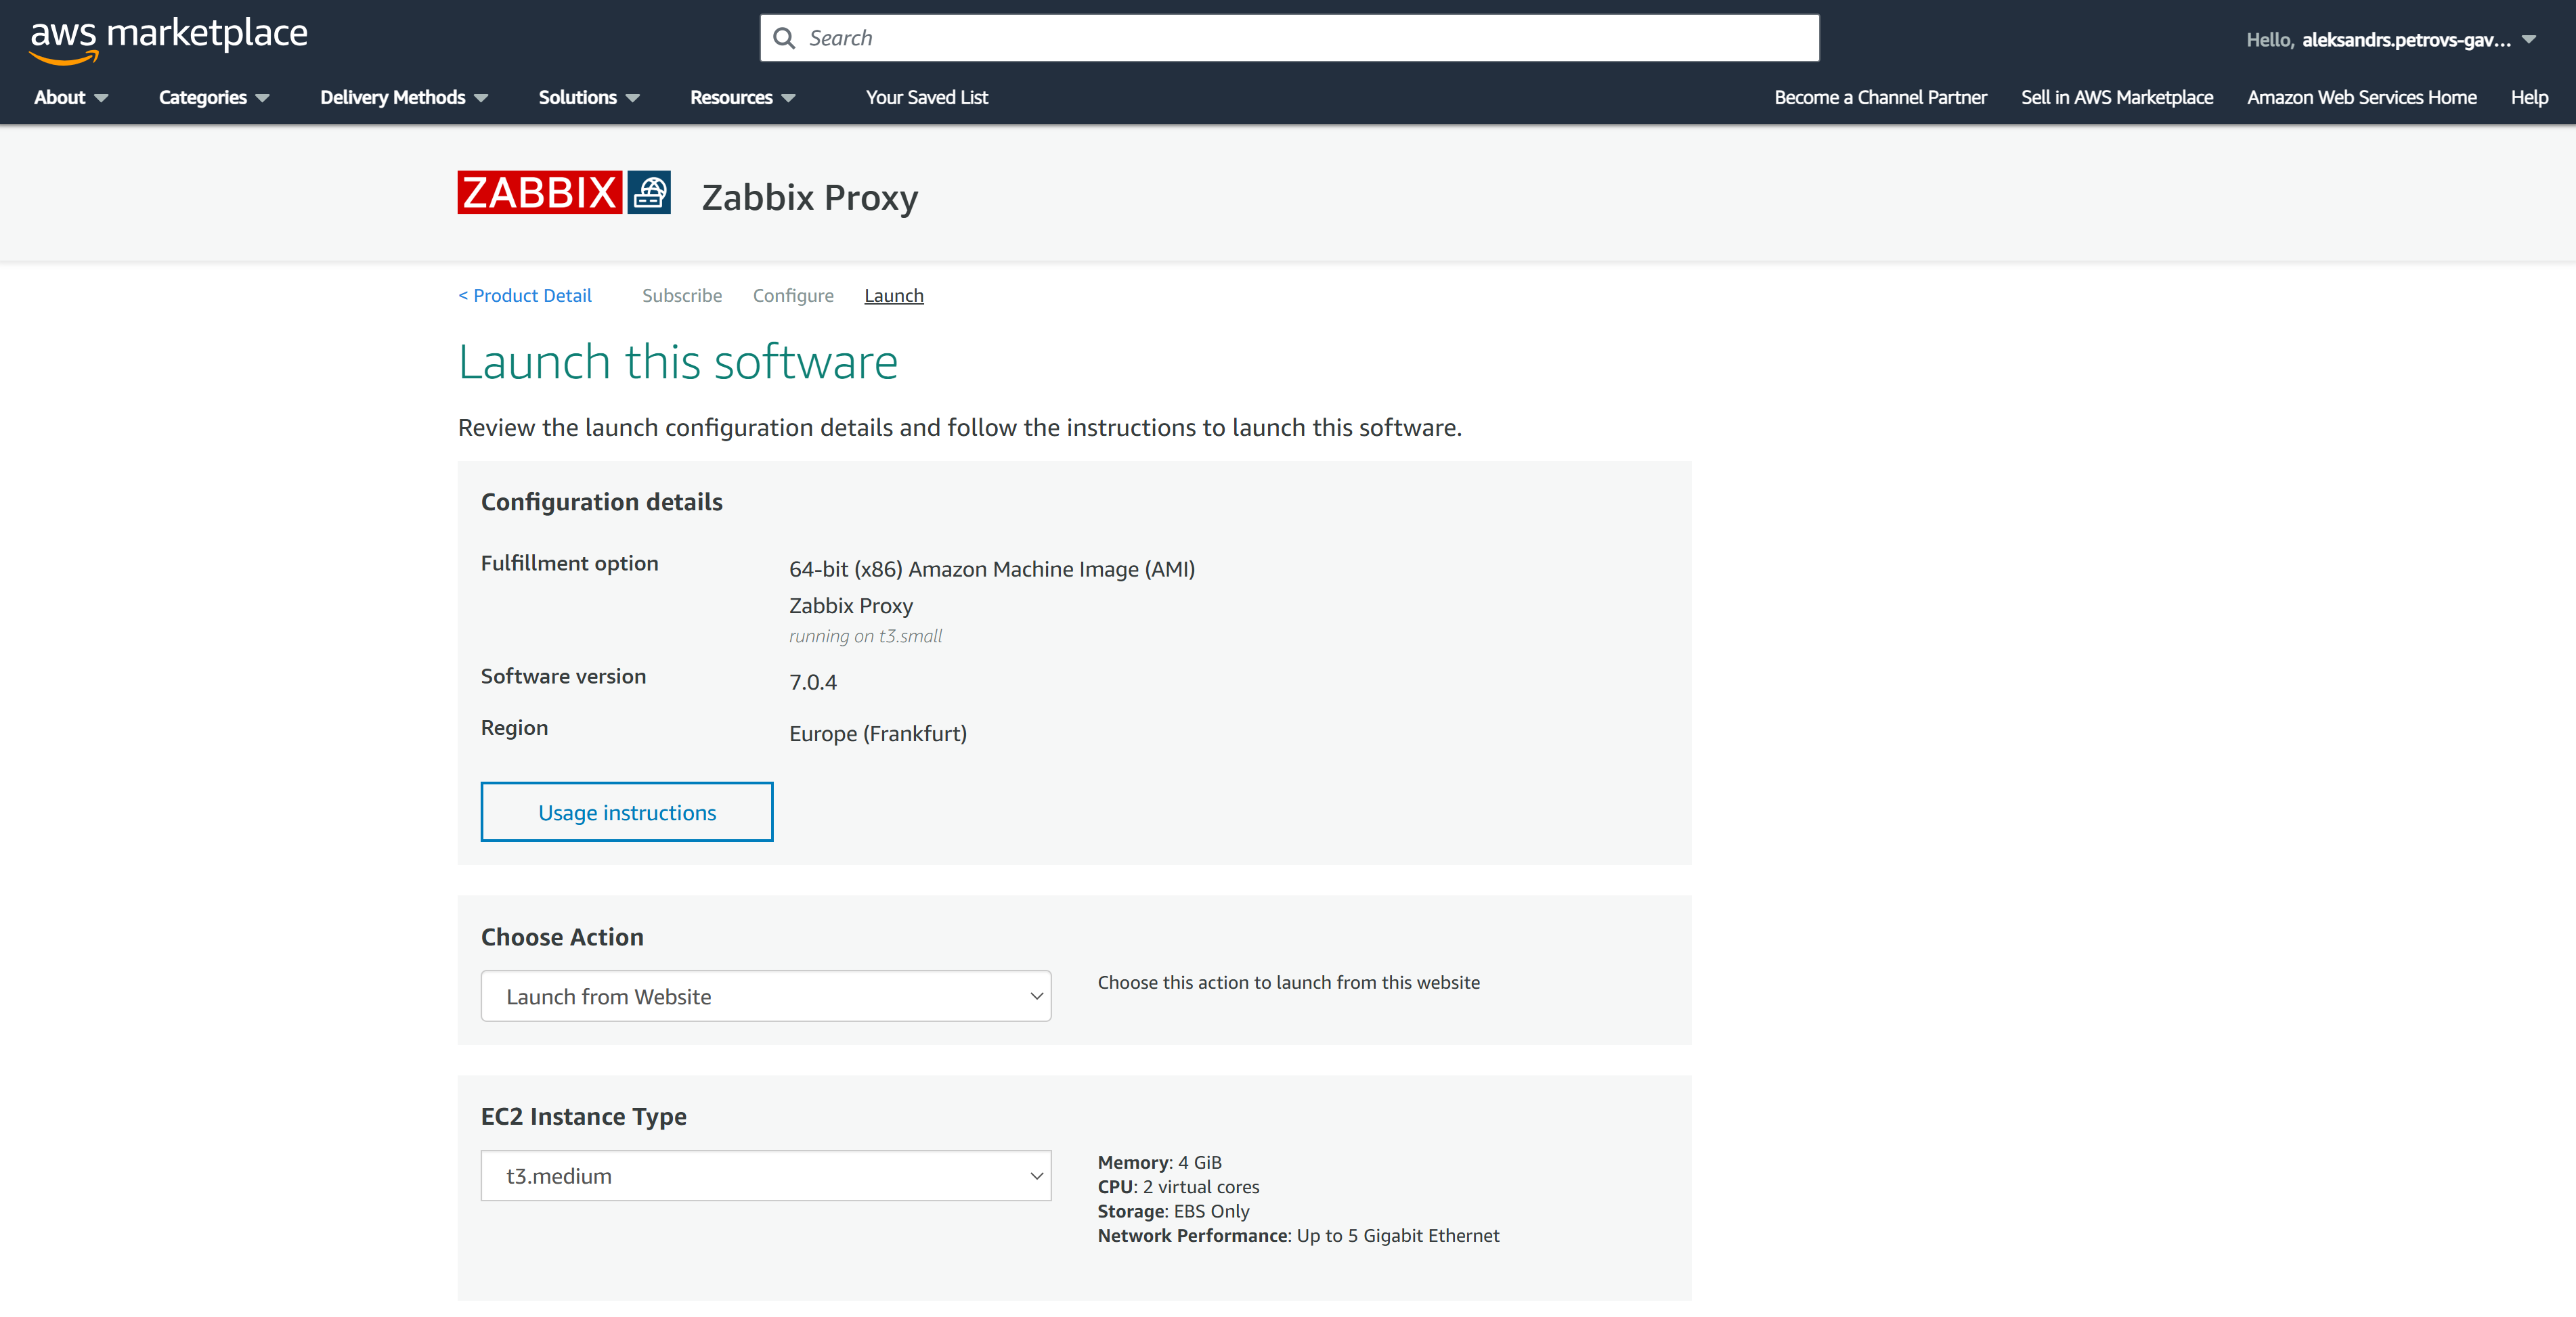
En la parte inferior de la página Launch, especifique la configuración de Security Group y seleccione o cree un par de claves de EC2. Asegúrese de guardar su clave privada en un lugar seguro.
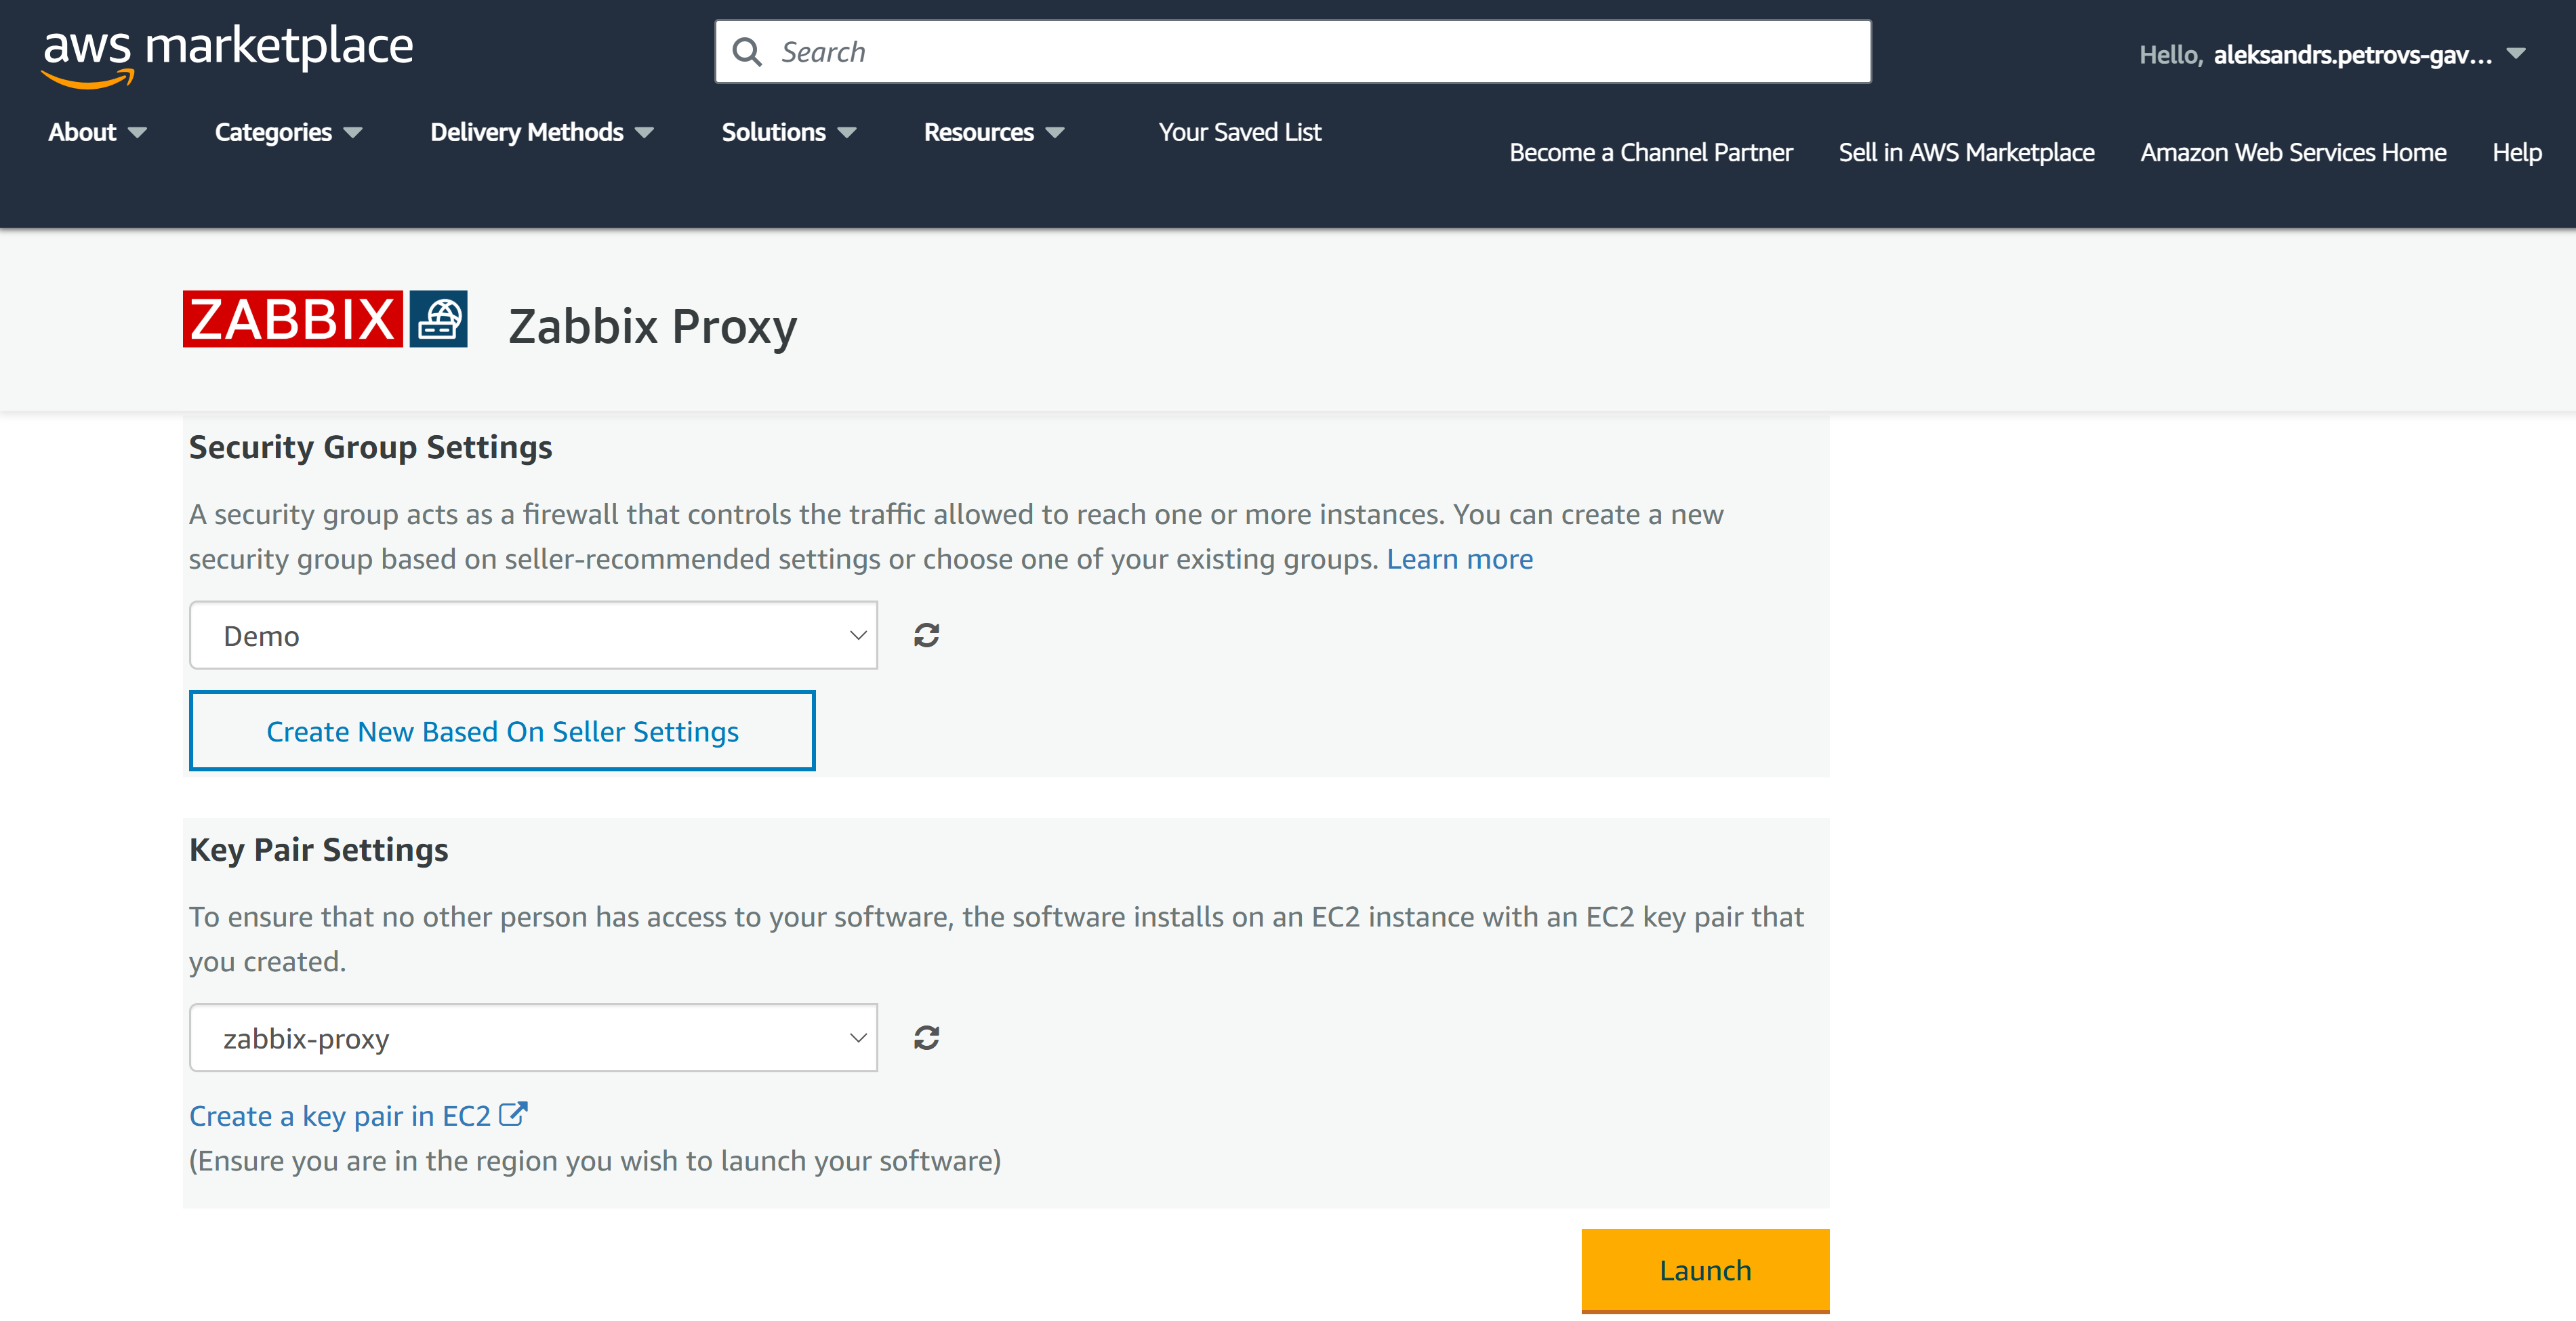
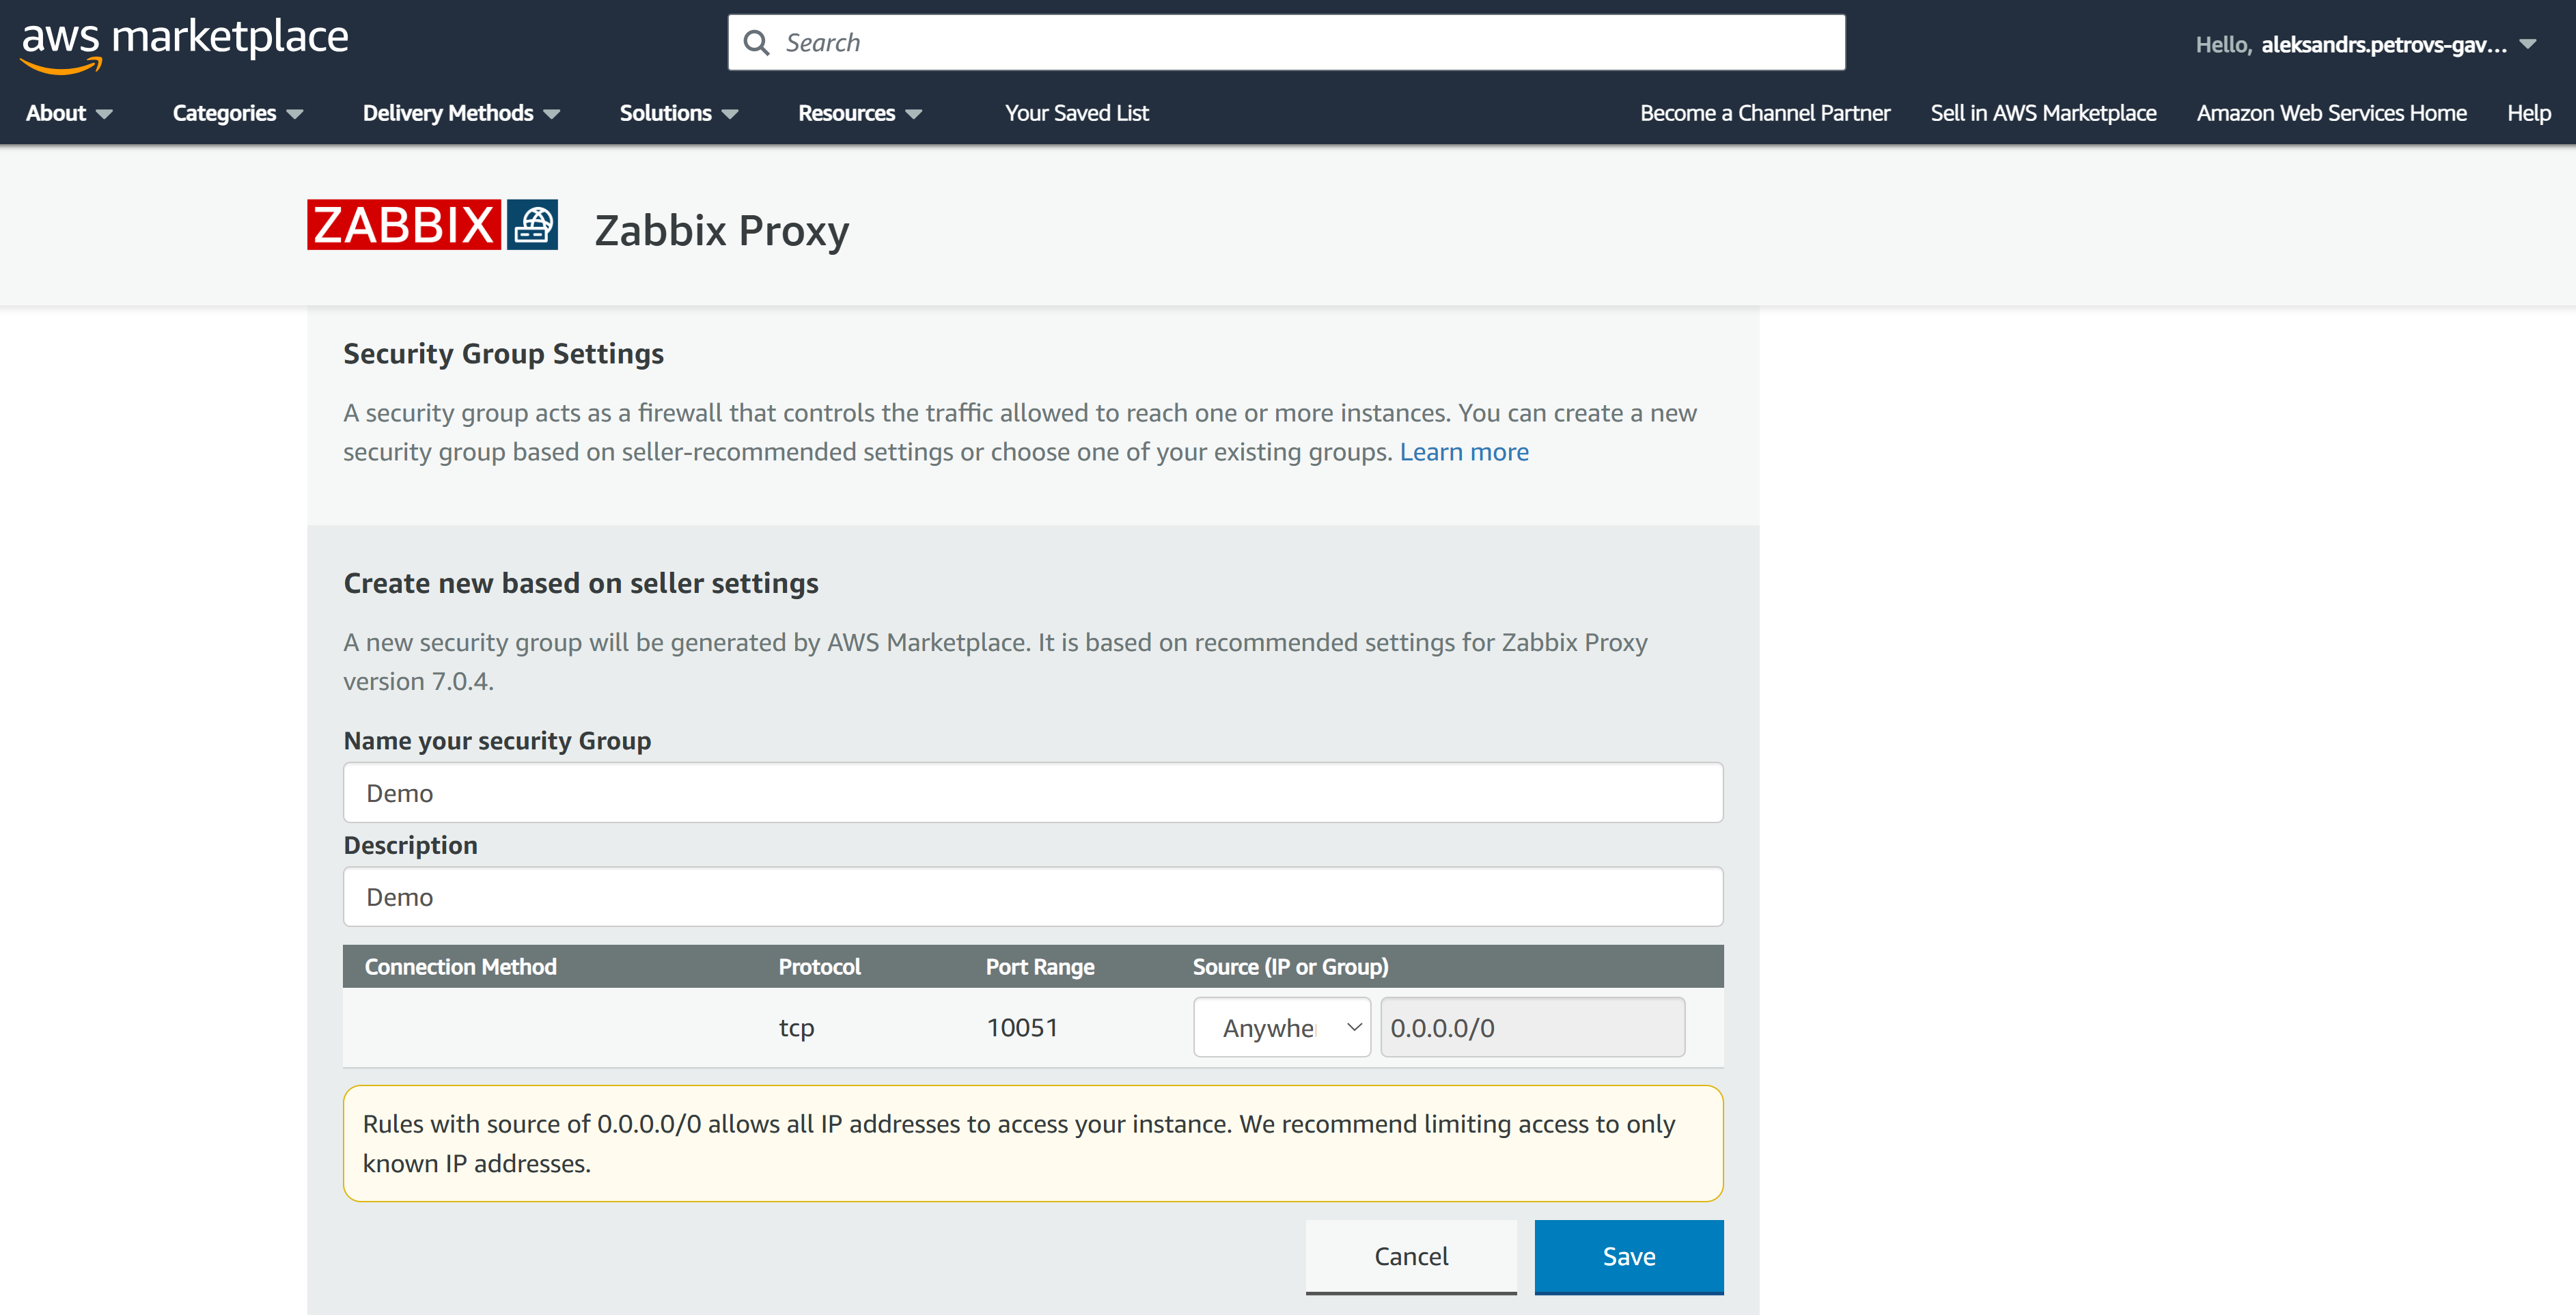
Si selecciona Create a new Security Group based on the Seller settings, se permitirá el puerto TCP 10051 (Zabbix server). Nota: Si desea acceder a la instancia mediante SSH, también deberá permitir las conexiones SSH en la configuración de Security Group.
Por último, haga clic en el botón Launch. Enhorabuena, su Zabbix proxy se está implementando.
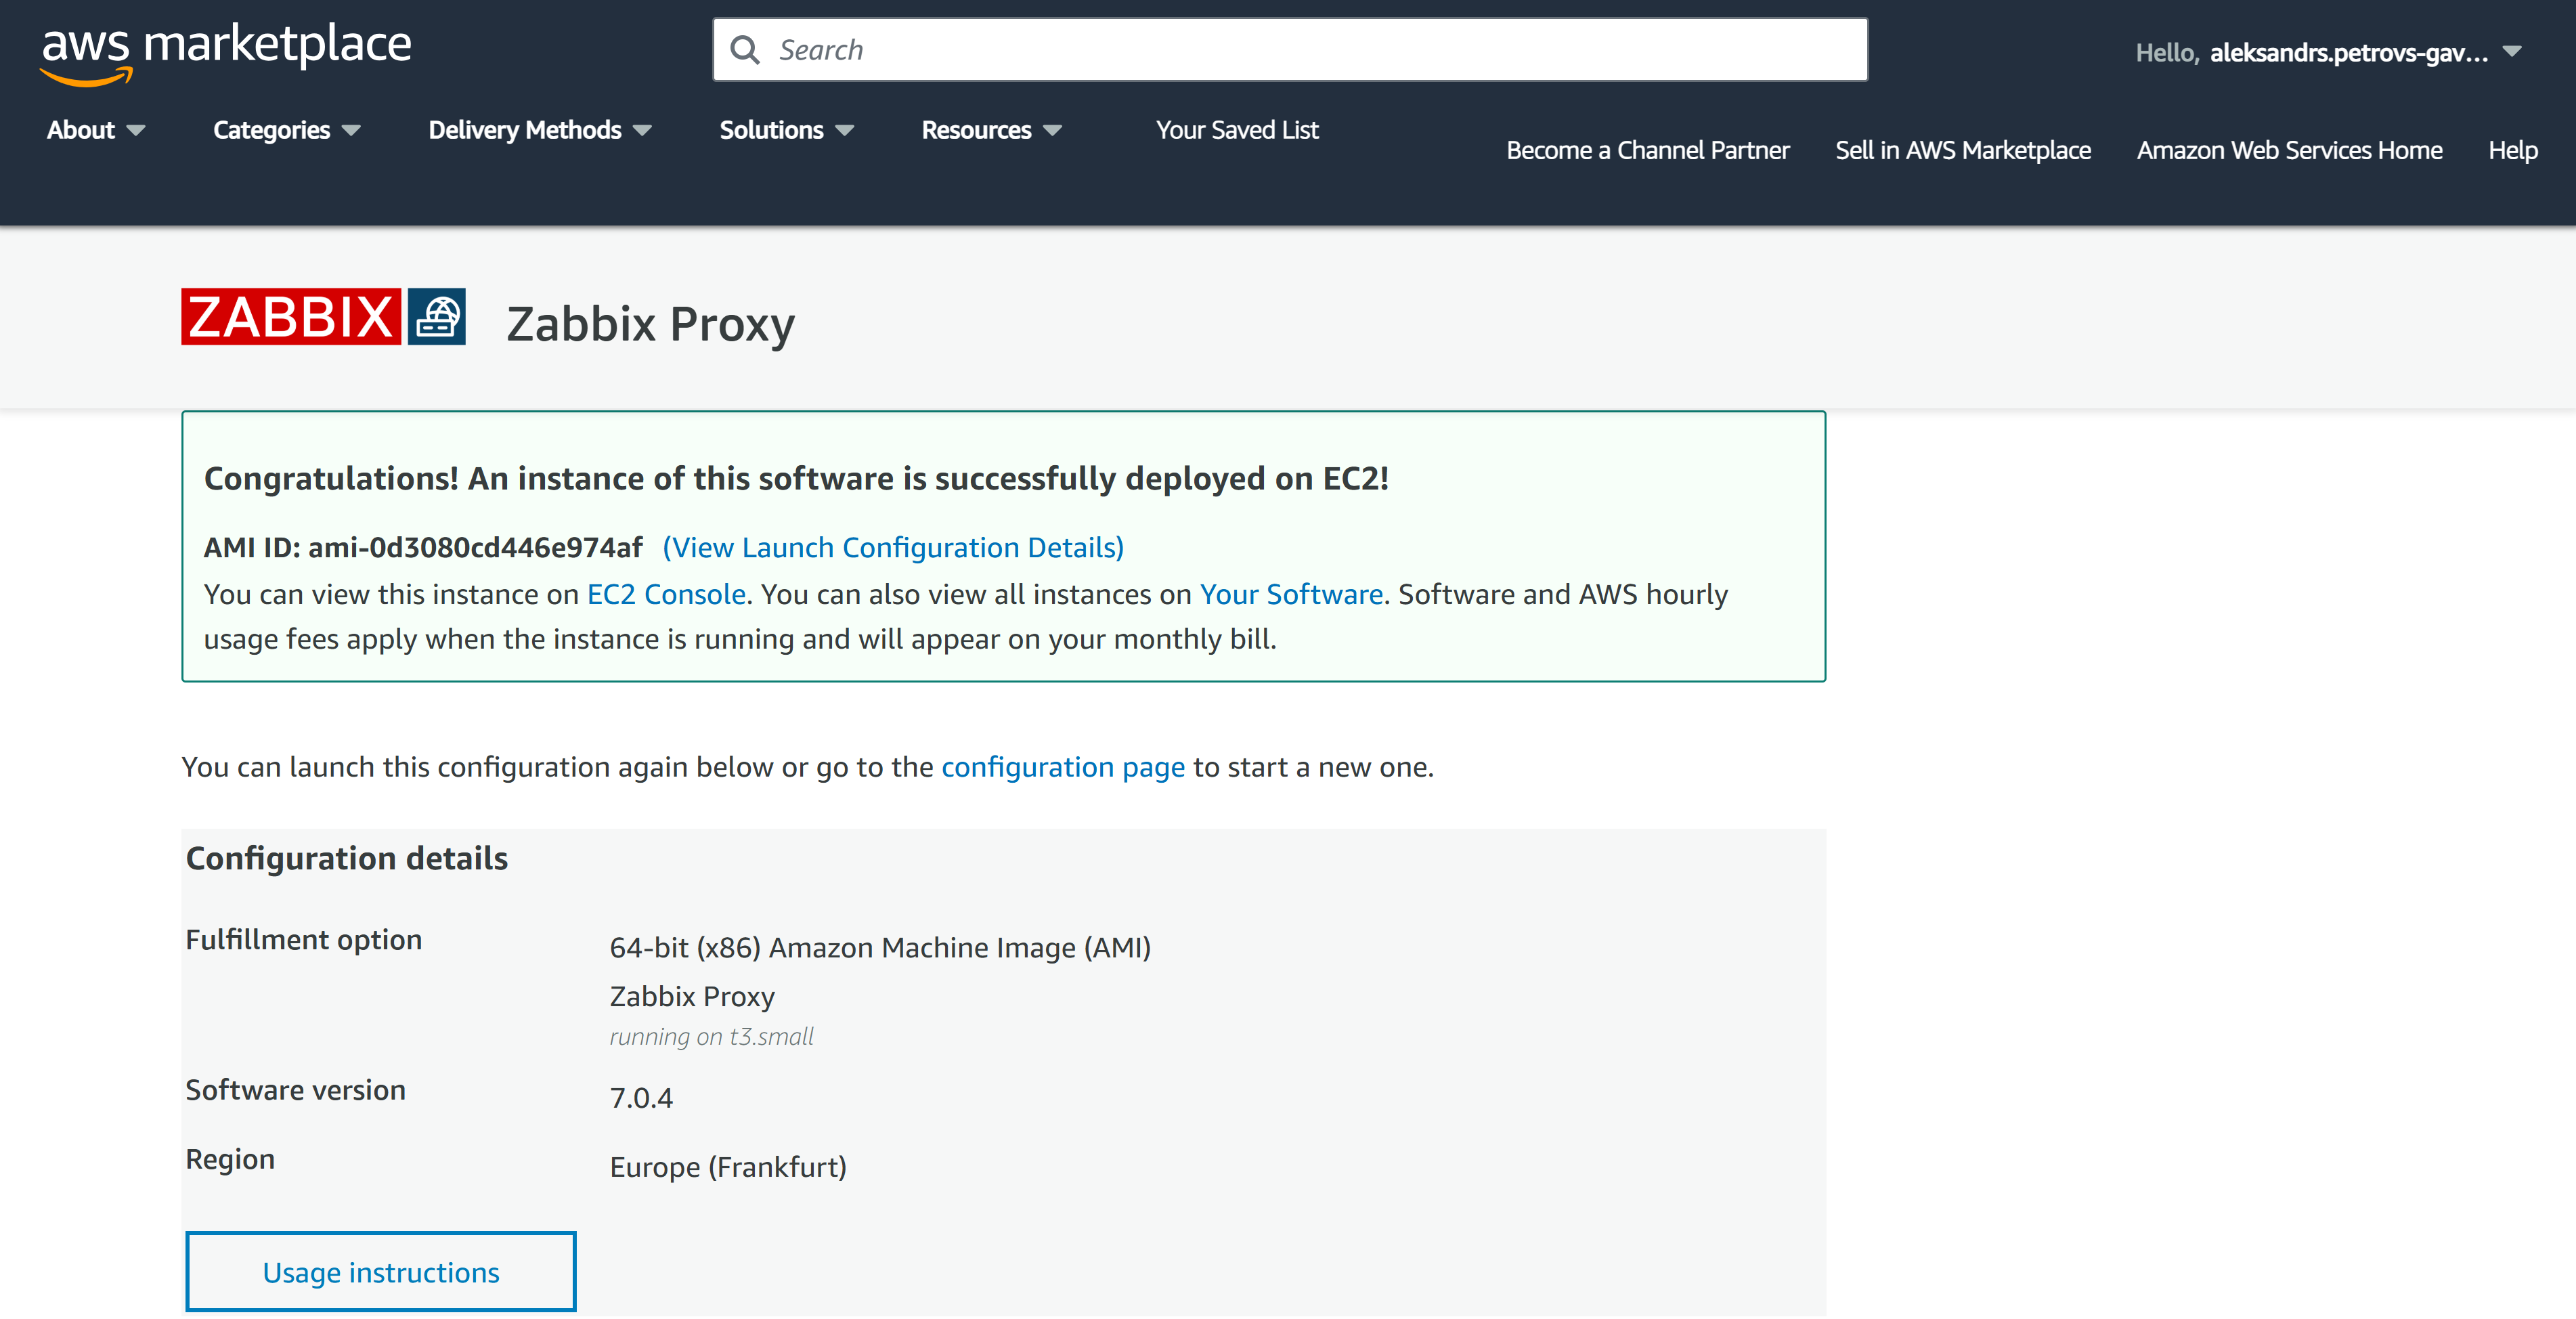
Configuración y acceso al proxy de Zabbix
Abra la sección Instances en la consola de EC2 y seleccione la instancia de proxy de Zabbix recién implementada.
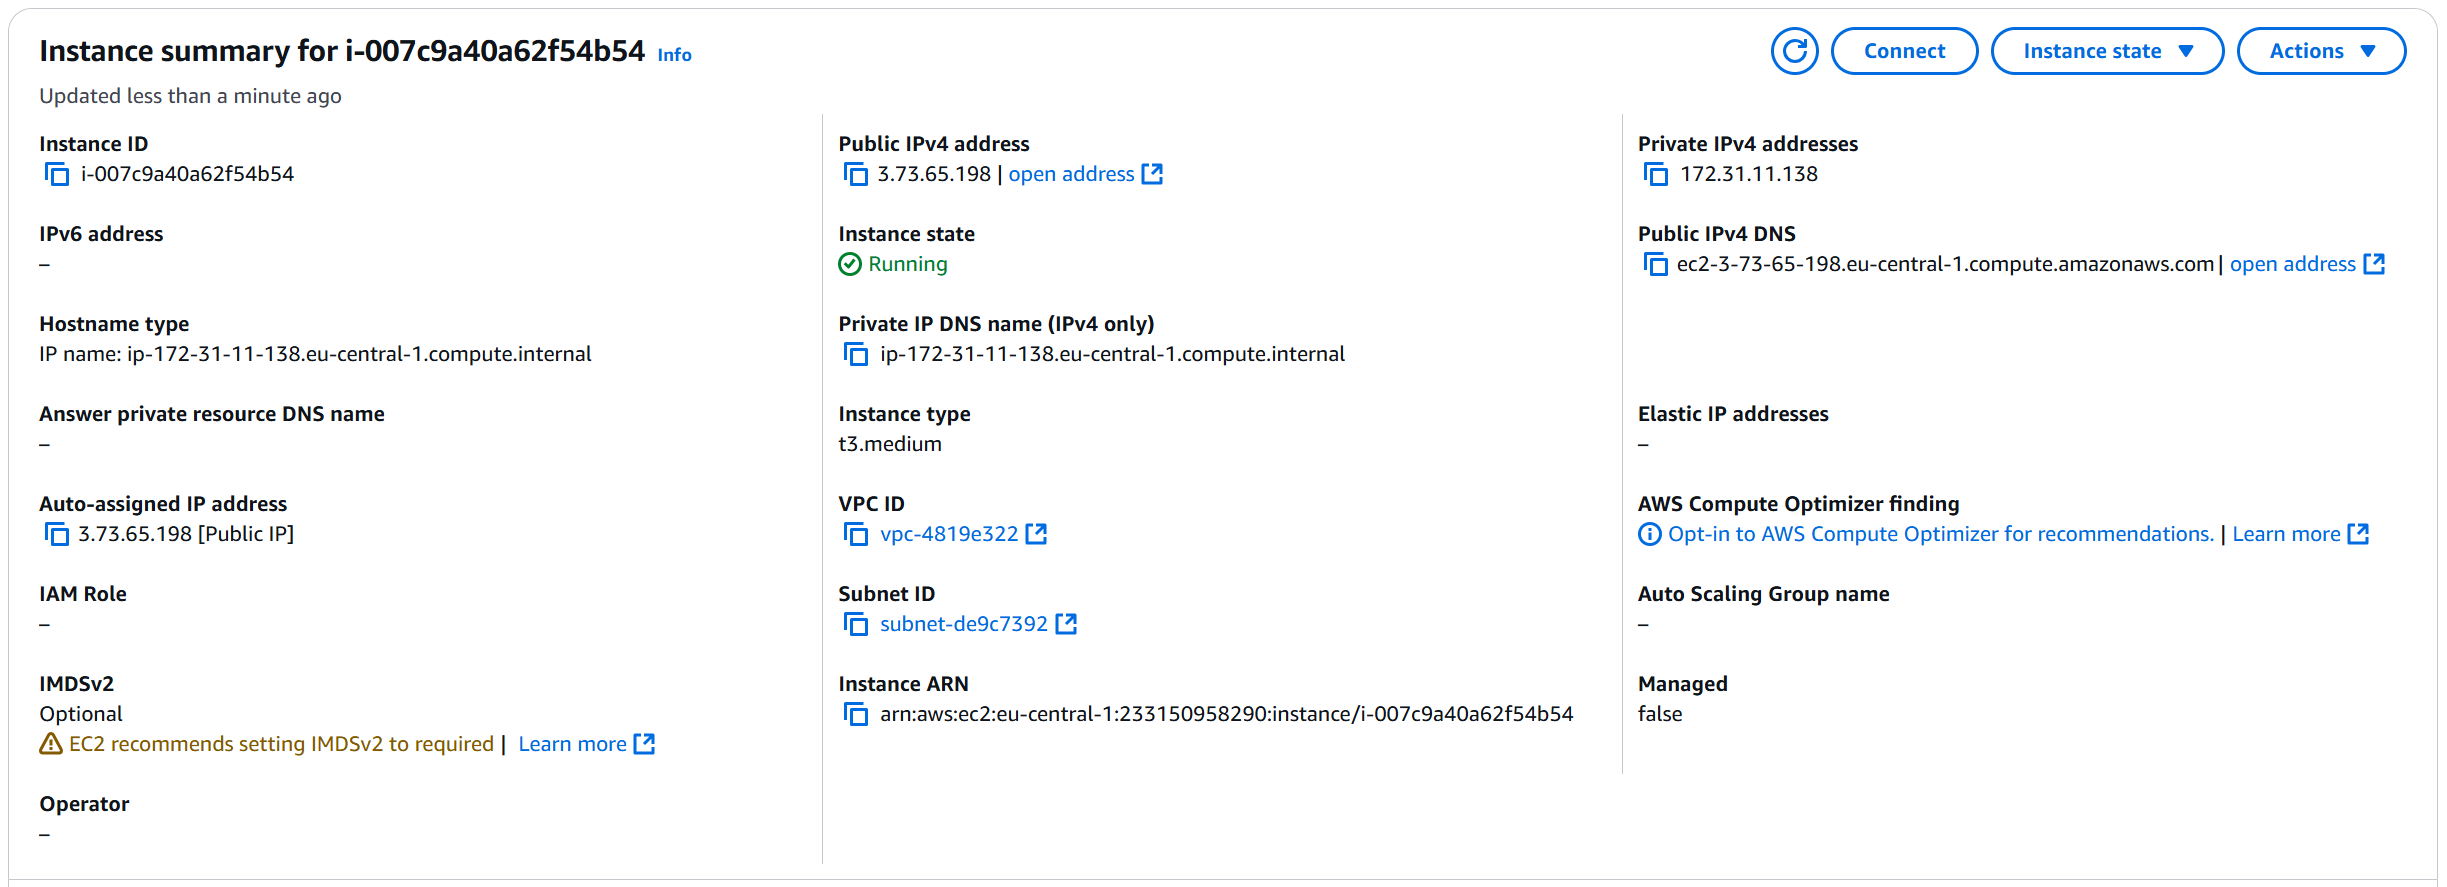
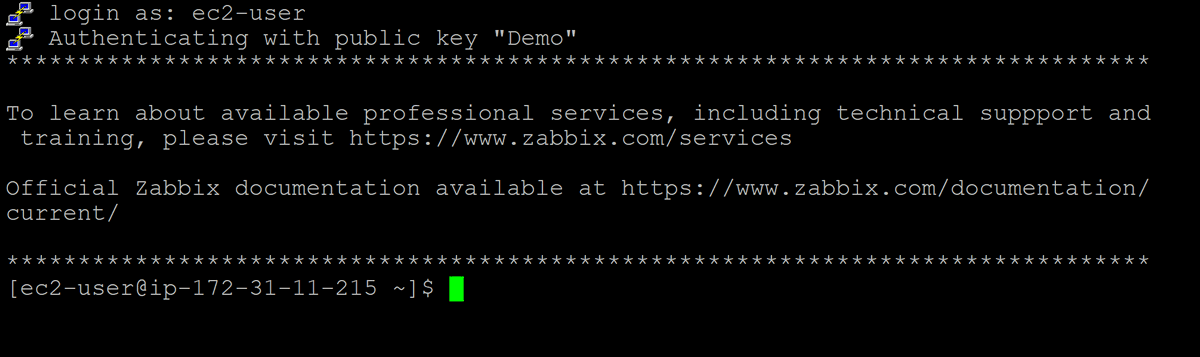
Conéctese a la dirección IPv4 pública o al DNS IPv4 público del proxy de Zabbix mediante SSH.
El nombre de usuario SSH predeterminado es rocky.
No olvide utilizar el par de claves que generó anteriormente.
La generación de credenciales puede tardar unos minutos. Espere unos minutos antes de intentar conectarse.
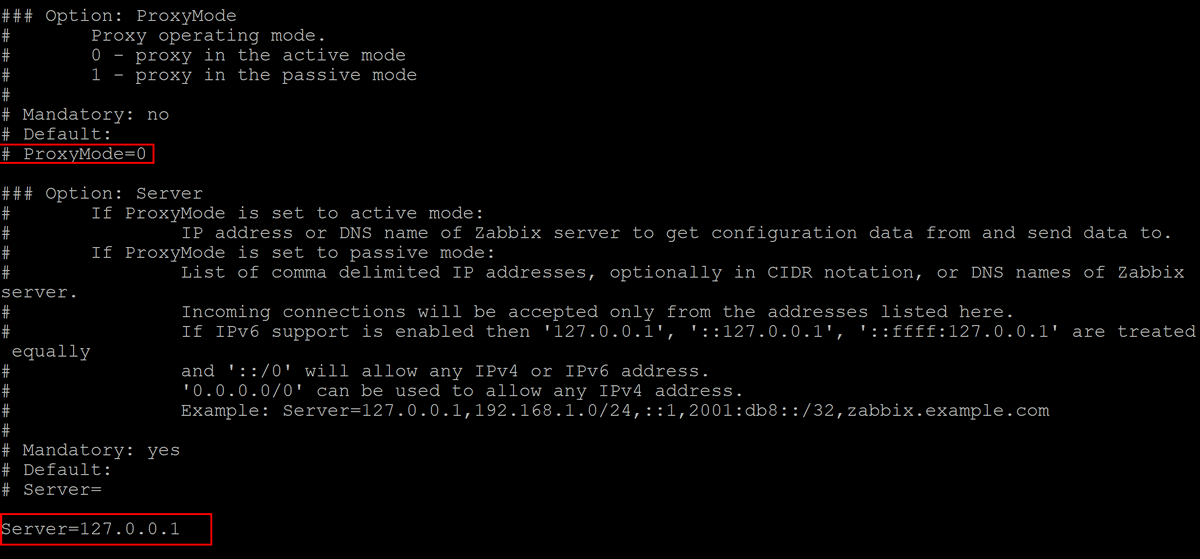
El archivo de configuración del proxy de Zabbix se encuentra en /etc/zabbix/zabbix_proxy.conf.
El archivo de configuración se puede abrir con cualquier editor de texto, por ejemplo, vi:
sudo vi /etc/zabbix/zabbix_proxy.confLa configuración inicial del proxy consiste en modificar los parámetros ProxyMode, Server y Hostname en el archivo de configuración del proxy de Zabbix.
El modo del proxy se puede cambiar editando el parámetro ProxyMode.
Establezca ProxyMode=0 para el modo activo o ProxyMode=1 para el modo pasivo.
El parámetro Server debe contener la dirección IP del server de Zabbix.
Por ejemplo:
Server=192.168.50.141El parámetro Hostname debe contener el nombre de host del proxy de Zabbix.
El nombre de host definido aquí debe coincidir con el nombre del proxy proporcionado durante la configuración del proxy en el frontend de Zabbix.
Por ejemplo:
Hostname=EC2-FrankfurtUna vez completada la configuración, reinicie el proxy de Zabbix con el siguiente comando:
sudo systemctl restart zabbix-proxyNota: utilice sudo para editar archivos de configuración y ejecutar comandos desde la línea de comandos.

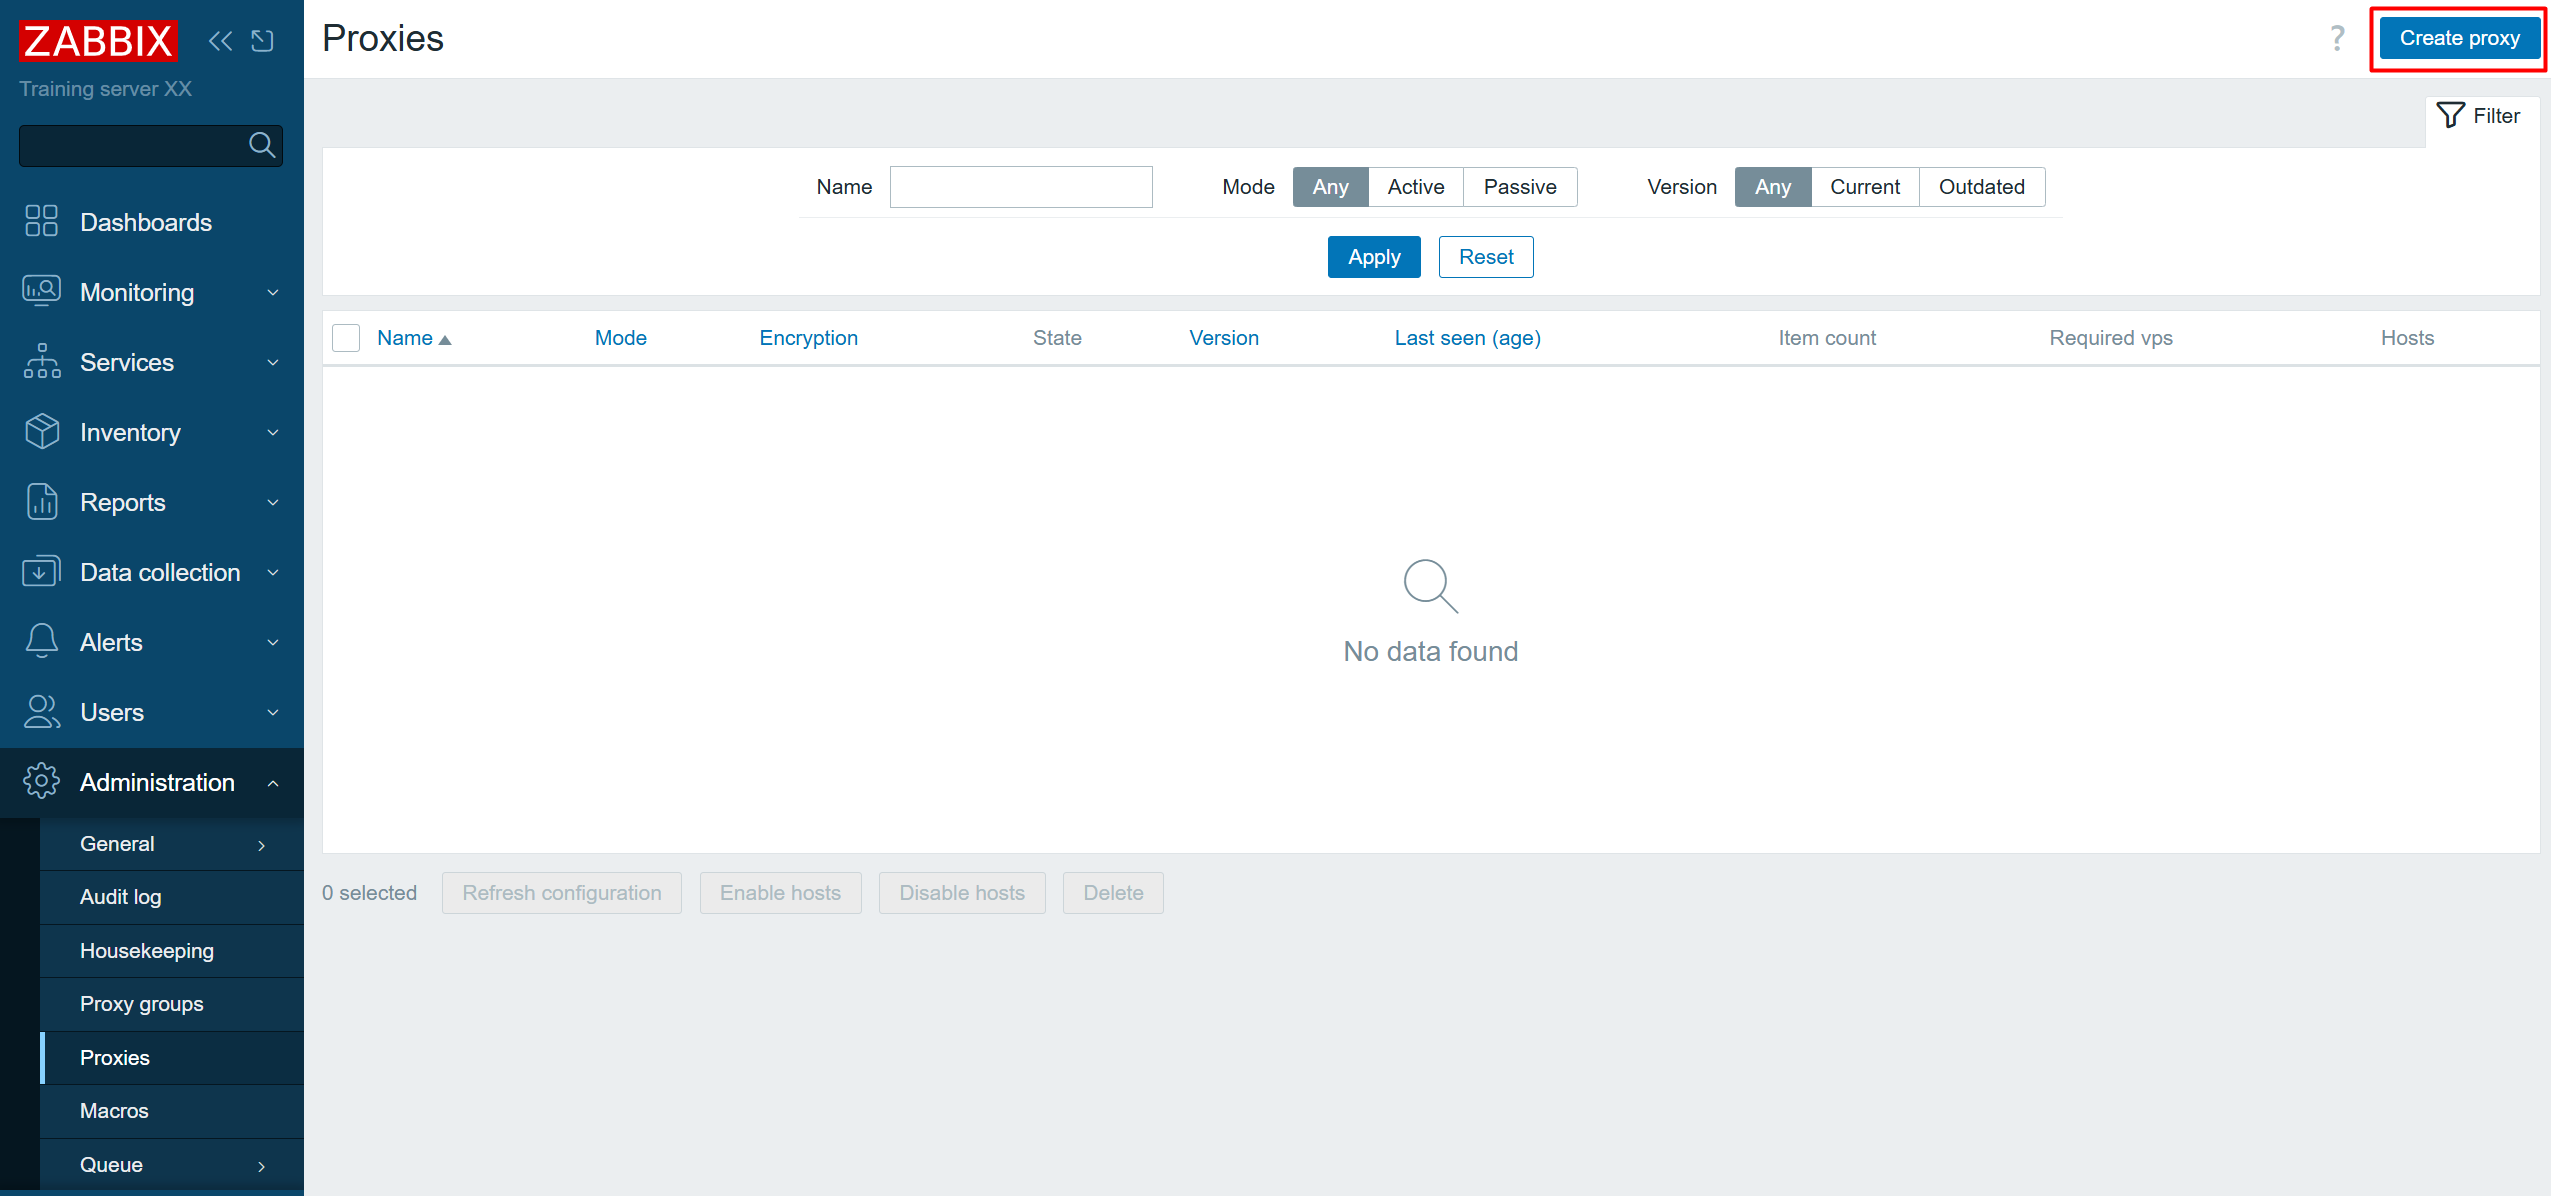
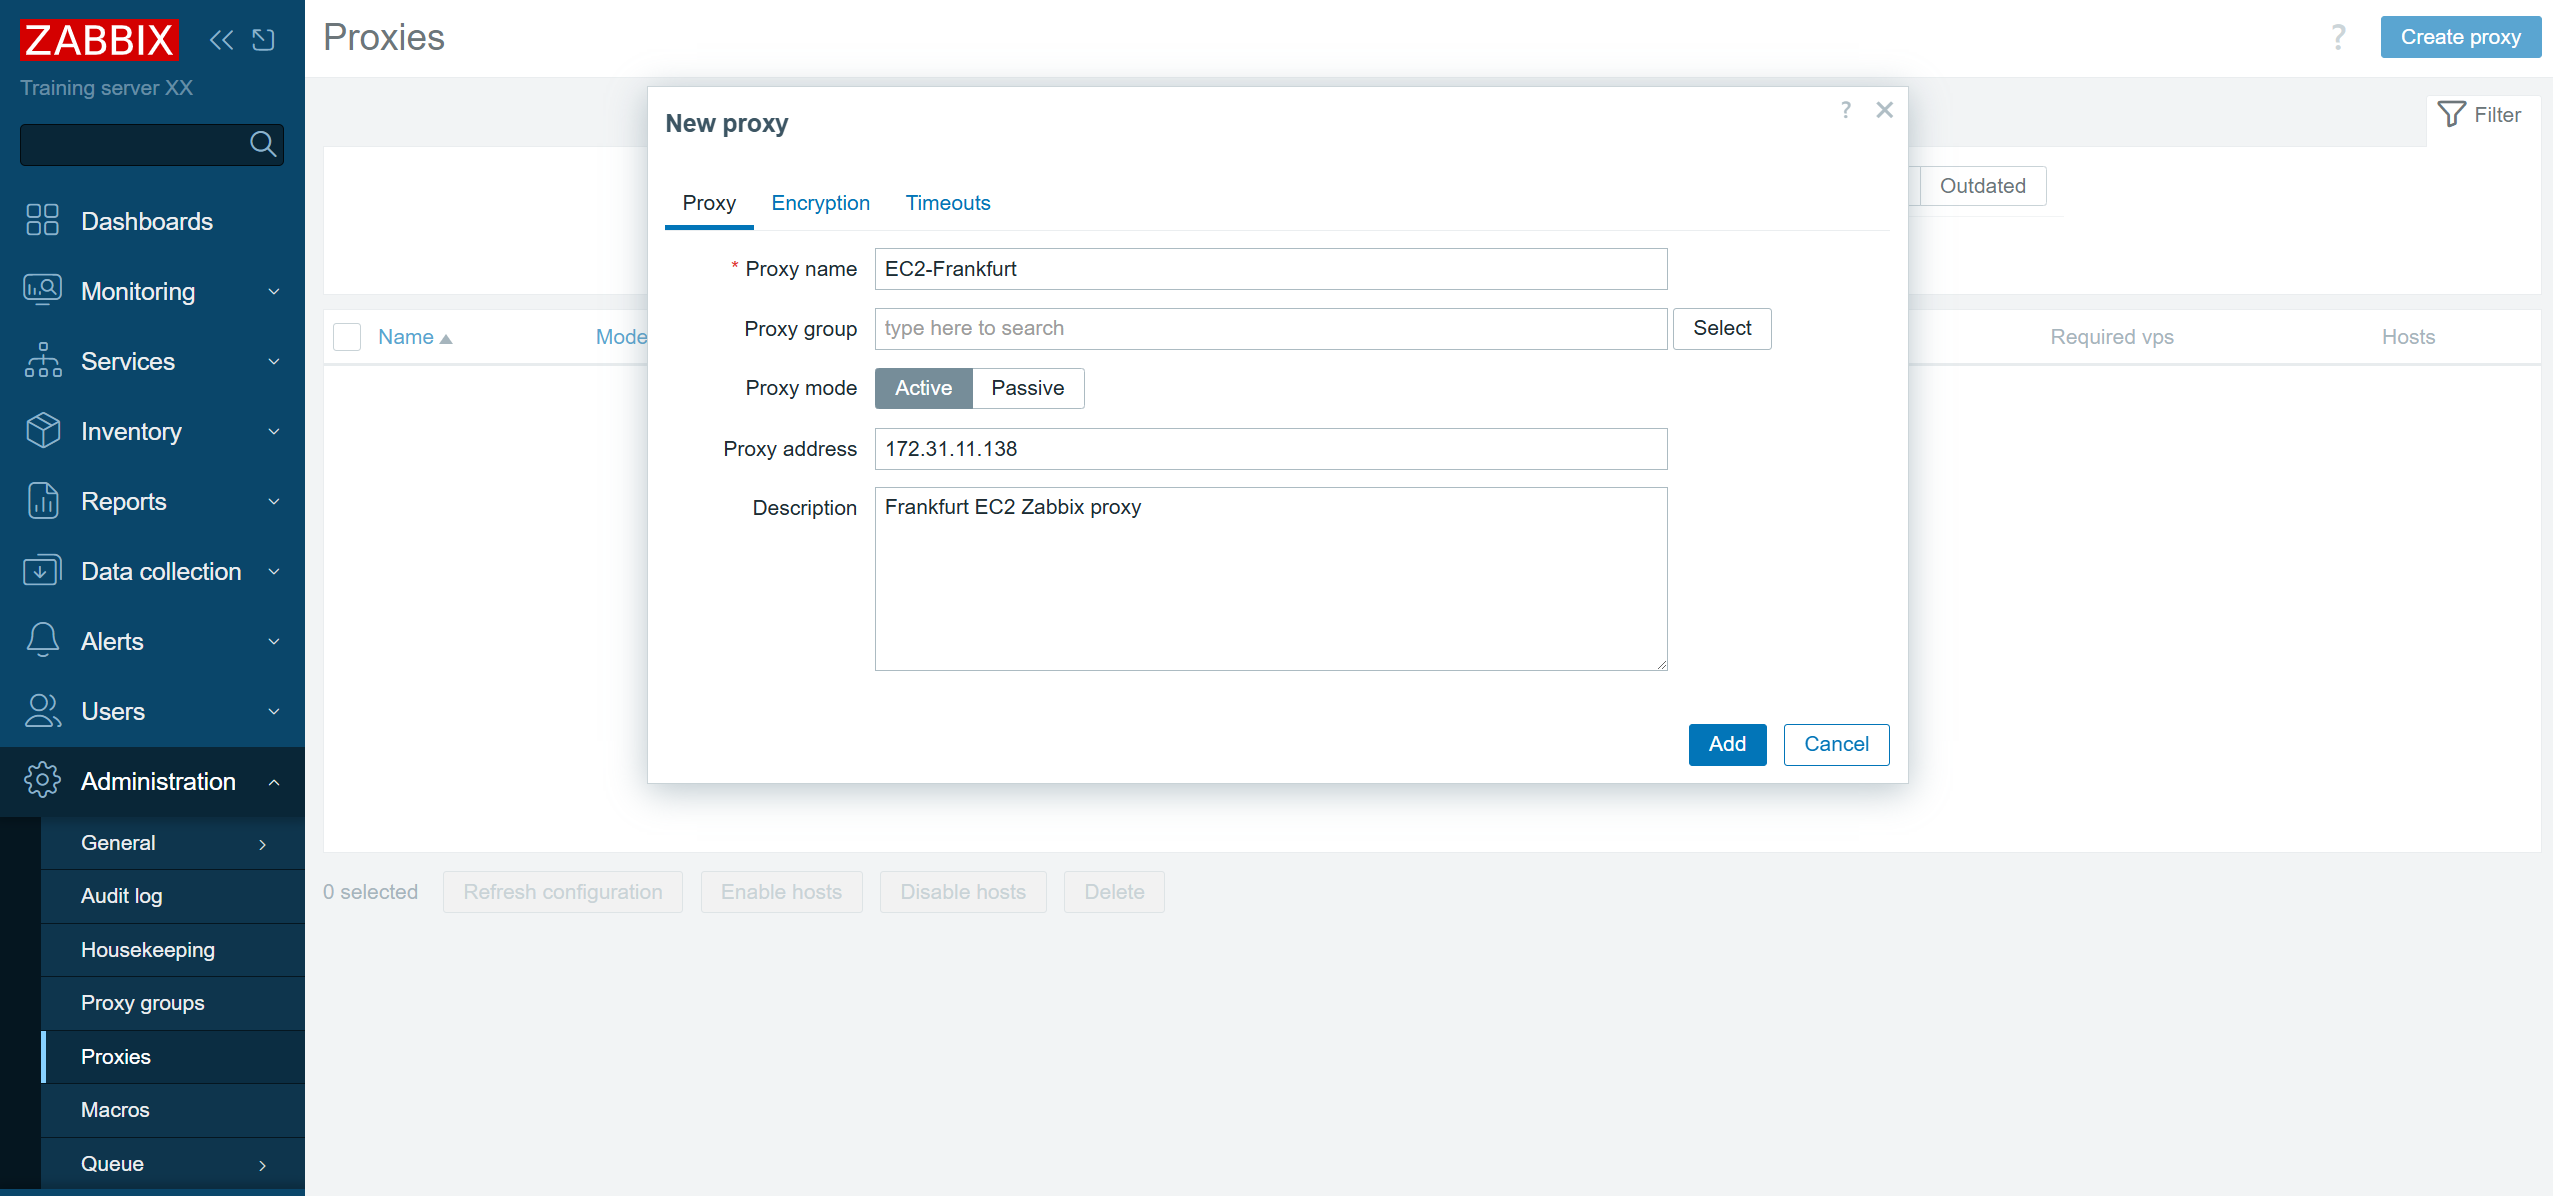
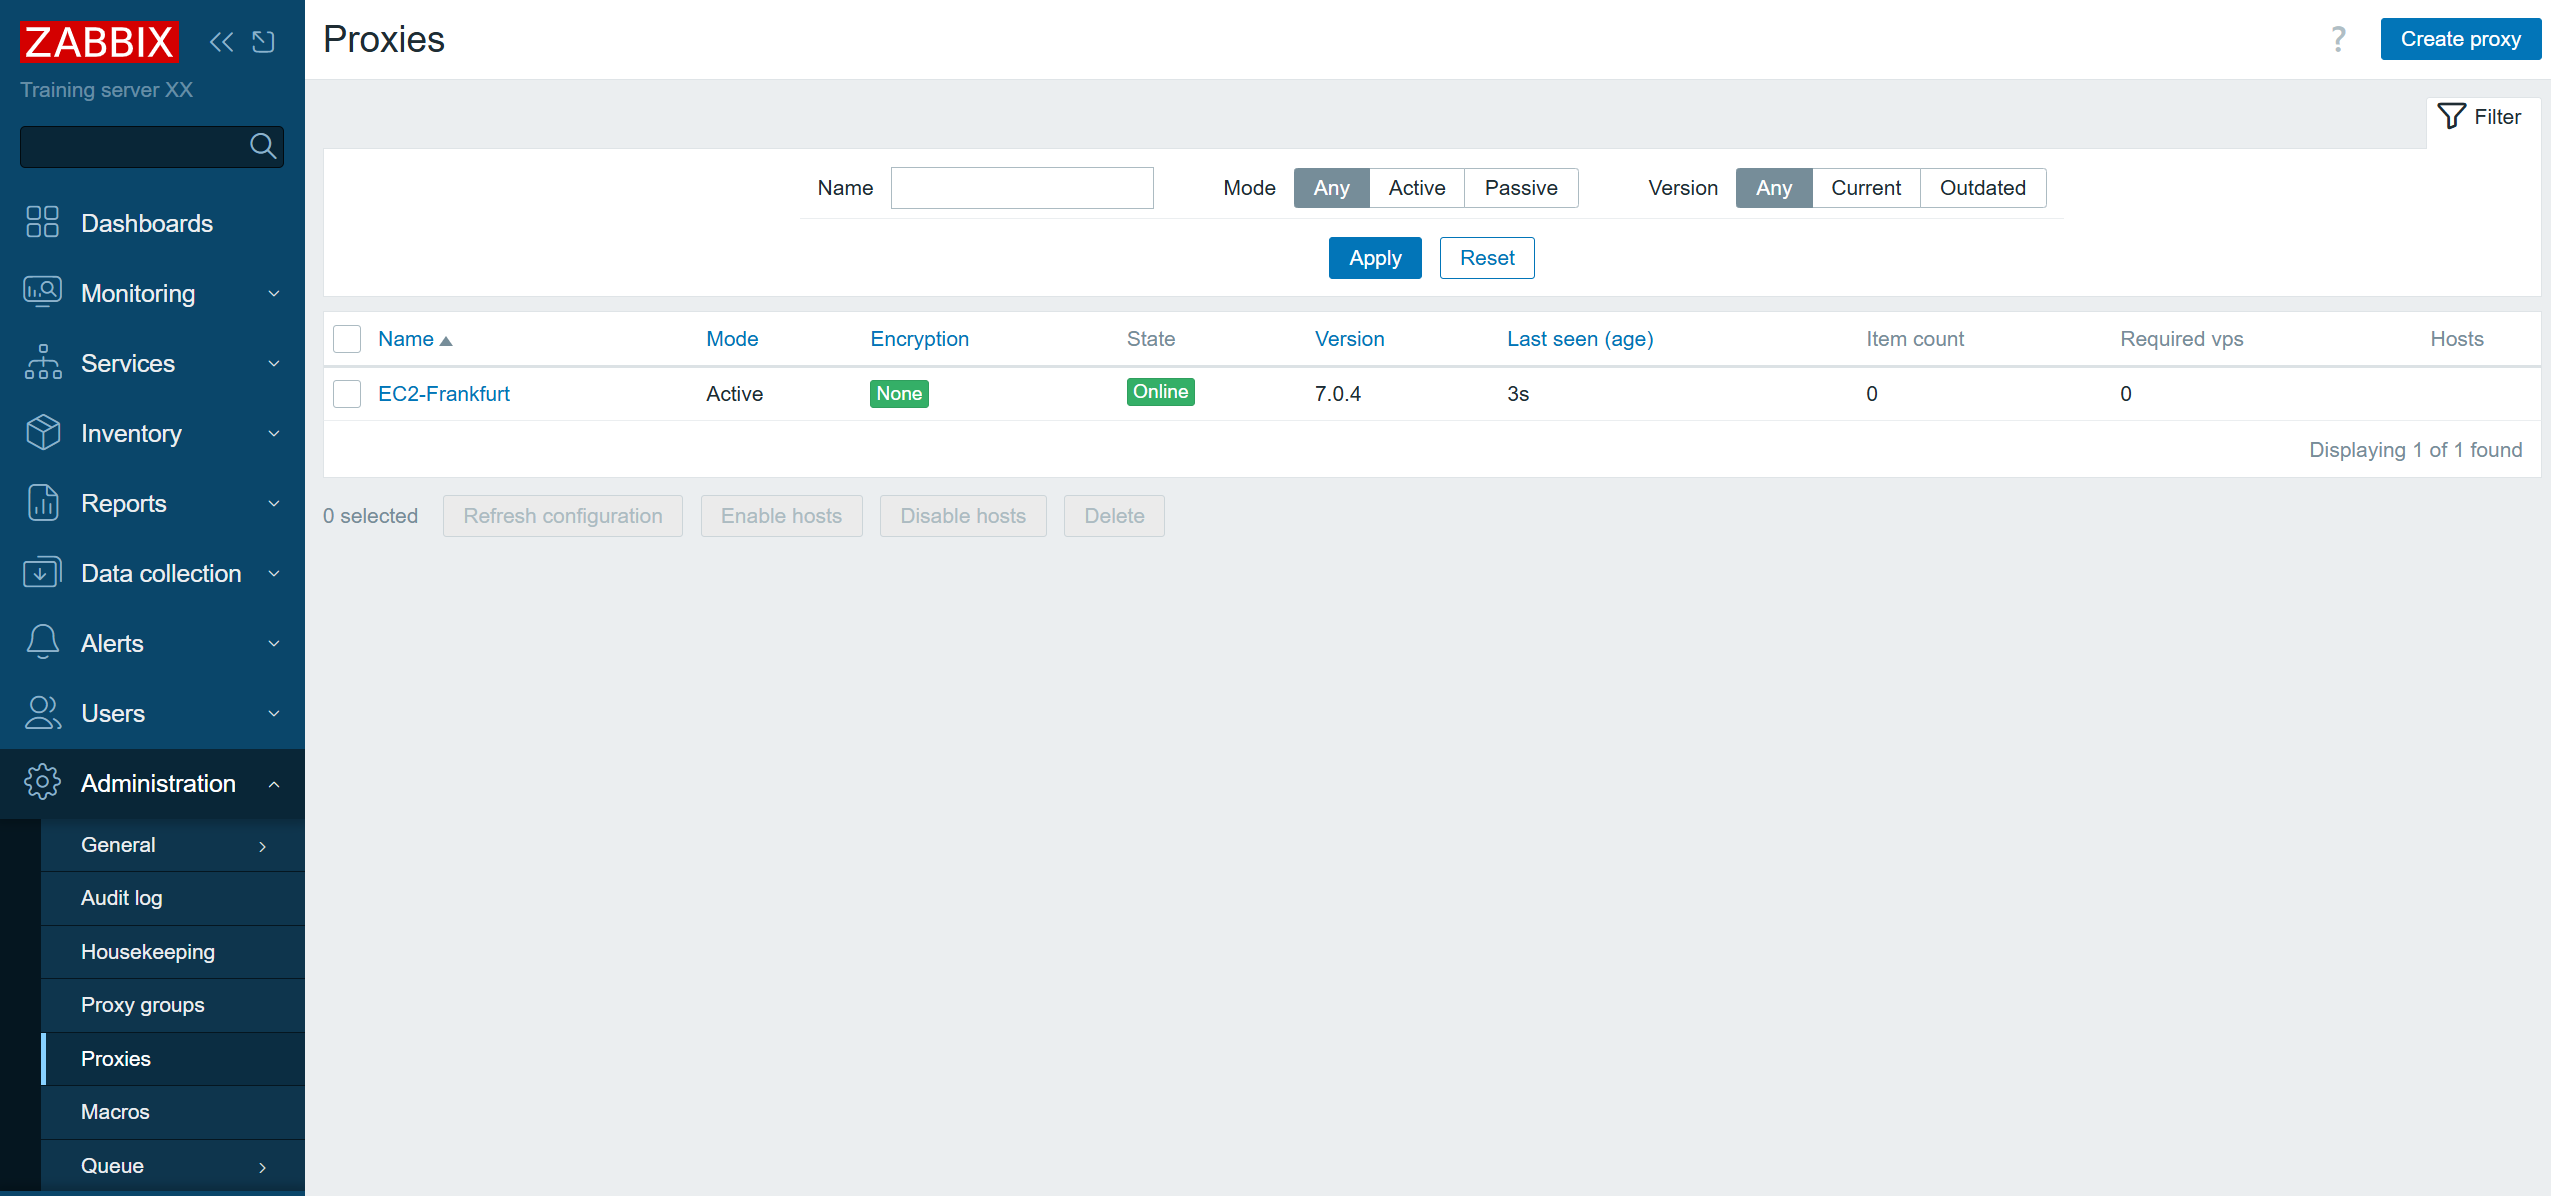
Abra el frontend de Zabbix y vaya a Administration > Proxies. Haga clic en el botón Create proxy.
Introduzca el mismo nombre del proxy que el valor del parámetro Hostname en el archivo de configuración del proxy.
Seleccione el modo del proxy y proporcione la dirección IP del proxy (opcional para los proxies activos).
Haga clic en Create proxy.
Ubicación de la base de datos del proxy
La base de datos SQLite del proxy se almacena en /tmp/zabbix_proxy.sqlite3 y se especifica mediante el parámetro DBName en el archivo de configuración del proxy de Zabbix.